My friend, Amber, tagged me in an Instagram post this week that made me laugh- "Dieting is easy. It's like riding a bike. And the bikes on fire. And the grounds on fire. And everything's on fire because you're in hell." I don't consider the way I eat "dieting" per se, but it definitely is for some people and I understand that. Dieting, or cleaning up your eating doesn't need to be "hell"- you just need to be prepared... and not kill yourself over it if you have one bad day. I have never had a problem turning down sweets, but I know a lot of my good friends do, so I have tried to come up with some decadent recipes that are better for you than their processed counterparts. So this is another attempt to appeal to the pudding lovers out there and give my friends something to have a small amount of (with fruit) before bed. If you haven't tried my "Peanut Butter" Chocolate Pudding you really should- the texture is a replica of real pudding.
Chia seeds are good for you and naturally thicken things. I have made chia seed pudding before (see Coconut-Pineapple Chia Seed Pudding) and I add them to my shakes now and it dawned on me... the chia seed texture in pudding is normally a little off-putting if you aren't used to it. In my shakes that I mix in a blender it is much more pleasant... why not mix them in a blender for pudding making also??? Danielle Walker did something similar in her latest cook book I discovered and it's a great idea. I add instant coffee to any chocolate flavored dish because I think it enhances the chocolate without a coffee taste- if you don't have any or don't like, it's fine without. If you aren't a mint fan, swap out the mint for vanilla or almond extract.
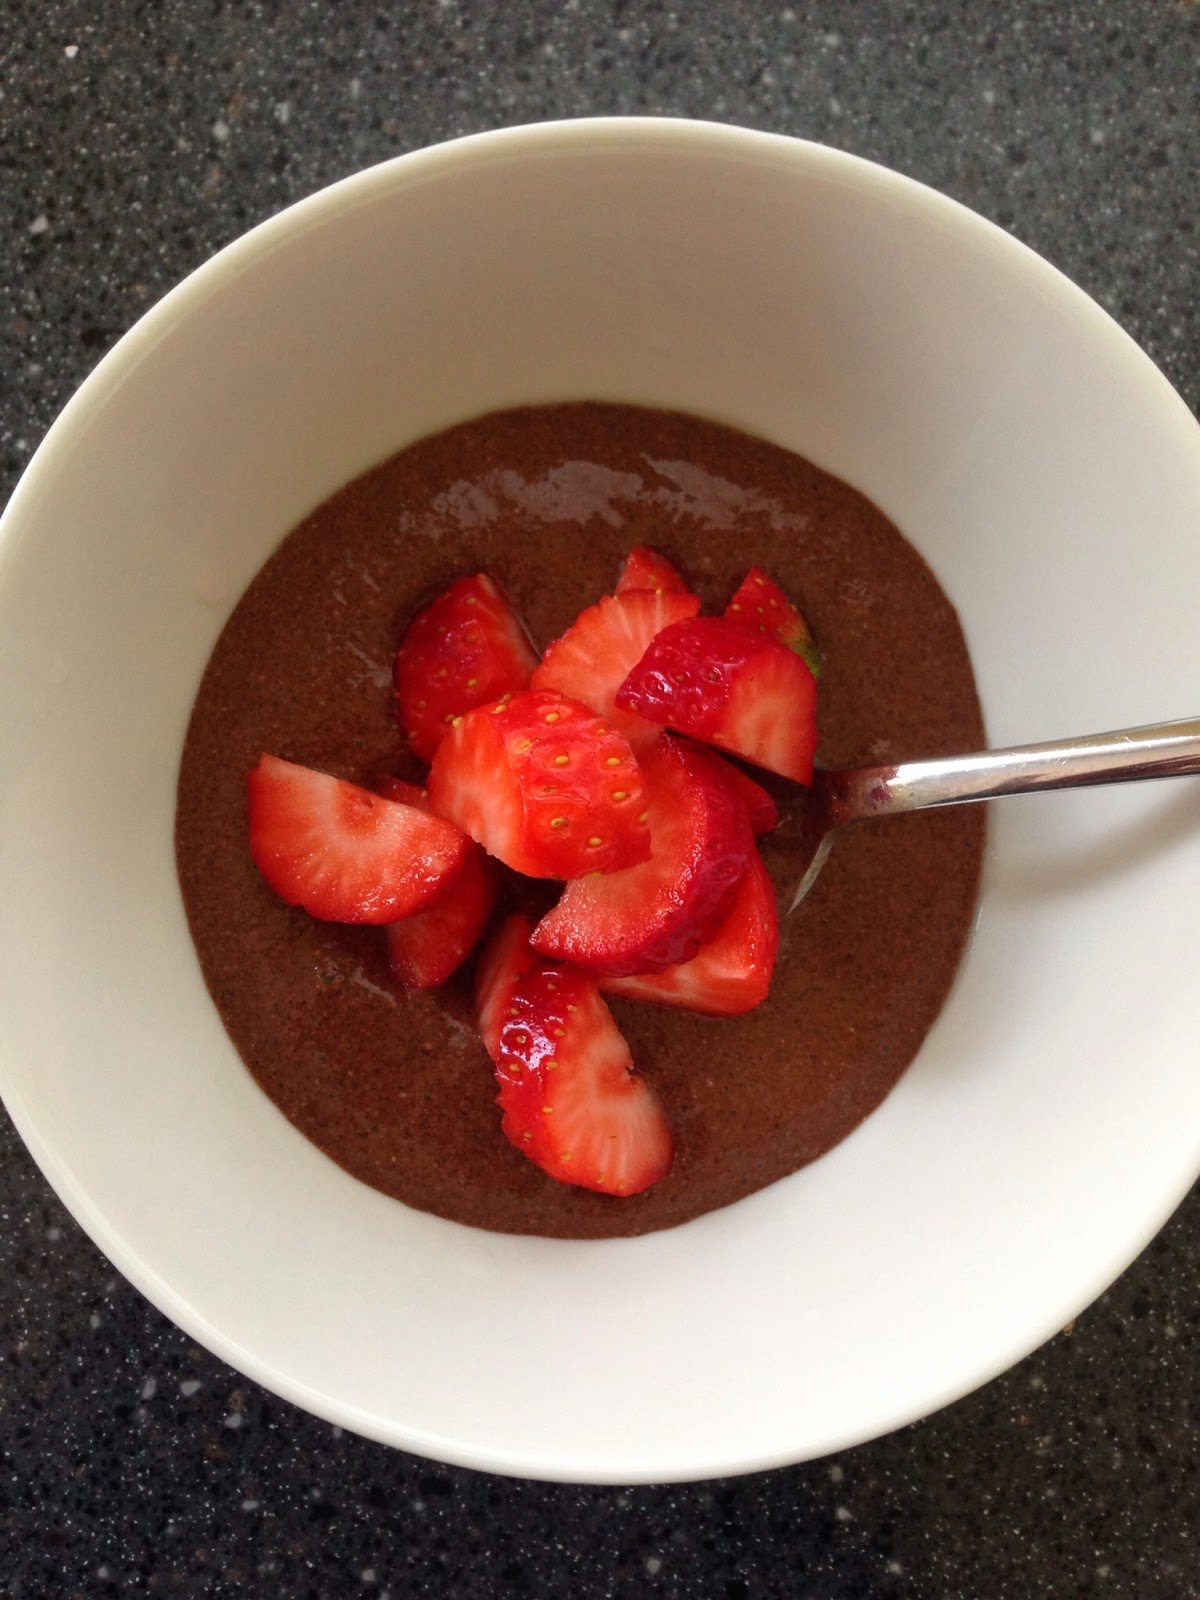
Overnight No-Cook Chocolate Mint Pudding
(Printable Version)
- 1 1/2 Cups Milk (any kind)- 1/2 Cup Unsweetened Cocoa Powder
- 1/4 Cup Chia Seeds
- 2 Tbsp Coconut Oil
- 1 tsp Mint Extract or Essential Oik
- 1/3 Cup Raw Honey
- Heaping Teaspoon Instant Coffee (optional)
- Pinch of Salt
1. Place all ingredients in a blender. Blend on HIGH at least 30 seconds, up to a minute, until the mixture is very smooth.