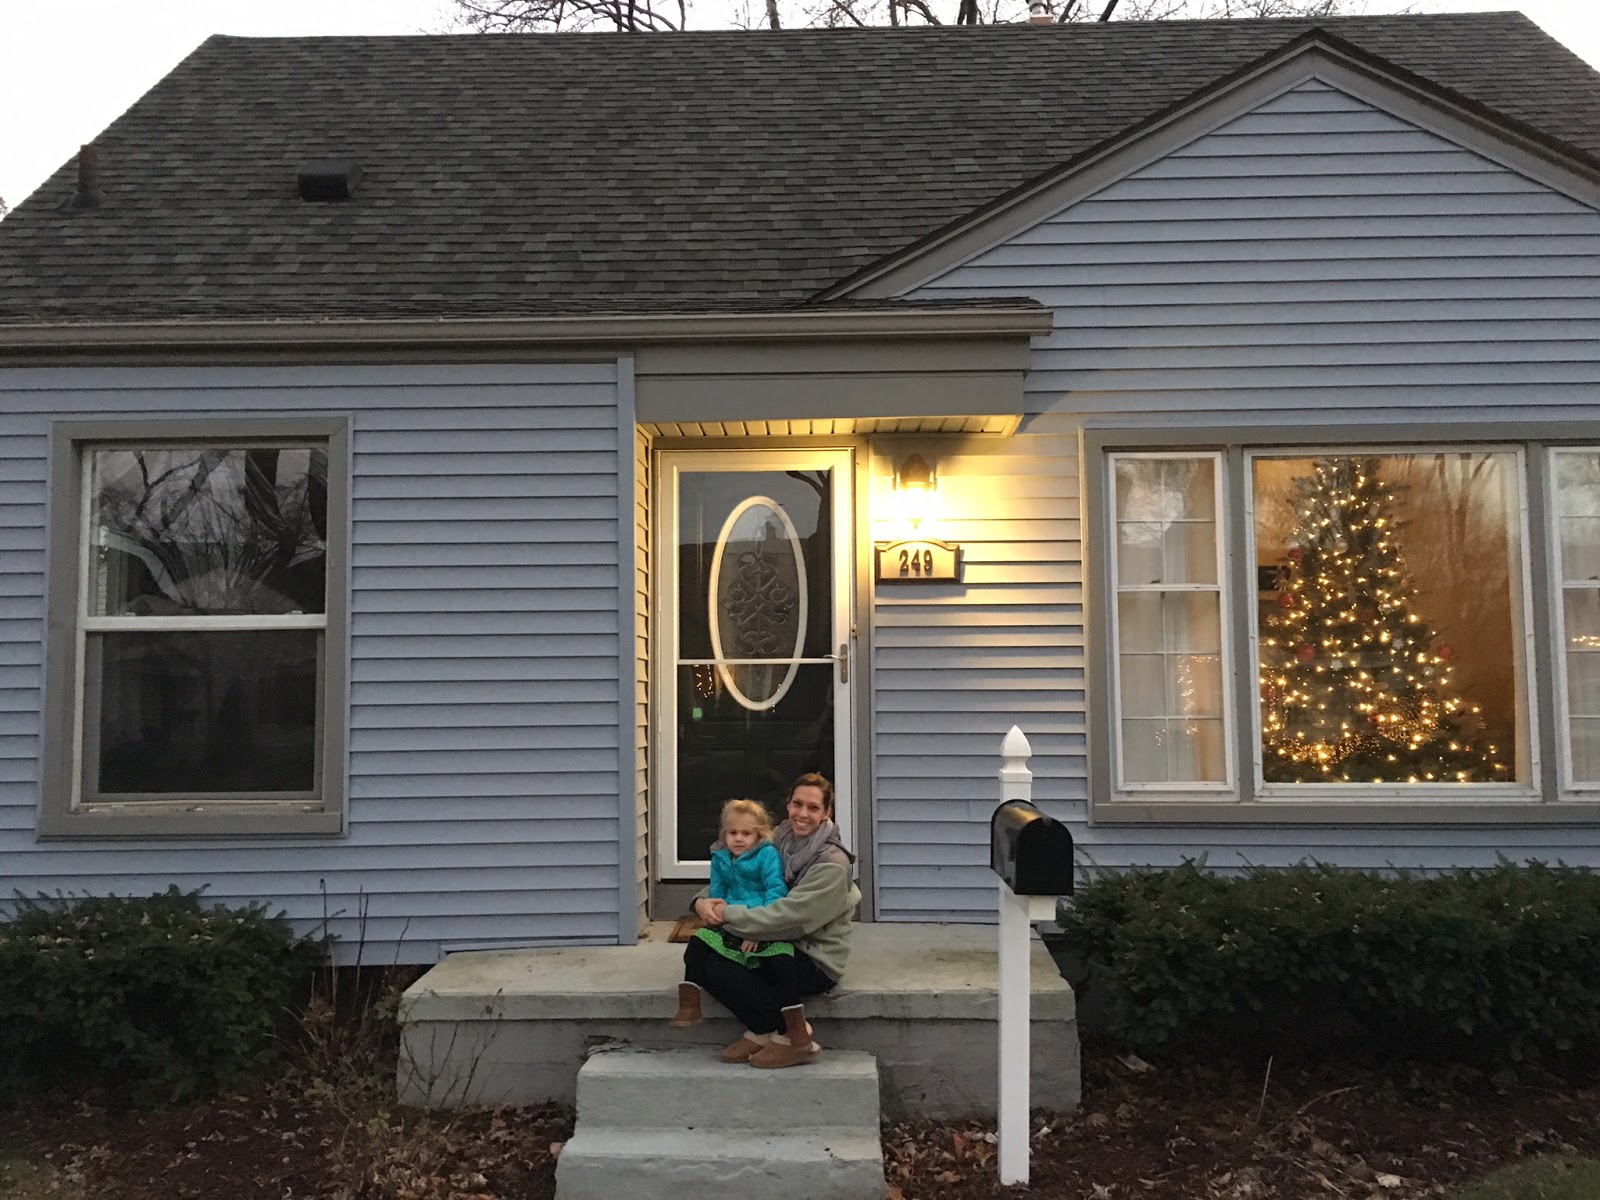
This was the first major purchase of my life, the first time I ever lived on my own without another adult, the place where we played all summer in her pool in the backyard, the driveway where she first rode a bike, the sidewalks that led to the library and the Dairy-O, the rooms where we cuddled and where she went from a baby to a toddler to a little girl.

This house will be great for another family to begin and we are off to our next great adventure in life...after all, home is wherever we are together.
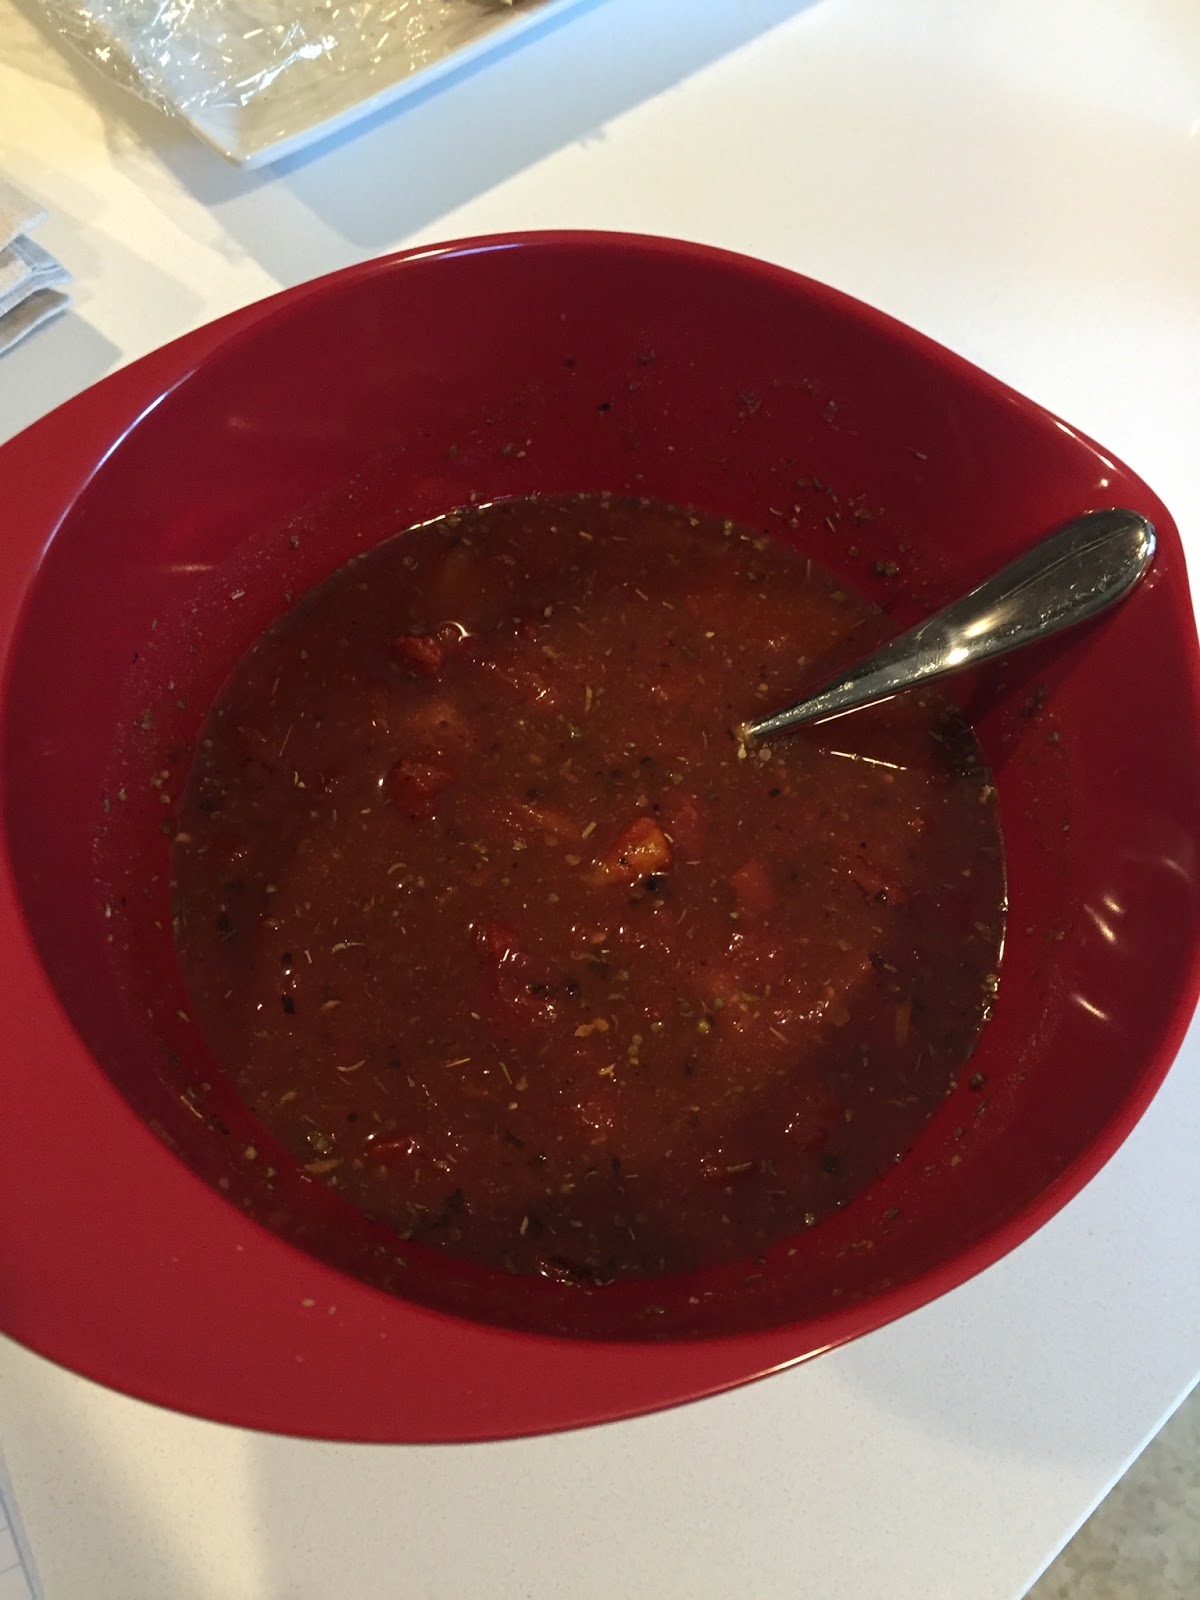
All of my friends seem to be getting sick right now so I thought what better than some homemade chicken noodle soup?! Of course if you don't eat noodles you could omit them or whisk 2-3 eggs together and pour them into your boiling soup as you are stirring and that creates a nice texture. :)
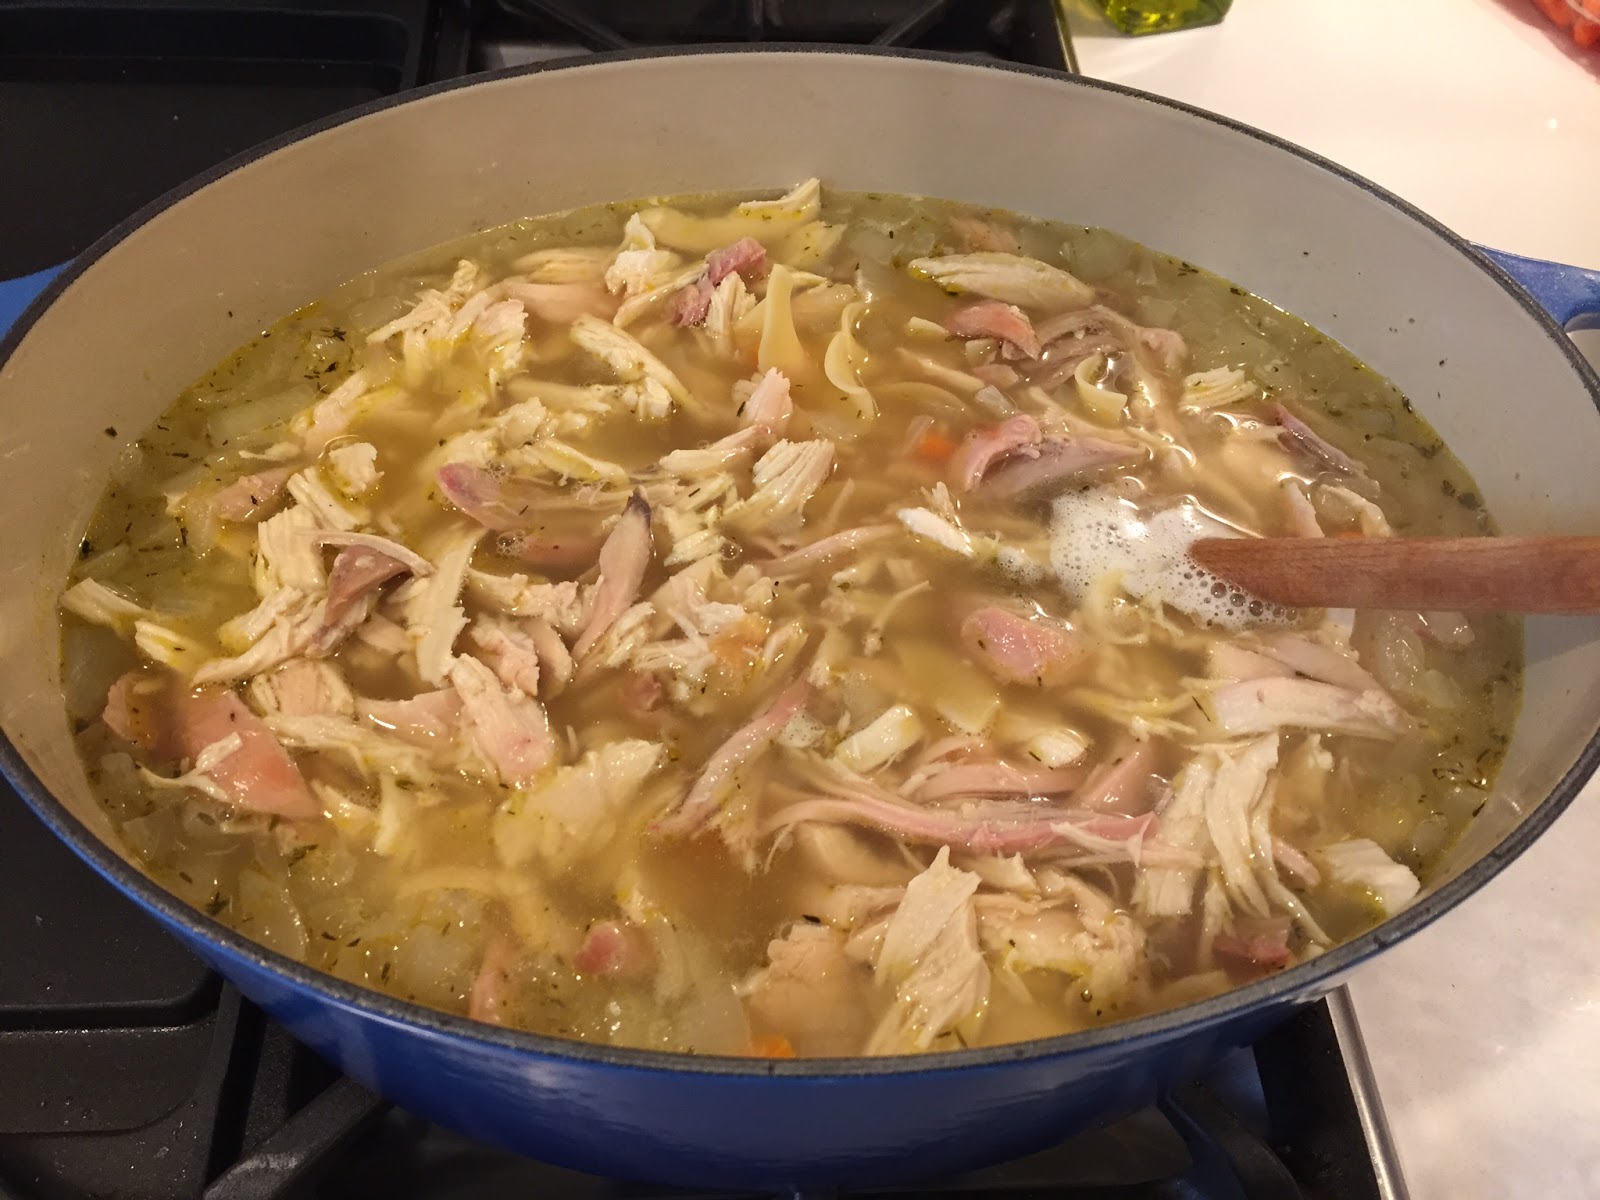
Easy Chicken Noodle Soup
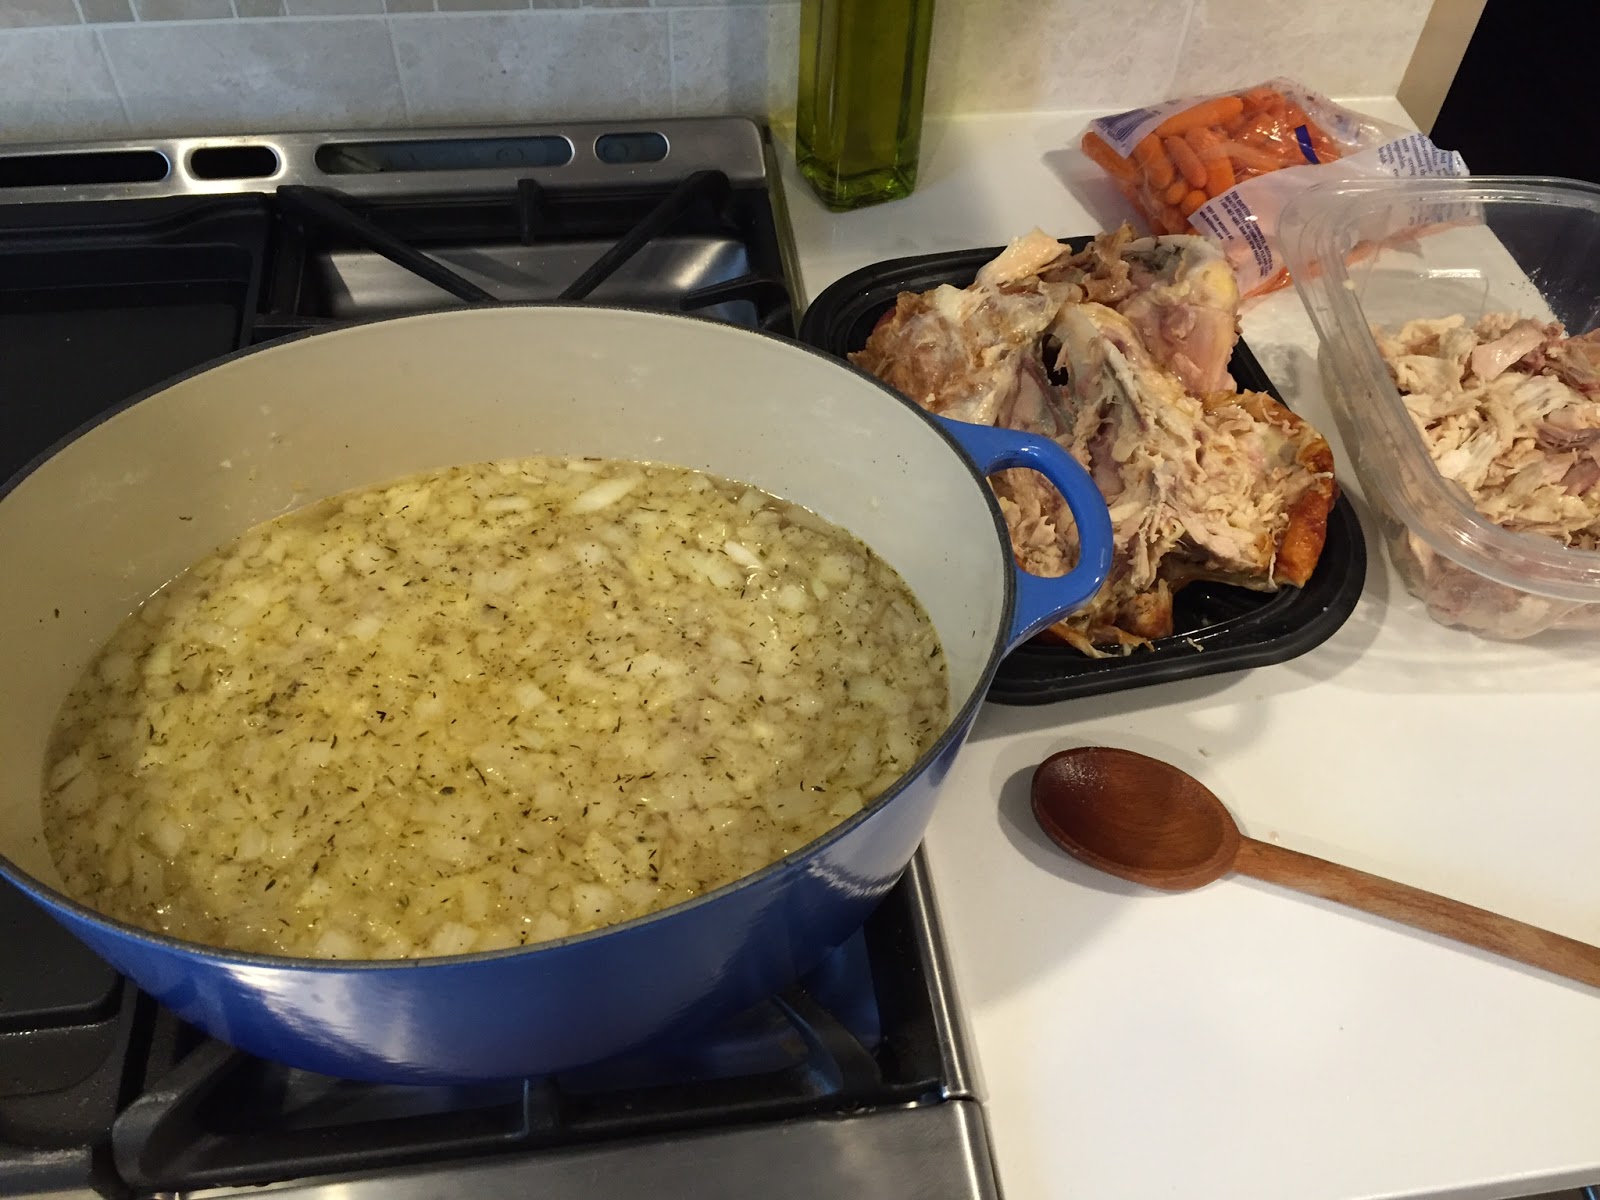
- 1 Rotisserie Chicken, shredded (about 4+ cups of cooked chicken)- 3 Quarts (12 Cups) Chicken Broth (or homemade chicken bone broth!)
- 4 Carrots, peeled and diced (or 2 of celery and 2 carrots)
- 1 Sweet Onion, finely chopped
- 1 Garlic Clove, minced
- 1 tsp Black Pepper
- 1/2 tsp Dried Thyme
- Salt* taste to see if you need more of this
- 6 oz Wide Egg Noodles* or see above paragraph for noodle-less option
1. Heat a large pot or dutch oven over medium heat. Drizzle in a tablespoon of olive oil and add the onion, carrots and garlic. Saute until they are starting to soften, about 5 minutes.
3. Add the spices and chicken. Reduce to a simmer and cook 30 minutes, taste for salt.