Tuesday, January 6, 2015

Hawaiian Chili

After one of the competitions we did a chili cook-off with the members of our box. My sister Mara's chili was one of the favorites and it was the Civilized Caveman's Spicy Pineapple Chili. I have been a fan of putting steak AND ground beef in chili, as seen in my Smokey Steak Chili, but putting fruit in chili, like his recipe, was so good that I decided to combine them! Due to the pineapple and the bacon I am going with the name Hawaiian Chili because Hawaiian pizza has those things on it :). Charlie was a BIG fan of this recipe- she didn't want the steak but more for me! Since I seeded the Serrano peppers it wasn't too spicy for her and she loved the pineapple. I made another big pot for us for dinner this week... this picture was the first time she ate it, I put it in a bowl the second time- Yes, I know she is a mess. 


Because my recipe requires browning the steak, and taking it out of the pan, before adding the other ingredients this is how I saved time: while my steak was browning I chopped all of my other ingredients- I also place my browned steak in the same container I plan on storing the chili in to save time on more dishes. If you are trying to do Whole30 make sure you find tomato sauce without sugar... if you can't... use tomato paste and crushed tomatoes in place of the sauce!


Hawaiian Chili

(Printable Version)

- 1 Tbsp Olive Oil
- 1 pound Bacon, chopped in 1/2" pieces
- 1 pound Stew Beef, cubed in bite-sized pieces
- 1 pound Grass-Fed Ground Beef
- 1 Sweet Onion, finely chopped
- 1 Red Pepper, diced
- 2 Serrano Peppers, seeded (optional) and finely chopped
- 3 Garlic cloves, minced
- 3 Tbsp Chili Powder
- 1 tsp Smoked Paprika
- 2 tsp Ground Cumin
- 1 20-oz Can Diced Pineapple, in juice
- 1 29-oz Can Tomato Sauce
- Salt and Pepper to taste

1. In a large dutch-over or pot over medium-high heat, add the olive oil and steak. Cook the steak until browned on all sides, about 5 minutes. (it does not need to be cooked through)


2. Reduce the heat to medium. Add the bacon. When the bacon fat starts rendering add the peppers, onion, garlic and a little salt. Cook until the onions are translucent, about 5 minutes.
3.  Add the ground beef and brown, breaking it up as much as possible. If there is a lot of fat in the pan at this point I would drain it. My beef was lean so I didn't. Add the spices. 


4. After the spices are fragrant, add the pineapple (with juice), the browned stew beef and can of tomato sauce. Bring to a boil, reduce heat and simmer about an hour. Taste for salt. The chili will become darker as it cooks! 

** This can also be made in a crockpot... brown the meat and cook the vegetables the same way... add the meat/veggies and the sauces to a crockpot and cook 6-8 hours on low ***

Servings 8.0
Amount Per Serving
calories 339
% Daily Value *
Total Fat 17 g25 %
Saturated Fat 6 g30 %
Monounsaturated Fat 3 g
Polyunsaturated Fat 1 g
Trans Fat 0 g
Cholesterol 82 mg27 %
Sodium 844 mg35 %
Potassium 602 mg17 %
Total Carbohydrate 24 g8 %
Dietary Fiber 4 g16 %
Sugars 17 g
Protein 27 g53 %
Vitamin A36 %
Vitamin C64 %
Calcium4 %
Iron28 %
* The Percent Daily Values are based on a 2,000 calorie diet, so your values may change depending on your calorie needs. The values here may not be 100% accurate because the recipes have not been professionally evaluated nor have they been evaluated by the U.S. FDA.


Saturday, January 3, 2015

"Peanut Butter" and Jelly Cookies

I got a couple really cool cooking things for Christmas this year. To top my list I got a brand new food processor from my parents... it is awesome! No longer will I battle and dread using my crappy one that got me through college until now- it is being donated to hopefully be "loved" by someone else. I have used it to make "Peanut Butter" Protein Bites for a friend and the cranberry dip for new years... I cannot wait to use all the attachments it came with!!!! The other cooking appliance I got was a dehydrator from Rudy- I started with pears and Charlie ate all of them (two whole pears) in one sitting. I want to make jerky next but my store didn't have flank steak that looked ok so I am going to wait a week. In the mean time I am dehydrating everything else... so much fun.  


Next up! Raisins!! 


These little gems got some rave reviews from the testers at the box. I think the jelly really helps give them a different texture/flavor and the normally drier paleo cookie could use some moisture. I think I am getting pretty good at baking with protein powder :) The pumpkin in this is purely for moisture- you won't taste pumpkin at all. 

"Peanut Butter" and Jelly Cookies

(Printable Version)

makes ~35 cookies

- 1/2+ Cup Chocolate Protein Powder (heaping)
- 1 Cup Sunbutter (or any nut butter)
- 1 Cup Pumpkin Puree
- 2 tsp Baking Powder
- 2 Eggs
- 1/2 tsp Salt
- 2 Tbsp Unsweetened Cocoa Powder
- 2 Tbsp Instant Coffee Granules
- Jelly of your choosing-- I just used frozen raspberries heated and mashed with a little honey.

Preheat the oven to 350 degrees. 

1. Whisk all of the ingredients together until smooth. 


2. On a parchment lined, or greased, cookie sheet make tablespoon-sized mounds of batter. Using the back of a spoon, and a "swirl" movement, flatten slightly and create small holes in the middle of each mound.


 Fill each hole with about 1 tsp of jelly. 


3. Bake 12-15 minutes, let them cool before enjoying! 


Servings 35.0
Amount Per Serving
calories 78
% Daily Value *
Total Fat 4 g6 %
Saturated Fat 1 g3 %
Monounsaturated Fat 2 g
Polyunsaturated Fat 1 g
Trans Fat 0 g
Cholesterol 12 mg4 %
Sodium 217 mg9 %
Potassium 21 mg1 %
Total Carbohydrate 7 g2 %
Dietary Fiber 1 g5 %
Sugars 1 g
Protein 3 g5 %
Vitamin A0 %
Vitamin C0 %
Calcium1 %
Iron3 %
* The Percent Daily Values are based on a 2,000 calorie diet, so your values may change depending on your calorie needs. The values here may not be 100% accurate because the recipes have not been professionally evaluated nor have they been evaluated by the U.S. FDA.

Thursday, January 1, 2015

New Year's Appetizers!

Happy New Year! Last year I set a goal for myself (yes, goal, not resolution- semantics) to be more positive- look for the positive of every situation and just try to remove negativity. I know that I wasn't always a positive person, but I did legitimately try to remember that positive thoughts are more helpful than negative ones. This year I am going to try to worry less- I need to not worry about what my future will look like, I need to not worry what other people are doing or have done... stop it Ashley! Goal is set, can't wait for 2015... I really think this will be a great year! We started the year making mini coffee-protein muffins- she likes to help put everything in the blender and add the chocolate chips.


I spent New Year's with a small group of friends... we met through CrossFit, but our relationship goes beyond the box. My friend Kelly hosted and we all brought appetizers. Two of the ones I made were completely not healthy- who cares it is New Year's- but the other one I ended up making two homemade sauces for that turned out really well. I am using the same sauces to glaze salmon this week for dinner- they make WAY more than you need for this recipe. The recipe is from the following website... but with store-bought sauces- http://realhousemoms.com/glazed-kielbasa-bites/... therefore I am re-naming it :)

Glazed Hawaiian Bites


- 2 lbs Kielbasa
- 1 Can Pineapple Rings packed in juice
- Glaze
      - 3 Tbsp Teriyaki Sauce
      - 2 Tbsp Sweet Chili Sauce
      - 2 Tbsp Pineapple Juice (from can)

Preheat Oven to 425 degrees. 
1. Cut the kielbasa and pineapple into bite-sized pieces. Stack one piece of pineapple on each kielbasa and secure with a toothpick. 


Put them in a glass baking dish and brush with the glaze. 


 Bake 20 minutes until the tops are caramelized.

Sauce #1- Teriyaki Sauce (makes about 1 Cup)


- 3/4 Cup Water (divided 1/2 cup + 1/4 Cup)
- 1 Tbsp Raw Honey
- 1/4 Cup Coconut Aminos (or Gluten Free Soy Sauce)
- 2 Tbsp Coconut Sugar (or more honey)
- 1/2 tsp Fresh Ginger, finely minced
- 1 Garlic Clove, finely minced
- 1 Tbsp Arrowroot Powder

1. In a small sauce pan over medium-high heat, whisk 1/2 cup water and all of the other ingredients except the arrowroot powder. 
2. Mix the 1/4 cup of water and arrowroot powder together to form a slurry. Once the liquid in the pan it bubbling, add the slurry as you whisk. The sauce will thicken fairly quickly and will even more as it cools. Thin it out with more water if needed. I store mine in the fridge in a jelly jar. 


Sauce #2- Sweet Chili Sauce (makes about 1 cup)


- 2 Garlic Cloves, peeled
- 2 Serrano Peppers, seeded and membrane removed
- 1/4 Cup Apple Cider Vinegar (or white distilled)
- 1/2 Cup Coconut Sugar
- 3/4 Cup Water
- 1/2 tsp Salt
- Red Pepper Flakes (optional)
- 1 Tbsp Arrowroot Powder + 2 Tbsp Water

1. Put all of the ingredients, except the arrowroot powder in a blender and blend until smooth. 


2. In a small sauce pan over medium-high heat, whisk the sauce until it starts to thicken and boil.
3. Mix the 1/4 cup of water and arrowroot powder together to form a slurry. Once the liquid in the pan it bubbling, add the slurry as you whisk. The sauce will thicken fairly quickly and will even more as it cools. Add more red pepper flakes if it isn't spicy enough. I store mine in the fridge in a jelly jar. 


The other appetizers I made were directly from Pinterest and both very tasty! 


Beware of this one! I didn't de-seed my jalapeno and it had a pretty good kick! The only change I made was using coconut sugar, and about 1/4 cup less, than the recipe called for because I don't have refined sugar in my house. :)


Monday, December 29, 2014

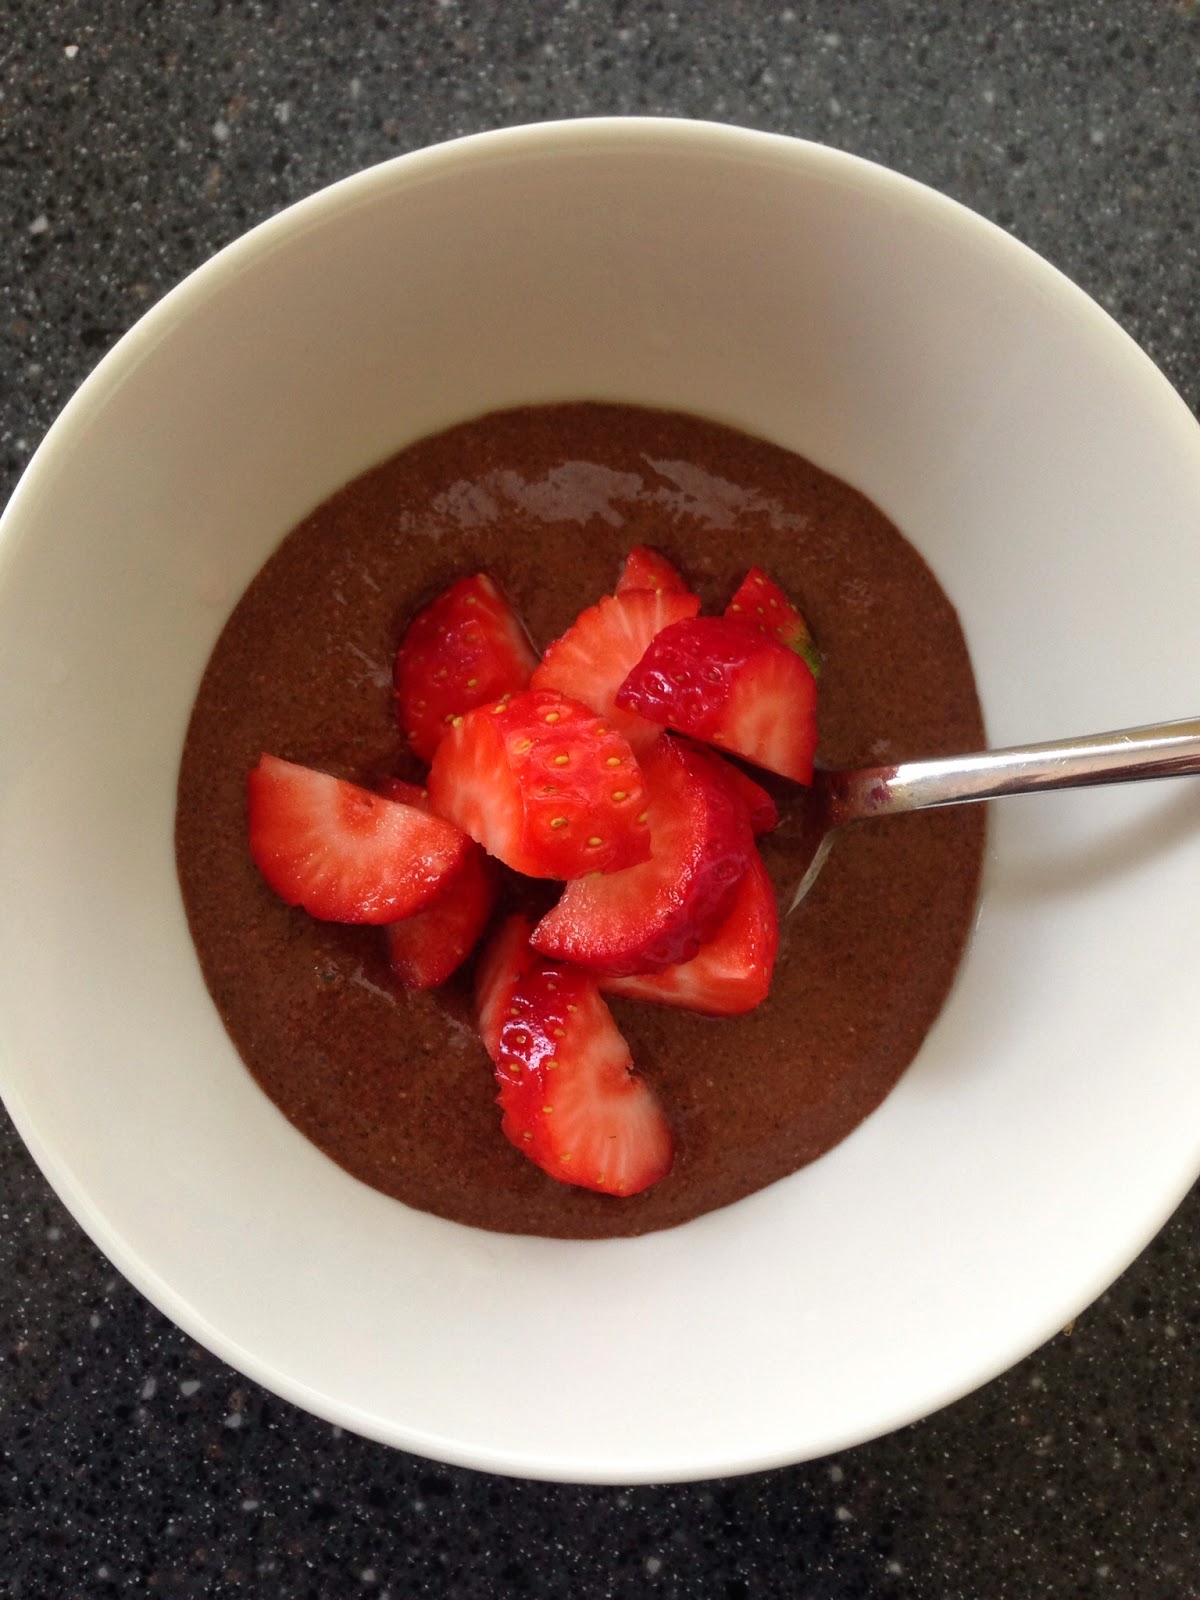
Overnight No-Cook Chocolate Mint Pudding

I think the following scenario will resonate with a lot of parents out there: you make your child(ren) food, they eat (or don't), you finally get your food ready, they are done, you clean them up, sit down to eat because you are starving, and they want a bite. Now, it is your offspring so you feel like you should share, but they just ate and this is your food! Ugh! I am not going to lie, this morning after she ate and I finally sat down with my eggs, sausage, and avocado she wanted a bite--- mind you I had made her the exact same thing and she spit it out-- I said no... sorry my love but you cannot have my food when I haven't had a cup of coffee yet and you didn't want yours... then the guilt sets in as the lip goes out... fine! have bites of mine until you even eaten all the sausage out. Sigh. 

My friend, Amber, tagged me in an Instagram post this week that made me laugh- "Dieting is easy. It's like riding a bike. And the bikes on fire. And the grounds on fire. And everything's on fire because you're in hell." I don't consider the way I eat "dieting" per se, but it definitely is for some people and I understand that. Dieting, or cleaning up your eating doesn't need to be "hell"- you just need to be prepared... and not kill yourself over it if you have one bad day. I have never had a problem turning down sweets, but I know a lot of my good friends do, so I have tried to come up with some decadent recipes that are better for you than their processed counterparts. So this is another attempt to appeal to the pudding lovers out there and give my friends something to have a small amount of (with fruit) before bed. If you haven't tried my "Peanut Butter" Chocolate Pudding you really should- the texture is a replica of real pudding. 

Chia seeds are good for you and naturally thicken things. I have made chia seed pudding before (see Coconut-Pineapple Chia Seed Pudding) and I add them to my shakes now and it dawned on me... the chia seed texture in pudding is normally a little off-putting if you aren't used to it. In my shakes that I mix in a blender it is much more pleasant... why not mix them in a blender for pudding making also??? Danielle Walker did something similar in her latest cook book I discovered and it's a great idea. I add instant coffee to any chocolate flavored dish because I think it enhances the chocolate without a coffee taste- if you don't have any or don't like, it's fine without. If you aren't a mint fan, swap out the mint for vanilla or almond extract. 


Overnight No-Cook Chocolate Mint Pudding

(Printable Version)

- 1 1/2 Cups Milk (any kind)
- 1/2 Cup Unsweetened Cocoa Powder
- 1/4 Cup Chia Seeds
- 2 Tbsp Coconut Oil
- 1 tsp Mint Extract or Essential Oik
- 1/3 Cup Raw Honey
- Heaping Teaspoon Instant Coffee (optional)
- Pinch of Salt

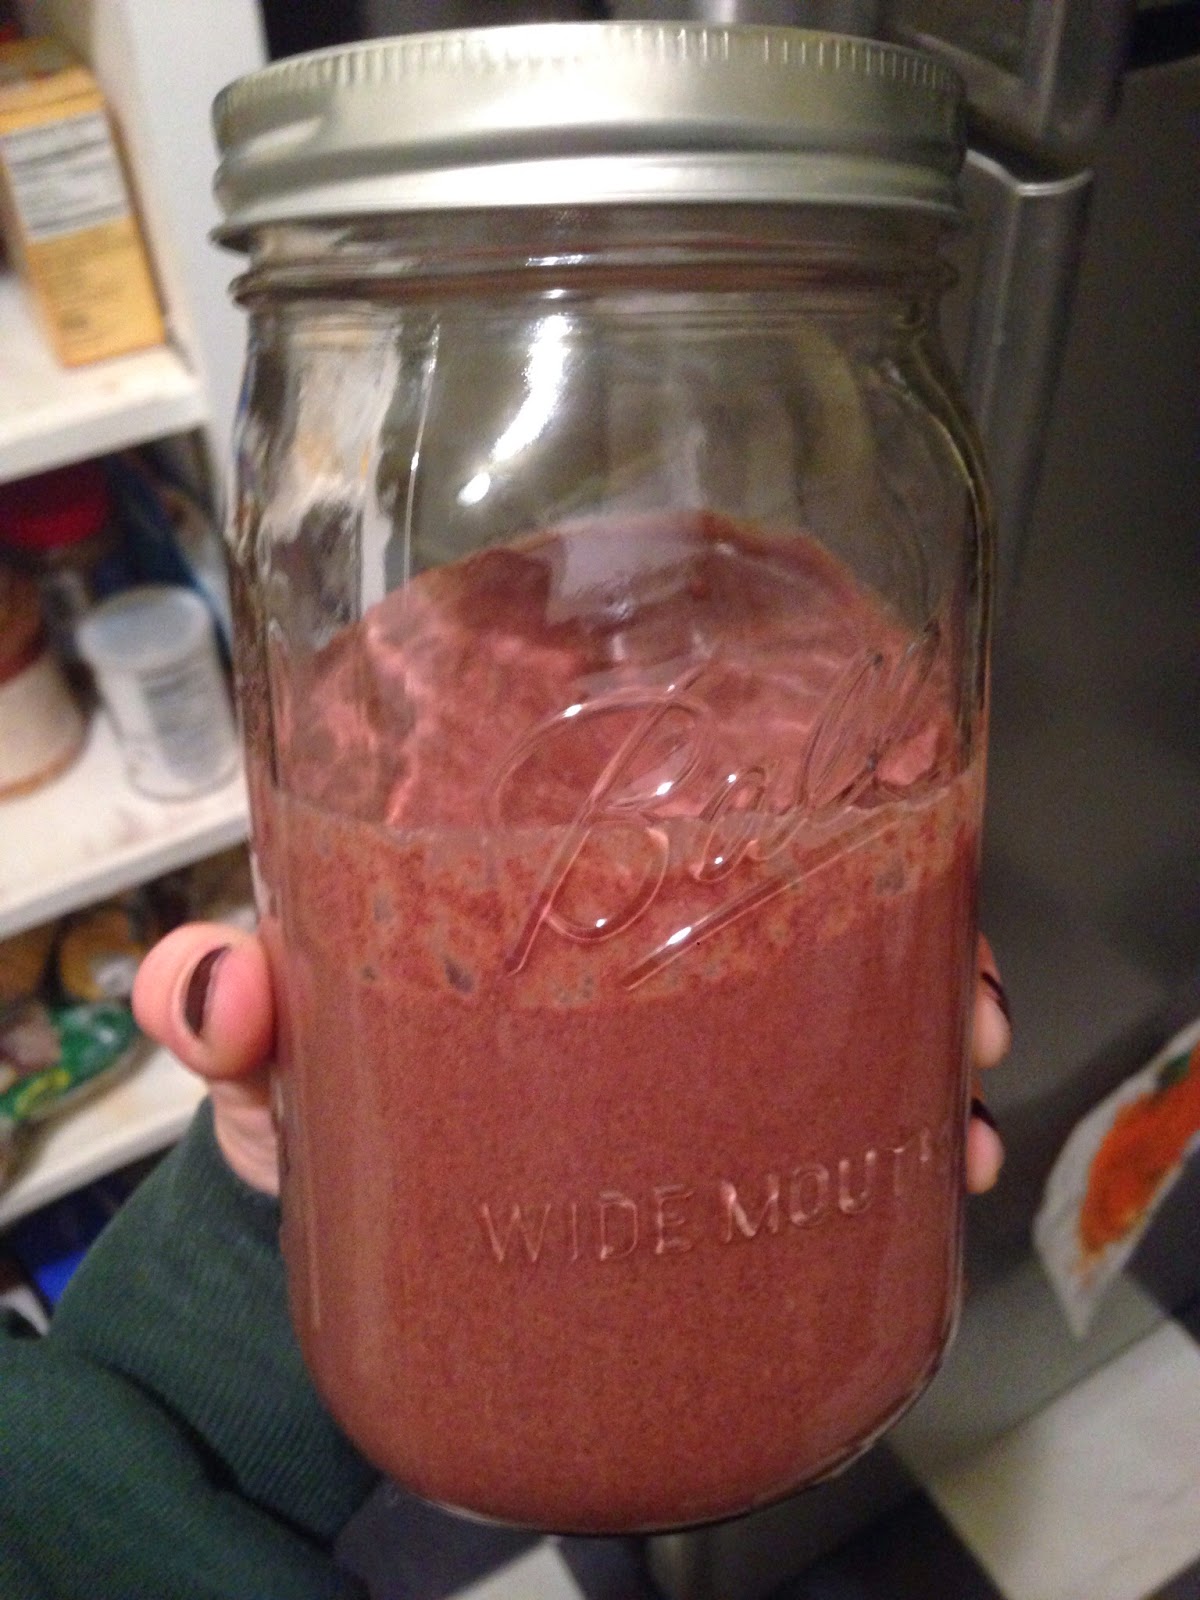
1. Place all ingredients in a blender. Blend on HIGH at least 30 seconds, up to a minute, until the mixture is very smooth. 


2. Pour into jelly jars, a big mason jar, or your serving dishes- cover and place in the fridge at least 8 hours or overnight. Right before serving, stir and enjoy. 


Saturday, December 27, 2014

Sore Throat Syrup

Since I didn't have Charlie-girl until Christmas Day, I spent a lot of my time at the box, actually getting to do everything in the programming. It is safe to say I am tired and sore and it is great. Sweat angels are the best :)


I don't know what it is when she leaves, but I have been sick the past two times I have been alone. It's like I finally get a second to relax and my body gives up also and I'm sick. My mom made me a jar of this when my throat was hurting this week, and after a couple of revisions, I think it is safe to safe I am obsessed with it. I drink it before bed, made some for sick friends and since I am not working for winter break, I usually have a cup or two during the day. I am not sure if it actually made my throat feel better sooner, but the warm liquid is soothing and drinking more water is always a good thing. The jar can be stored in the fridge at least a month, but I doubt it will make it that long! I think it would also be really good in tea. 


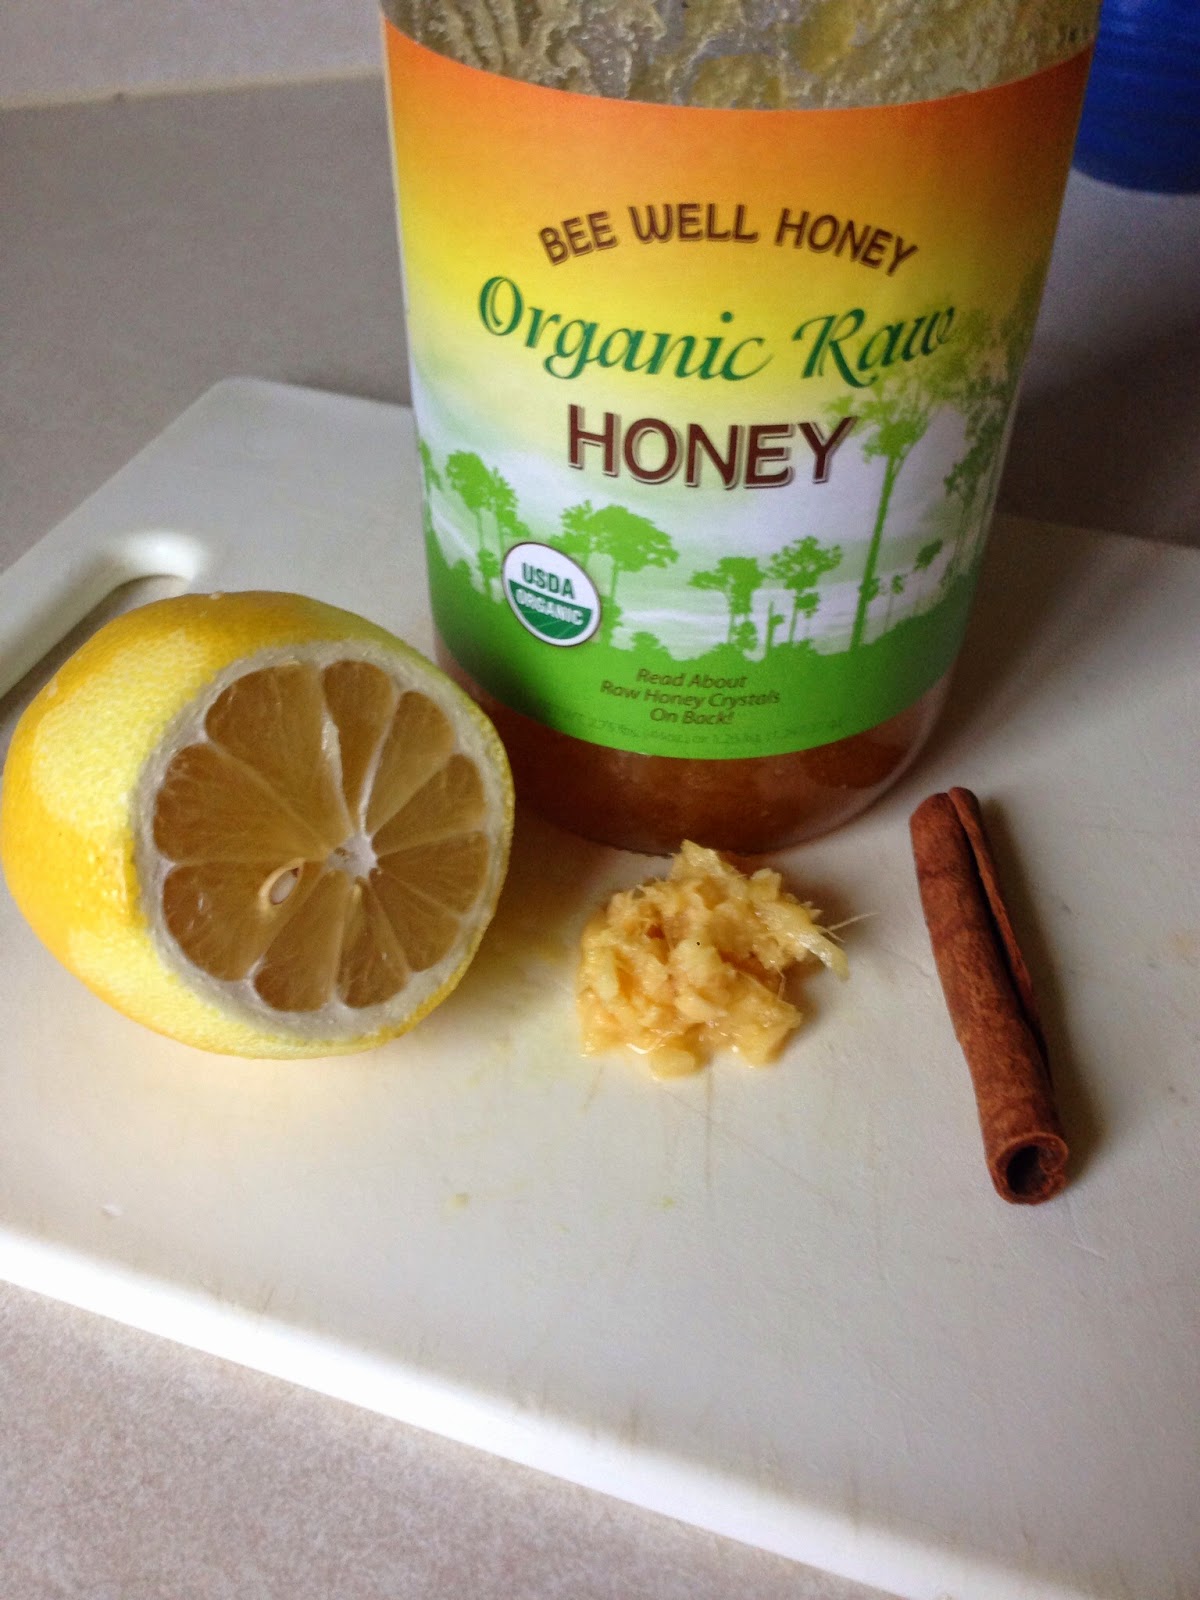
Sore Throat Syrup

(Printable Version)

- 1 Lemon
- 1 Stick of Cinninmon
- about 1" Fresh Ginger, grated (about 1 Tbsp)
- Raw Honey


1. Wash the lemon. Cut it in half, save 1/2 half for juice, and then cut the other half into thin slices. If you don't want a strong lemon taste, thinly slice the whole lemon and put it in the jar. 
2. In a jelly, or small, jar add the juice of half the lemon, ginger, slices of lemon, the cinnamon stick, and fill the rest of the jar with raw honey- let it settle between the cracks and make sure you have as much as you can. 
3. Put the lid on and store in the fridge at least the day or overnight... the long it sits the better it is.
4. When you want to drink it, stir or shake the jar, and use 1-2 tsp of the syrup for every cup/mug (8oz) of hot water.

Monday, December 22, 2014

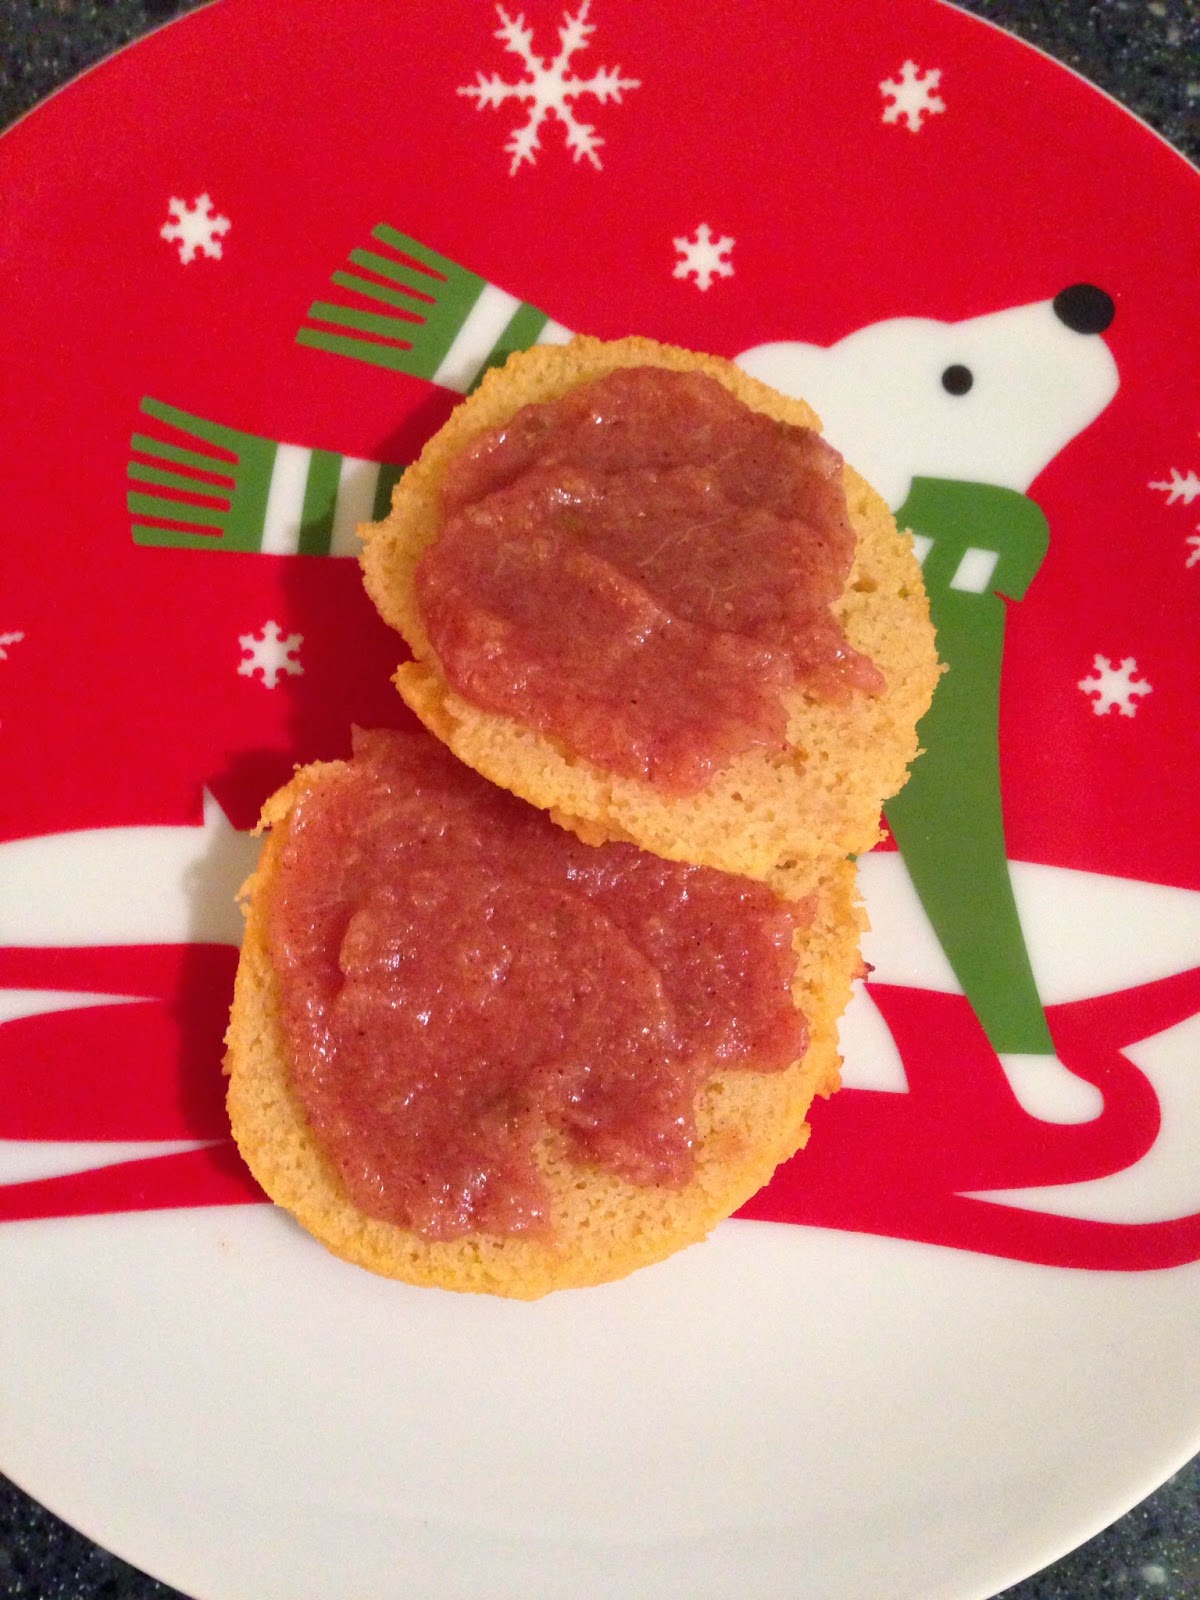
Pear Butter and Biscuits

Everyone claims this is the season of giving and family and gratitude... but this is my view of the day- Tis the season for crazy drivers, rude strangers and dwindling bank accounts! I really just don't   understand why people can't take a deep breath, grab a coffee, be considerate and take it down a notch. The fact that you are out affording presents for loved ones means you are doing better than most in this world. You don't know how much just a smile and a hello to someone having to leave their family to work this week might mean. It's the thought that counts and giving someone something you know they will love. My sister and I have always been good at this with each other.


Tonight I decided to re-do my biscuit recipe I did with my strawberry shortcakes and top it with some homemade pear butter. I have been out of jelly for a while and thought making a sugar-free fruit spread out of the mass amount of pears I have sounded perfect. You could also use apples, but I am allergic so I didn't. :)


Pear Butter

(Printable Version)

(makes 1 small jelly jar)

- 2 Ripe Pears, peeled, cored, and diced
- 1 Tbsp Lemon Juice
- 2-3 tsp Cinnamon
- Pinch of Salt

1. In a sauce pan over medium-high heat, toss all of the ingredients. Bring to a boil, reduce heat to a simmer, cover and cook 15-20 minutes- stirring often so it doesn't burn to the bottom.

2. When the pears are soft, use an immersion blender, real blender, or potato masher to squish the pears to an applesauce- like consistency (or smoother if you prefer)
3. Pour back into the pan and cook, uncovered, at medium to medium-high heat, stirring almost constantly, or at least every minute, until it thickens. About 8-10 minutes. It will thicken a little more as it cools.


Grain- Free Biscuits

(makes 9 biscuits)

- 1/2 Cup Coconut Flour
- 4 Eggs
- 3 Tbsp Honey
- 1 1/2 tsp Baking Powder
- 1/4 Cup Coconut Oil, melted
- Pinch of Salt

Preheat Oven to 375 degrees.

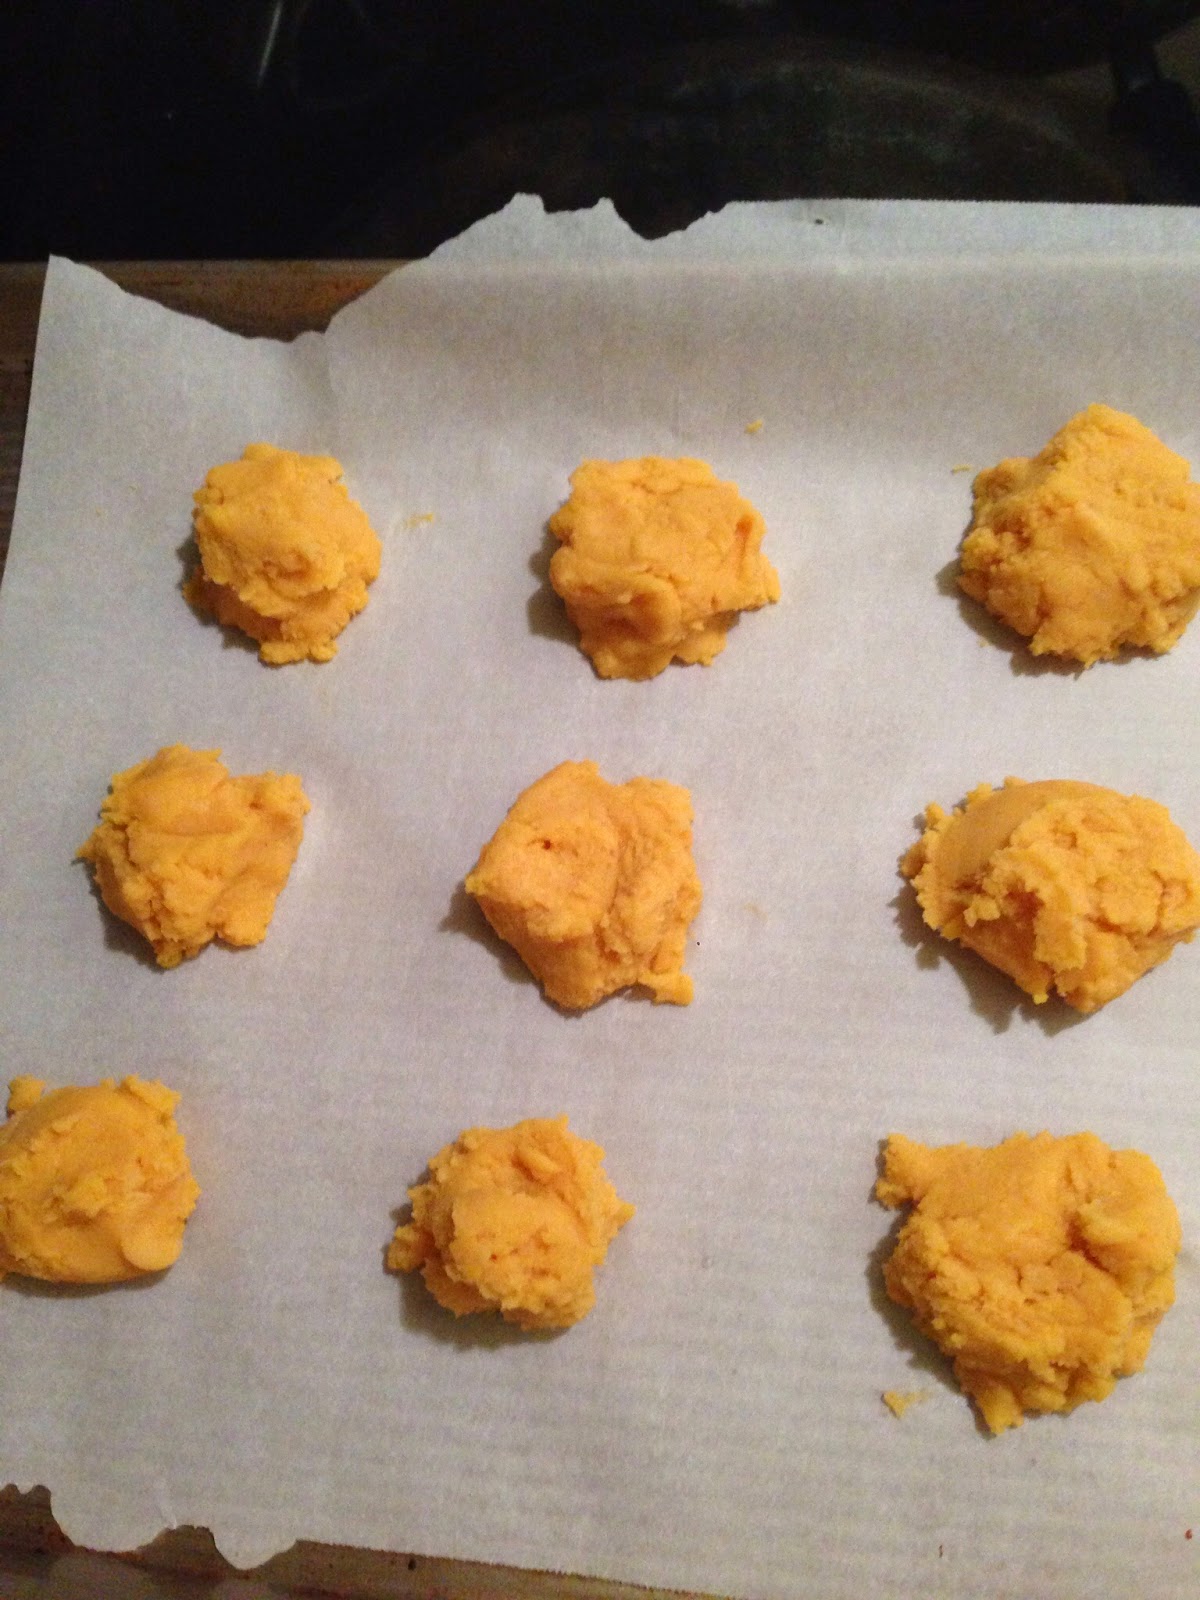
1. Whisk all ingredients together. It is okay if it is a little lumpy. The batter will be thick and thicken as it sits because of the coconut flour.


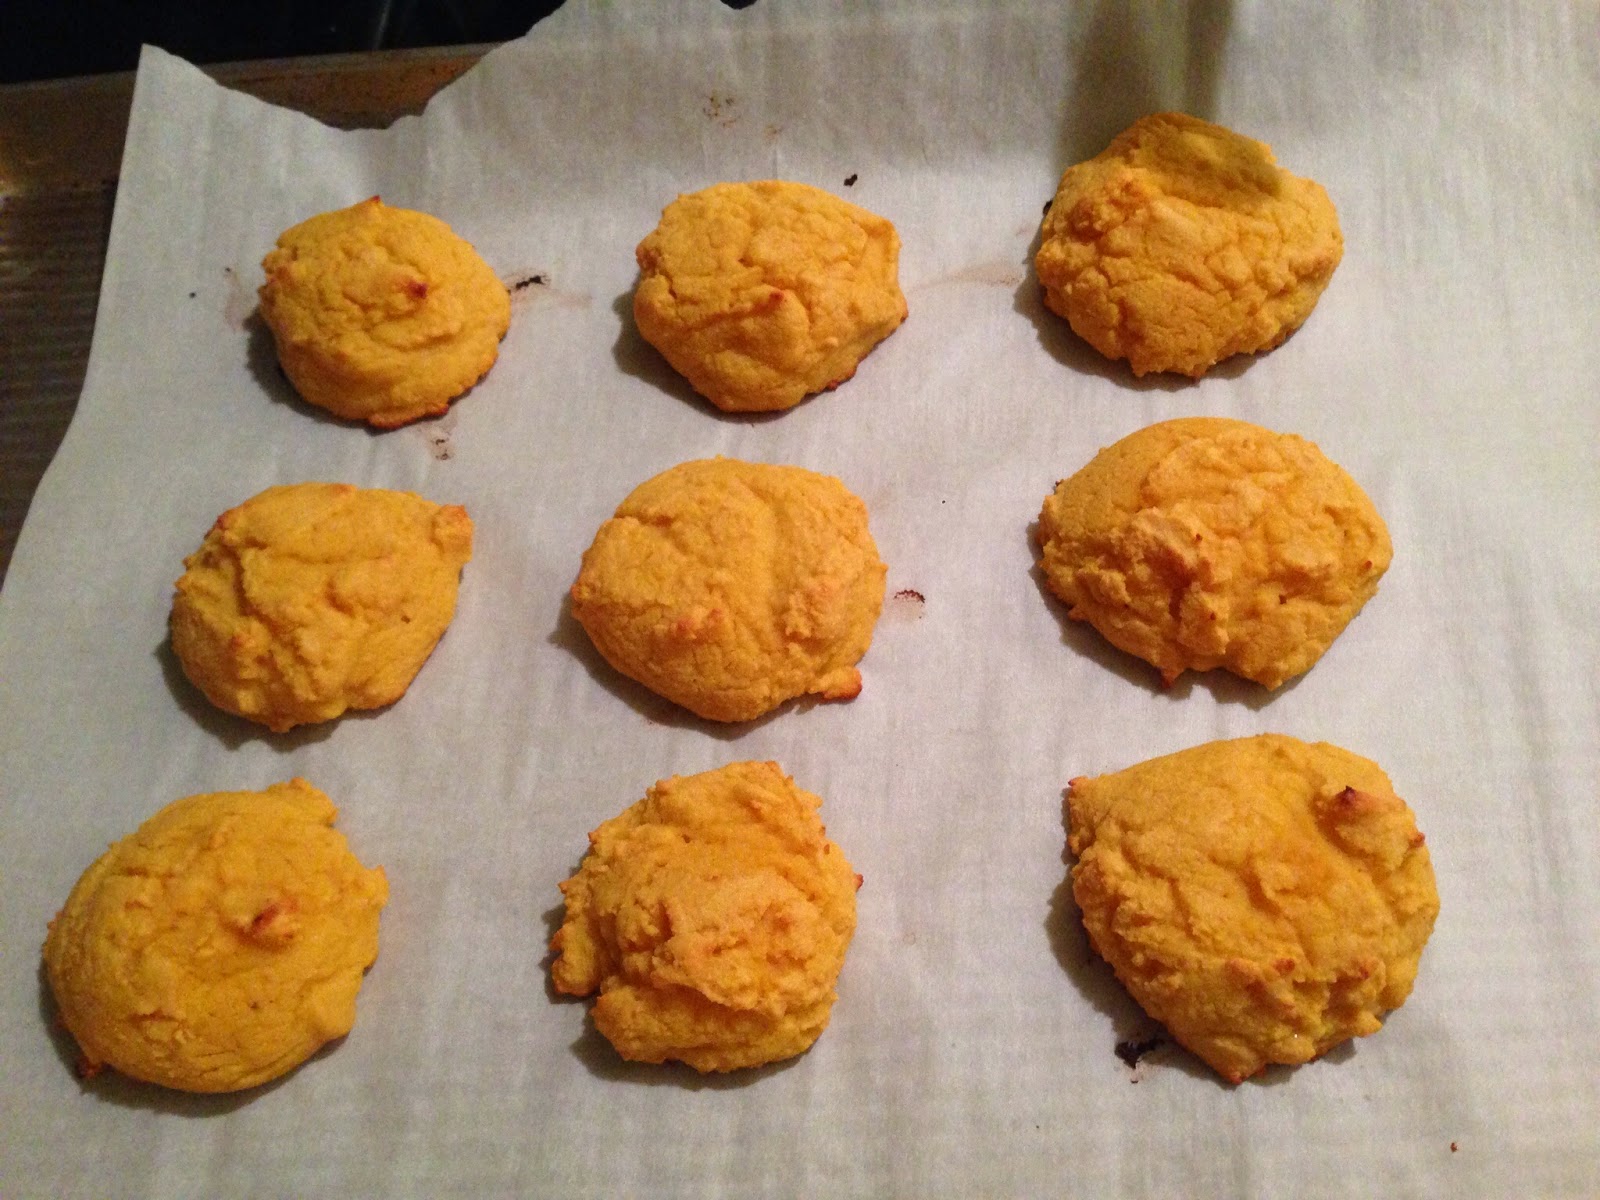
2. Mound about 2 Tbsp of batter (per biscuit) onto a greased, or parchment lined cookie sheet. Bake 12-15 minutes, until golden brown.