Thursday, December 18, 2014

Protein and Coffee Muffins

This weekend was terrible! Not only did I not have my baby girl, but I had the flu. Ugh. Along with the vomiting, I had a fever so bad my muscles were sore and my skin hurt. Not much of a worse feeling. She's now back with me and I am feeling better.... from a low to a high... life's way of double checking that you appreciate the good stuff maybe :) 


I have done it! I created a baked good that combined coffee and protein powder...and they are made in a blender...woohoo! They are easy to pop in your mouth which is perfect since I have 6 minutes to pee, sit down and grab more coffee/a snack between classes. For those who aren't teachers, they are a portable quick snack. :)

When I cut refined sugar out of my diet I was drinking coffee with just sugar. To combat that I tried going cold turkey with just black, I tried cream, but now I have settled on cinnamon and a touch of milk. The spices in these muffins come from that. If you want a stronger coffee flavor, just omit the cinnamon, or reduce it.


Protein and Coffee Muffins

(Printable Version)

(makes about 24 mini muffins)

- 1/4 Cup Room Temperature Coffee
- 1/4 Cup Coconut Sugar
- 1/2 Cup Chocolate Protein Powder
- 1 tsp Baking Powder
- 1 Egg
- 1 Tbsp Unsweetened Cocoa Powder
- 2 tsp Cinnamon
- 2 Tbsp Instant Coffee Granules
- 1 Ripe Banana, mashed
- Pinch of Salt (more for on top)
- 1/4 Cup Non-Dairy Mini Chocolate Chips (optional)

Preheat the oven to 350 degrees.

1. Put everything in a blender, or use a hand mixer, and blend until smooth.


2. Add the chocolate chips (optional) and stir again- the batter will not be super thick.
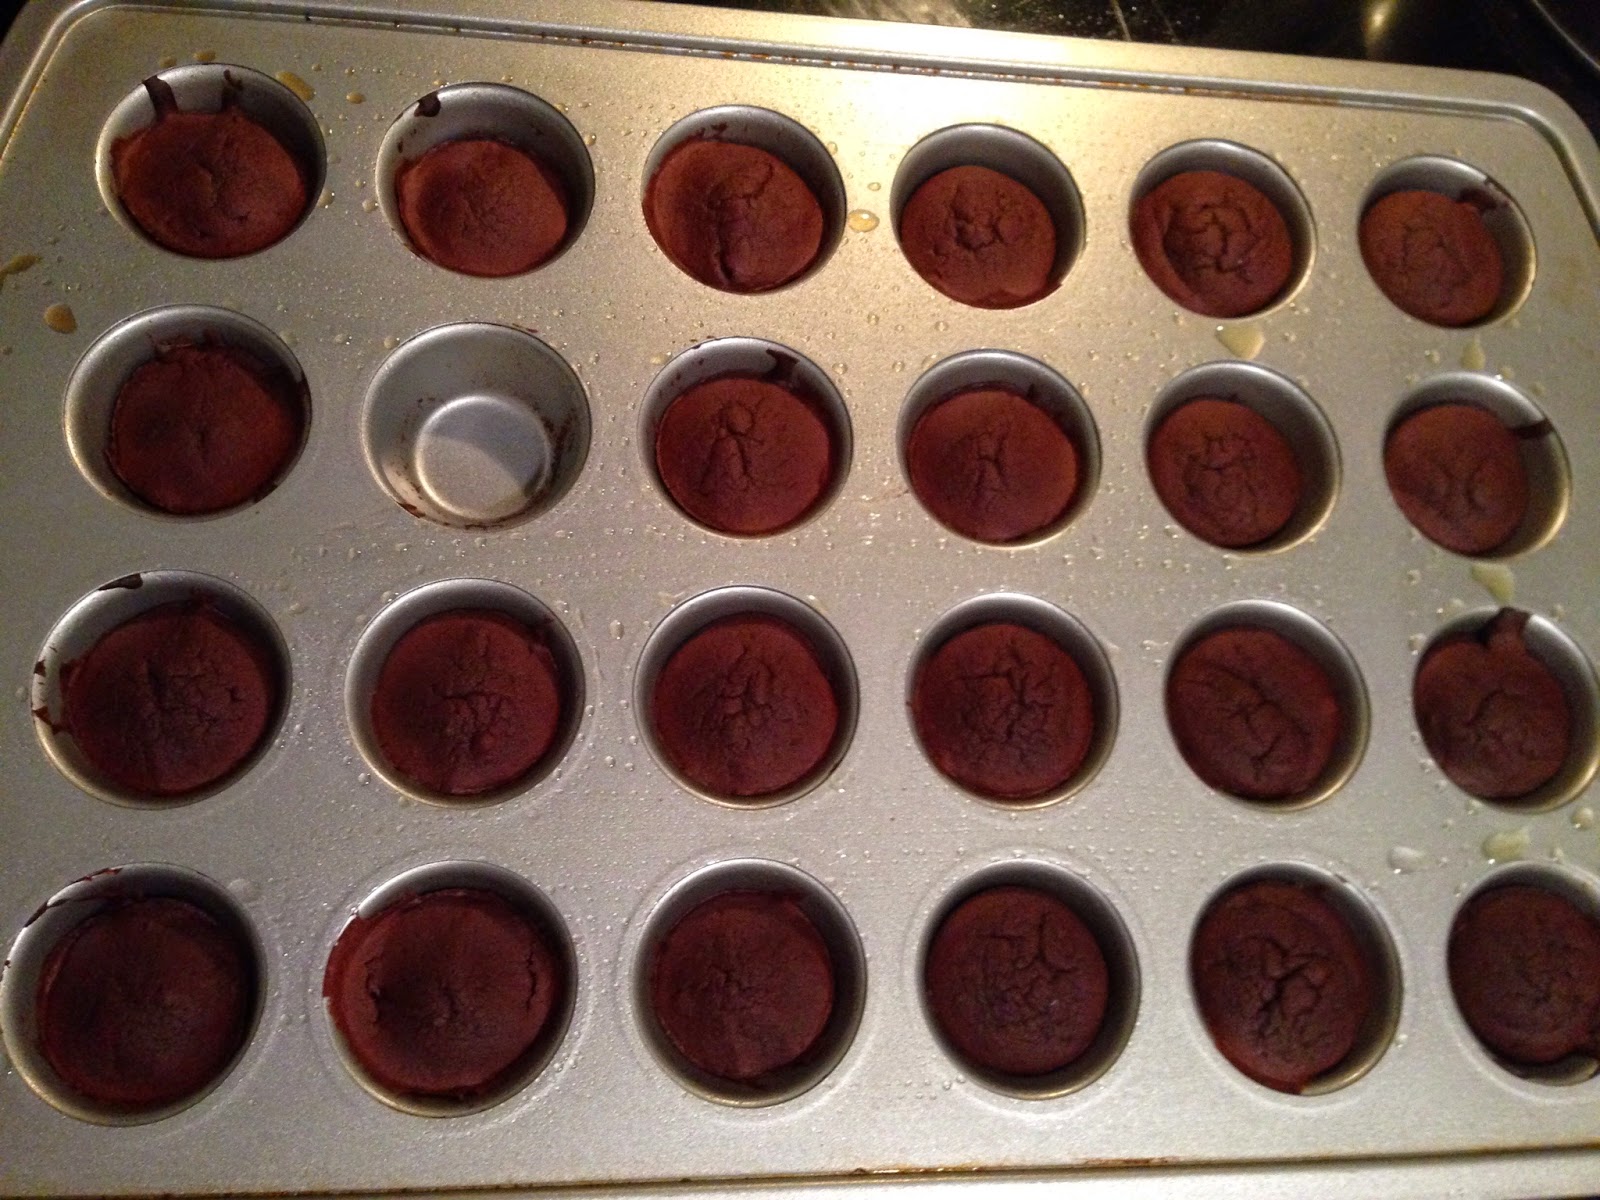
3. Using a tablespoon, scoop dough onto a greased mini muffin cups. GREASE your pan really well (there's no fat in the batter) 
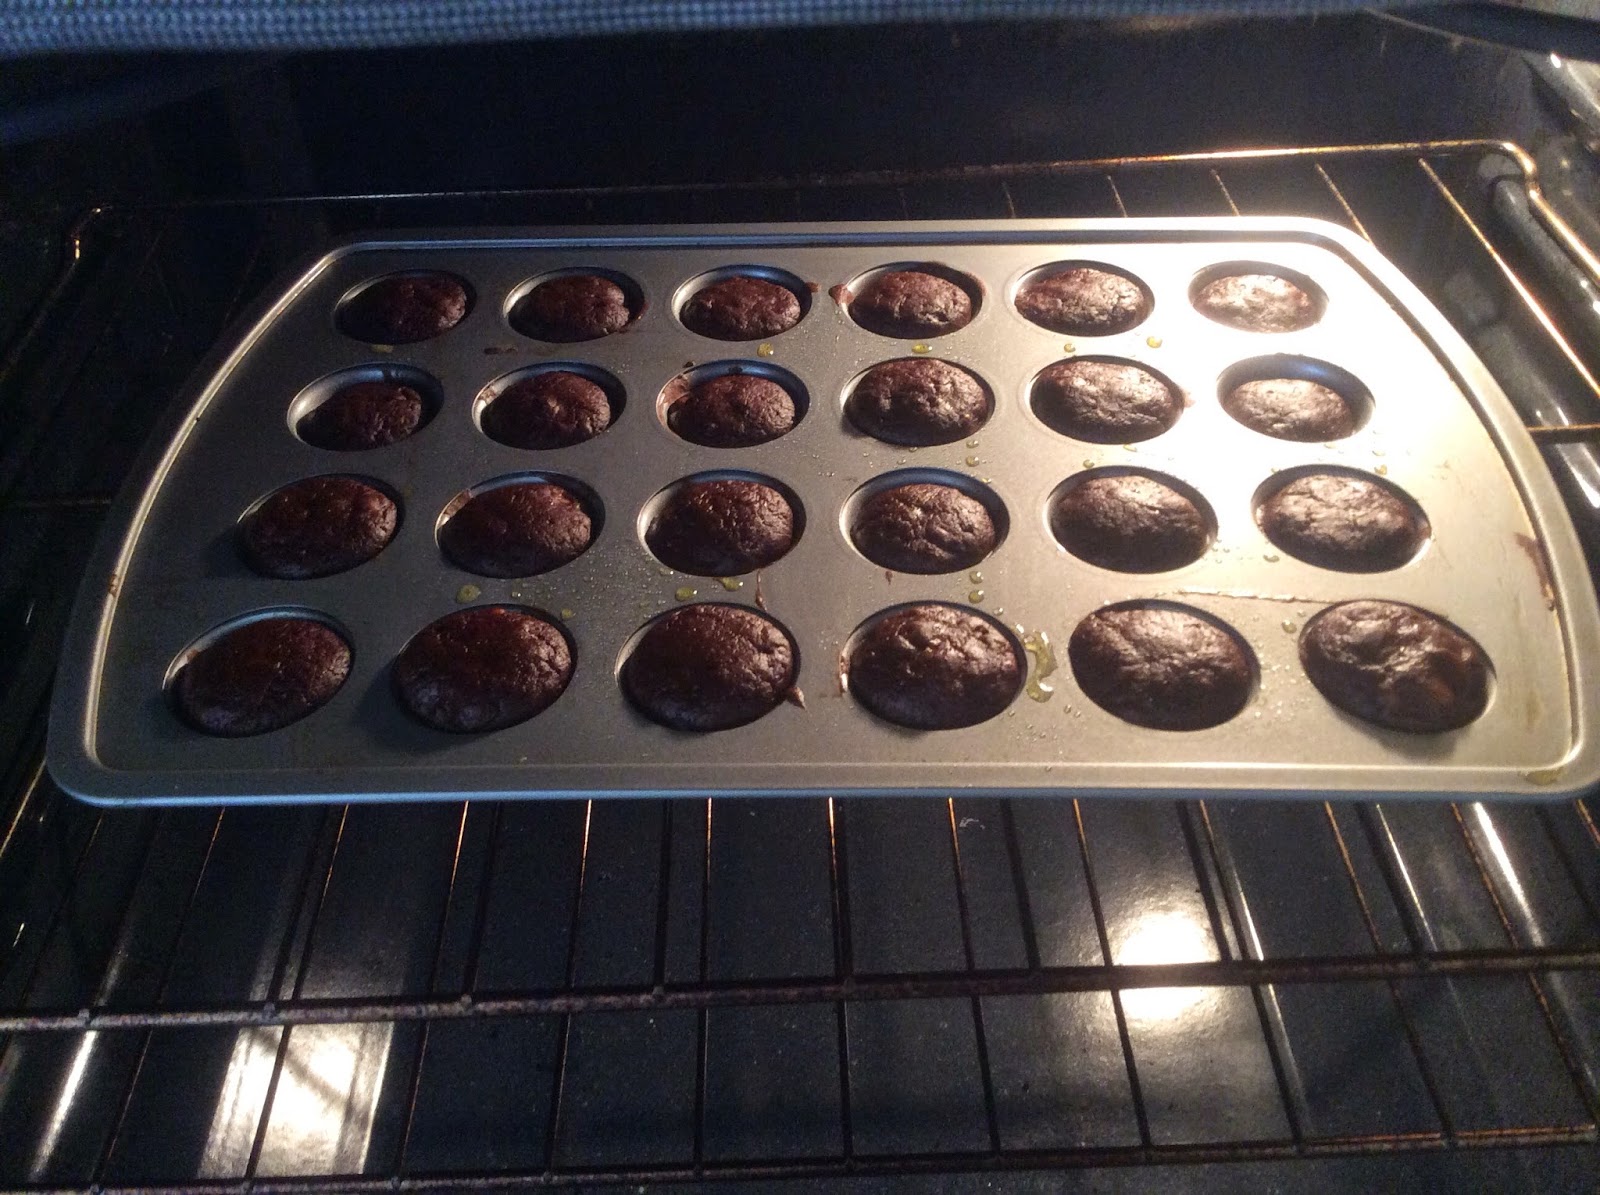


4. Bake for 10-12 minutes until they puff up and crack slightly on the top. Cool completely before removing. and enjoy. I stored mine in an airtight container in the fridge.
.... I also ate one.....
Nutrition Facts
Servings 24.0
Amount Per Serving
calories 41
% Daily Value *
Total Fat 1 g1 %
Saturated Fat 1 g3 %
Monounsaturated Fat 0 g
Polyunsaturated Fat 0 g
Trans Fat 0 g
Cholesterol 11 mg4 %
Sodium 122 mg5 %
Potassium 45 mg1 %
Total Carbohydrate 5 g2 %
Dietary Fiber 0 g2 %
Sugars 3 g
Protein 3 g6 %
Vitamin A0 %
Vitamin C1 %
Calcium1 %
Iron1 %
* The Percent Daily Values are based on a 2,000 calorie diet, so your values may change depending on your calorie needs. The values here may not be 100% accurate because the recipes have not been professionally evaluated nor have they been evaluated by the U.S. FDA.


Friday, December 12, 2014

Beef and Vegetable Soup

This weekend starts the second longest time I have been away from my peanut. She is headed to New York with her dad and I won't see her from Friday morning until Tuesday after work :( I will obviously keep myself busy, but it never gets easier saying "bye" even if it's just a night. I am used to having her around- my house is too quiet when she is not and there is no one to talk to- eventually I will get a dog again I think. :) I realize I can go out with friends, stay with family, etc. and it isn't that I can't be alone, I just don't like it, and I don't want to stay somewhere else, I like my house-- it's a hard feeling to describe. This summer, when she was gone a week, I wasn't working so I had spent every day for weeks with her, I was dating someone so we spent the week together, I could go out with him without worrying about a babysitter, and the summer is just nicer weather-wise so doing things outdoors and gardening, etc. kept me busy. Now that I am working, I don't see her as much so it makes this time I don't have her even worse, plus this deary cold weather just makes you feel down. She also threw up in my car last night, so I have that to remember her by all weekend as the smell is still lingering.... 
PS people- if you see someone dealing with a toddler puking on the street, instead of walking by, it might be nice to offer help or to get water or something... luckily my mom came to my rescue to help get her some water so we could get home. Sigh. 
Okay, enough complaining, it's always better to be positive! 

This recipe originally comes from one of our "box moms." They are the women at the box who take care of everyone one, are like second moms to us, understand what it is like to run a house and workout and raise kids.....and this one happens to be the main-momma... the owners' mom. I have been feeling a little under the weather, so I took her recipe and simplified it with things that I had. Perfection.


This recipe is made of everything I usually have on hand- including a frozen bag of vegetables. Charlie loves these and the just corn steam-fresh kind, and although I know they are "starchy" vegetables, there are worse things she could eat and I will never complain about her eating her vegetables. 


Want to plan ahead? This recipe freezes really well, so this week I doubled it, put it in mason jars, and froze it so this winter when I am running low on lunches, or need a quick dinner, I can just re-heat the soup right in the jar, lid removed of course.


Beef and Vegetable Soup

(Printable Version)

- 1 lb Grass-fed Beef
- 16-oz Bag Frozen Mixed Vegetables (I used green beans, peas, carrots, and corn)
- 1/2 Onion, chopped
- 2 Garlic Cloves, minced
- 1 tsp Italian Seasoning
- 4 Cups Low- Sodium Beef Broth (or Stock)
- 1 14-oz Can Crushed/Diced Tomatoes (optional)

1. In a large pan, over medium heat, add a bit of oil or fat and saute the onions and garlic until soft (about 5 minutes.) 
2. Add the beef and cook it through, using a spoon to break it up as much as possible. Drain the fat.
3. Add the remaining ingredients and bring to a boil. Reduce the heat and simmer 15-20 minutes. Enjoy!

Tuesday, December 9, 2014

Simple and Fast Grain-Free Pizza Crust

This past weekend we went to see the Wild Lights exhibit at the Detroit Zoo. Charlie-girl really enjoyed the beautiful tunnels of lights and music. I think this would also make a fun date... dress warmly (or cuddle up), grab a coffee, and walk around the zoo enjoying the pretty lights followed by a casual dinner. :) Although sometimes it's a debate to go to things like this, I really think getting out of the house and doing something that you can only do certain times of the year is always a good idea. 
The picture doesn't show it, Charlie was grinning from ear to ear every time she passed us on the carousel.

I don't know if my followers have noticed, but I like pizza... a lot. I have 3 recipes posted involving different types of pizza crust- spinach and cauliflower, sweet potato, and zucchini- but this is the easiest to put together on a week night, or any night, and it takes hardly any prep time. The original idea for this recipe came from the cookbook, Primal Cravings, but I have made a few adjustments on ingredients and baking times and I am pretty happy that I can now make a delicious, thin-crust pizza any day of the week. Another reason I like this recipe is the ingredients. Tapioca flour is made from the root of the cassava plant... it helps bind and make the crust crispy. Potato starch is one of the cheapest gluten-free flours... I bought mine for less than $4 for the bag!


I also recently found this turkey pepperoni which will now replace my typical applegate salami topping... don't judge, my kid loves salami. :)


Simple Grain-Free Pizza Crust

(Printable Version)

(about the size of a small thin-crust... feeds 2-3 people)

- 1 Cup Potato Starch (** Not the same as Potato flour)
- 1/2 Cup Tapicoa Starch (flour)
- 1 tsp Baking Powder
- 1/2 tsp Salt
- 1 tsp Italian Seasoning
- 1/4 Cup Olive Oil
- 1 Egg
- 1 tsp Powdered Gelatin**
- 1/3 Cup warm Water

Preheat the oven to 425 degrees.

1. In a large bowl, whisk the dry ingredients.
2. In a small bowl, or your measuring cup, mix the water and gelatin.** I have made this without the gelatin and it turns out fine.... but still use the water! :)
3. Combine the dry ingredients, olive oil, egg and the gelatin/water solution. Mix until combined... it will be a very soft- to runny dough. Pour it, or roll it, onto a baking sheet lined with parchment, make it as thin as you want.

4. Pre-bake 15-20 minutes. Top and bake until the topping are melted- about another 5-10 minutes.


Servings 4.0
Amount Per Serving
calories 350
% Daily Value *
Total Fat 15 g23 %
Saturated Fat 2 g11 %
Monounsaturated Fat 10 g
Polyunsaturated Fat 1 g
Trans Fat 0 g
Cholesterol 46 mg15 %
Sodium 953 mg40 %
Potassium 24 mg1 %
Total Carbohydrate 54 g18 %
Dietary Fiber 0 g0 %
Sugars 1 g
Protein 2 g3 %
Vitamin A2 %
Vitamin C0 %
Calcium1 %
Iron3 %
* The Percent Daily Values are based on a 2,000 calorie diet, so your values may change depending on your calorie needs. The values here may not be 100% accurate because the recipes have not been professionally evaluated nor have they been evaluated by the U.S. FDA.


Sunday, December 7, 2014

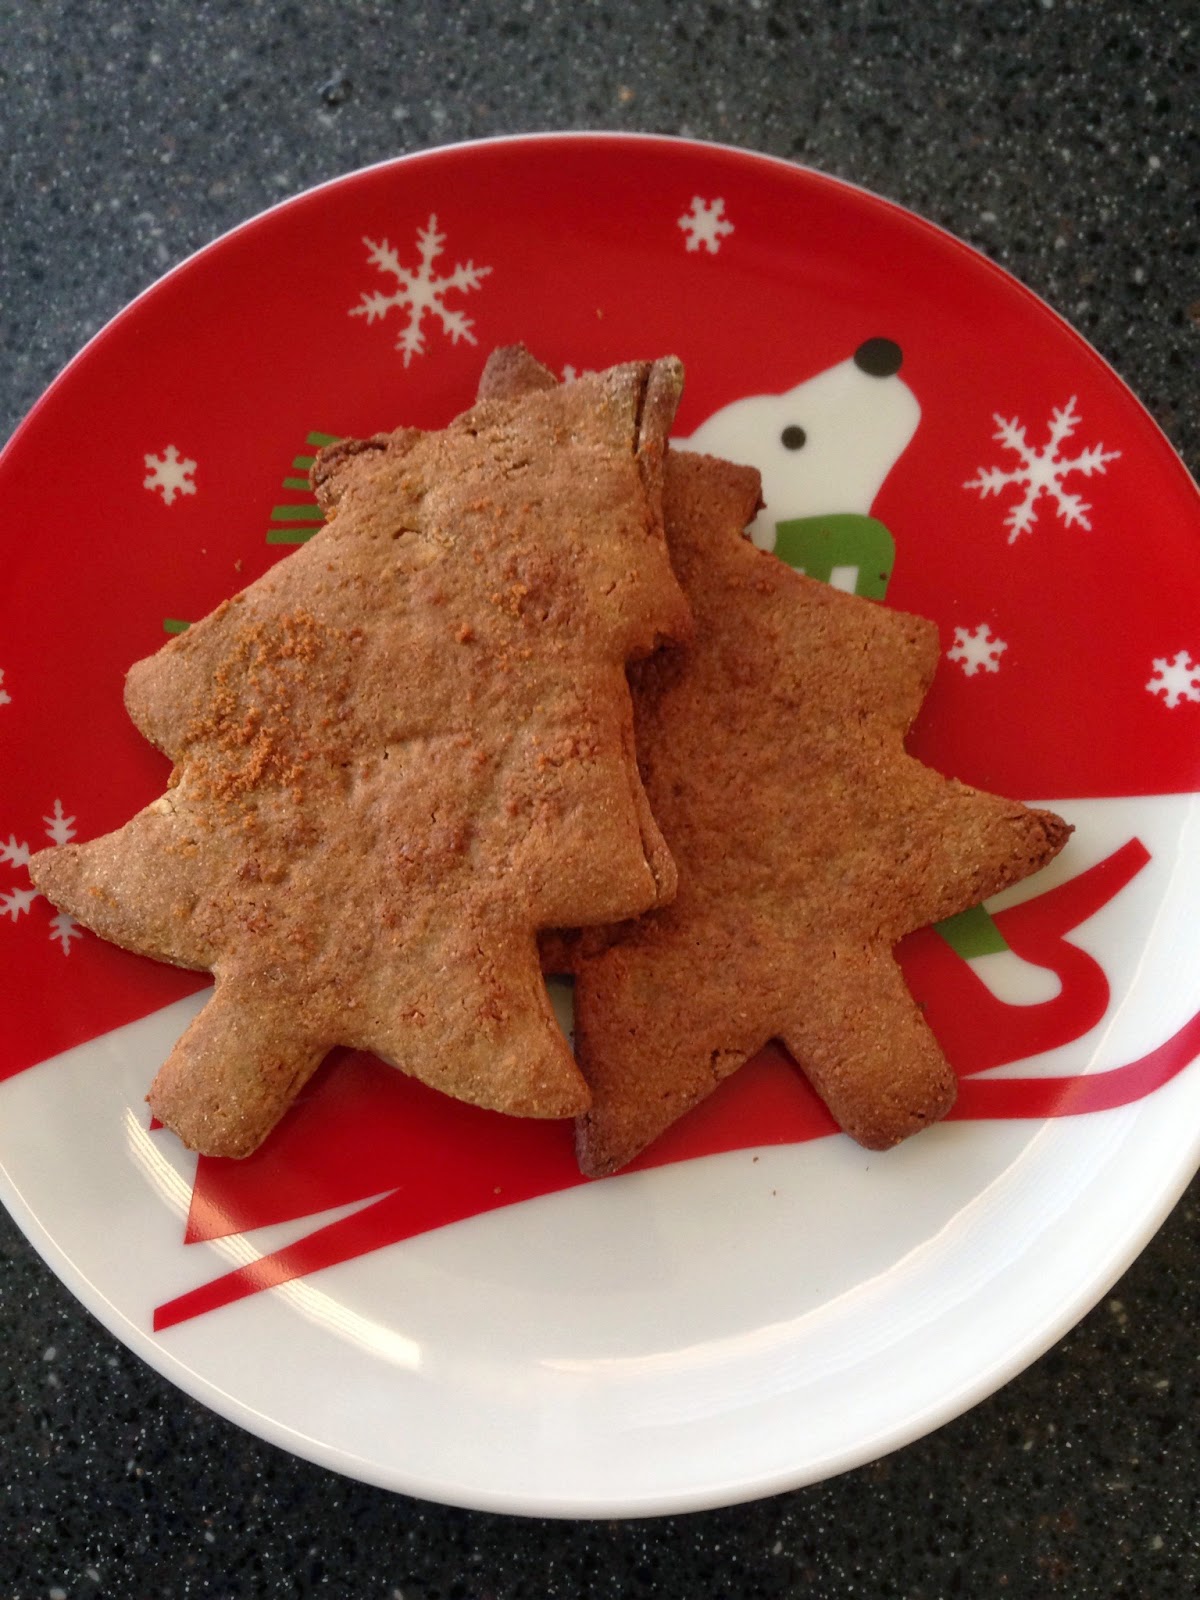
Grain-Free Sugar Cookies

I will preface this recipe by saying that grain-free, or paleo, baking is so not the same as regular baking. It is tricky to duplicate the buttery, sugary texture and taste of a regular sugar cookie. That being said, Charlie-girl and I had a blast rolling out the dough and cutting out cookies and that is more the point to me anyway- she has hardly ever, if ever, had a "real" sugar cookie and doesn't know that these aren't them. She doesn't need the overly sweetened buttery cookie to be happy- that's me. :) So we cut them out and watched them bake and then she dipped hers in her yogurt which was probably a good plan- I ate mine with coffee because they are a little dry, not going to lie, next time we will frost them!


I often get asked if I make mistakes or recipes don't turn out... yes, and these cookies are an example of that! The first time I tried to make a sugar cookie the dough so so sticky it was useless, the second time they were super dry and puffed up like biscuits... this is my final attempt and was good enough for me!
Fail....puffy cookies....

These nut-free, grain-free cookies are more like a sugar cookie in the sense that you roll out the dough and use a cookie cutter than anything. The dough is VERY sticky so putting it in the fridge overnight, or the freezer for at least 30 minutes is a must before you roll them out. I also used a lot of coconut flour in my rolling out process to keep it from sticking to the counter.

Grain-Free Sugar Cookies

(Printable Version)

- 2 Cups Raw Sunflower Seeds
- 1/4 Cup Maple Syrup
- 1 Tbsp Coconut Oil (or butter), melted
- 1 tsp Vanilla Extract
- 1 tsp Lemon Juice
- 1 Tbsp Cinnamon
- 1 Egg
- 1/2 tsp Baking Soda
- Coconut Flour (for dusting)
- Coconut Sugar (for on top of the cookies)

1. In a high-powdered blender pulse the sunflower seeds until they are a powder (like flour). I stop occasionally and stir to make sure I don't make seed butter on the bottom of the blender. (Yields about 2.5 cups flour)

2. Mix all of the ingredients, aside from the coconut sugar and flour with a hand mixture, or your strong arm. If the dough is really runny, add a tablespoon or two of coconut flour and mix- don't add more than that or your cookies will be dry!


3. Form the dough into a disk and wrap it in plastic wrap. Chill overnight in the fridge, or in the freezer for an hour.

When you are ready to bake...
Preheat oven to 350 degrees.

Dust the counter, or use parchment paper, with coconut flour... flip the dough over a few times- it can be VERY sticky, rubbing coconut flour on it. Dust your rolling pin and roll it out about 1/4 inch thick. Use whatever cookie cutters you want and put the cookies on a cookie sheet. Rub a little water on each one and sprinkle with coconut sugar. Bake 10-12 minutes. Let them cool completely and decorate! There are a lot of good frosting recipes out there, we just ate ours plain!


Friday, December 5, 2014

Coconut Chicken Soup

Once winter hits in Michigan my go-to activity of playing outside all the time is ruined. My sister, Mara, made this for Charlie-girl last year and it's one of the things that is fun for her to play with in the winter so she doesn't always rearrange my tree. It is a felt Christmas tree with felt ornaments, no other things needed- the felt sticks to the felt and she can re-do it as many times as she wants, sorting by color on the tree is a favorite activity. She is also a big fan of plastic beads... she "cooks" with them, sorts them, puts them on pipe cleaner, etc. Best few dollars I have spent in a while- although she did put one up her nose once at 6am that took me a half hour to get out and I was late for work- that was not fun. Other favorite, non-electronic toys include mega-blocks (big legos basically), puzzles, and getting into every drawer and cupboard in my house.  My goal this year is to have more activities for us to do at home through the winter- although I am usually so tired a movie and cuddling sounds perfect. :) 


I made this soup after a craving for chicken chili... it turned out not even close to chicken chili but was tasty none the less... and really easy. The spicy-ness gets calmed down by the coconut milk if that was a concern for you. It was a great lunch for me all week- light and warming. 


Coconut Chicken Soup

(Printable Version)

- 1 Rotisserie Chicken, shredded (about 1 lb)
- 1 Tbsp Olive Oil
- 1 Medium Onion, diced
- 2 Garlic Cloves, minced
- 1 Jalapeno, or 4-oz can of green chilies
- 1 Bell Pepper, diced
- 1 tsp Cumin
- 1/2 tsp Paprika
- 1/4 tsp Cayenne
- 3 Cups Low-sodium Chicken Stock
- 1 14-oz Can Coconut Milk

1. In a large pot over medium heat, heat the olive oil and saute the onions and garlic until softened, about 5 minutes. Add the bell pepper and jalapeno and saute another few minutes.


2. Add the spices, cook 1-2 minutes until fragrant.
3. Add the stock and and chicken, raise the heat until the soup is at a simmer, and cook 10-15 minutes.
4. Add the coconut milk, stir. Taste to see if it needs salt. All done! I topped mine with cilantro- but avocado would be awesome too!


Thursday, December 4, 2014

Simple Grain-Free Pancakes

This time of the year is so much fun- houses decorated with lights, Christmas trees in windows, fireplaces going.... love it! Charlie-girl and I decorated our Christmas tree, this is the first year we did it together because she has been too young. She put all of the ornaments in one spot and on about two branches, it was so cute I am leaving it. 


I try to make something more fun on the weekends for breakfast because that is when I have time and because we get up early! Flax seed pancakes are usually my go-to, but I wanted to eliminate the flax seed to make them easier to make for people who don't have it, or who have allergies. 


These are plain- tasting (in a good way) and I actually made extras to use as "bread" for egg sandwiches the next day- I put them in the toaster and it worked out really well! Shout out to my sister Mara for the awesome kettle bell coffee mug. :) Like all of my stuff, I mix everything in one bowl and cook without nut-flours or processed grains, they are very similar to the traditional pancake I am used to- my dad is famous for making pancakes. 


Simple Grain-Free Pancakes

- 3/4 Cup Tapioca Flour
- 1/4 Coconut Flour
- 1 1/2 tsp Baking Powder
- 3 Eggs, whisked
- 1/4 Cup Water (or less)
- Pinch of salt

1. Whisk the dry ingredients. Add the eggs and whisk.


2. Slowly add the water, stopping to mix after a tablespoon or two, until the batter is as thick/thin as you like your pancakes.

3. Over medium heat, in a greased skillet, pour about 1/4 cup of the batter for each pancake. Cook the pancakes on one sire until bubbles form, flip and cook a few more minutes.