Tuesday, November 4, 2014

Chipotle Potato Soup

When you lay down, exhausted, after a workout you sometimes get some pretty cool looking sweat angels- here was mine from the other day... it was a good one :)


Halloween was this past weekend, and although I am not usually a fan of going out, I decided since I didn't have Charlie this year maybe I should. I borrowed a Princess Leia costume from Mara because I didn't have anything else and Rudy wore a something old too, and we headed to a party in Detroit.  


Everyone thought I was either a gladiator, or a character from Game of Thrones....???? Maybe Princess Leia had just apparently started lifting?? Either way next year I will be more prepared.

I used to have a recipe website under Ree Drumond's (Pioneer Woman) website "Tasty Kitchen." It was when I was a vegetarian and I had forgotten how good some of my recipes there were. I was looking through them this weekend and this is a recipe I thought would be great for this time of year since sweet potatoes are on sale and the weather has been getting colder putting me in a soup mood. Charlie won't eat this one because she apparently only eats Roasted Red Pepper soup, but she did me the honor of trying it. It is SPICY compared to most soups so if you aren't a fan of that, ease back on the chipotle peppers. I topped mine with a little parsley, and packed it for lunches this week with some cold cuts and raw cheese. I am now thinking I will make some crispy bacon tonight, chop it up, and top my soup with that.... I'm excited already.


 Chipotle Potato Soup

Ingredients

  • 3 Tablespoons Olive Oil
  • 1 whole Onion, Diced
  • 4 cloves Garlic, Minced
  • 2 whole Sweet Potatoes (peeled, 1/2 Inch Cubes)
  • 1 whole Russet Potato (peeled, 1/2 Inch Cubes)
  • 3 whole Chipotle Peppers In Adobo, Minced (less if you don't want it too spicy)
  • 48 ounces, fluid Vegetable Broth (Or Chicken)
  • 1 teaspoon Salt
  • 3 Tablespoons Raw Honey

Preparation

1. Heat the olive oil, onions and garlic in a large pot over medium heat. Saute 2-3 minutes. 
2. Add the potatoes and peppers and saute 5 minutes. 


3, Add the broth, salt and agave and bring soup to a boil. Drop heat to a simmer, and cook uncovered, for 20 minutes (or until potatoes are tender). 


4. Puree in batches in a blender or with an immersion blender. Enjoy!


Wednesday, October 29, 2014

Chocolate Protein Pumpkin Cookies

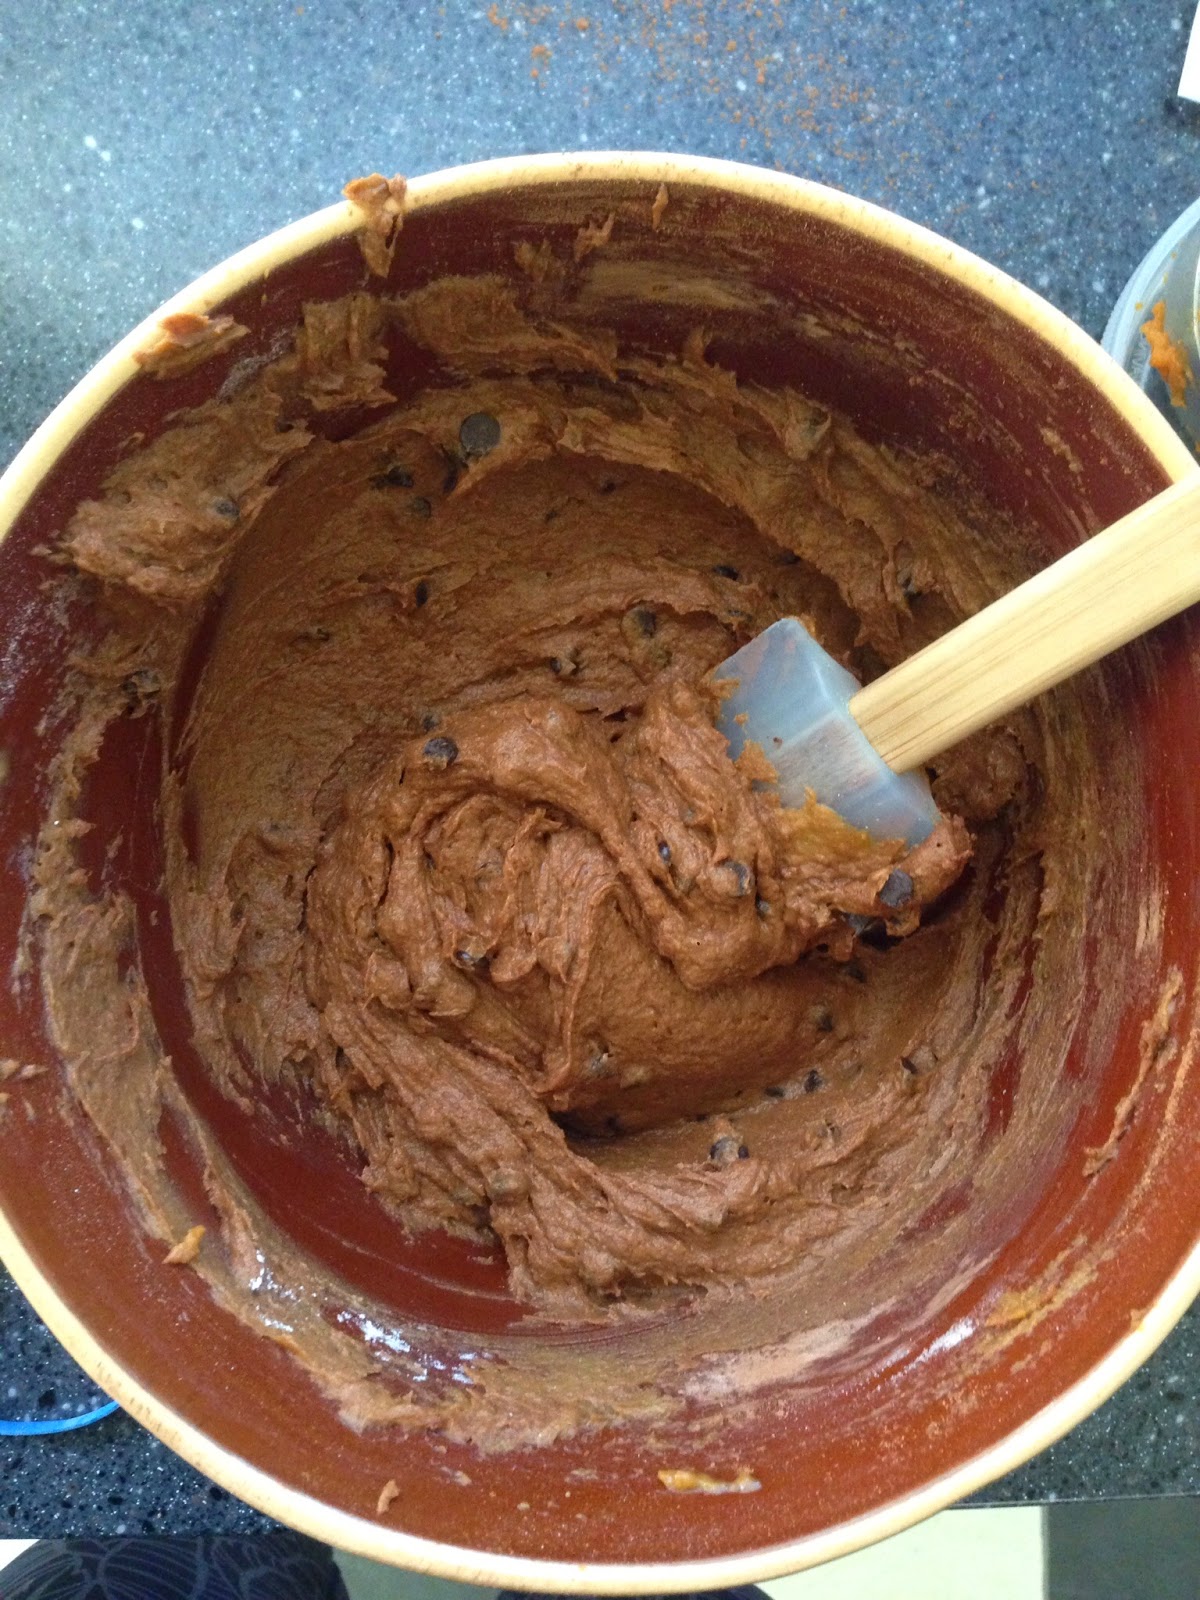
I turned my mug cake into a cookie. Yep, I did. I think it is my way of making myself feel better about eating dessert if I know there is protein in it... that and I had pumpkin puree to use up. I really thought I would steer clear of the pumpkin recipes, but it's so cheap right now and one does get sick of banana in everything. I have been eating these all week as my mid-morning snack with my coffee... yum!

Chocolate Protein Pumpkin Cookies

(Printable Version)

- 3/4 Cup Pureed Pumpkin
- 1/4 Cup Coconut Sugar (or honey probably)
- 1/4 Cup Chocolate Protein Powder
- 1/2 Cup Seed or Nut Butter (I used Sunbutter)
- 1 tsp Baking Powder
- 1 Egg
- 1 Tbsp Unsweetened Cocoa Powder
- 1 tsp Cinnamon
- 2 tsp Pumpkin Pie Spice
- Pinch of Salt
- 1/4 Cup Non-Dairy Mini Chocolate Chips

Preheat the oven to 350 degrees.

1. Mix everything, except chocolate chips, in a bowl until combined.
2. Add the chocolate chip and stir again- the batter will be thick.


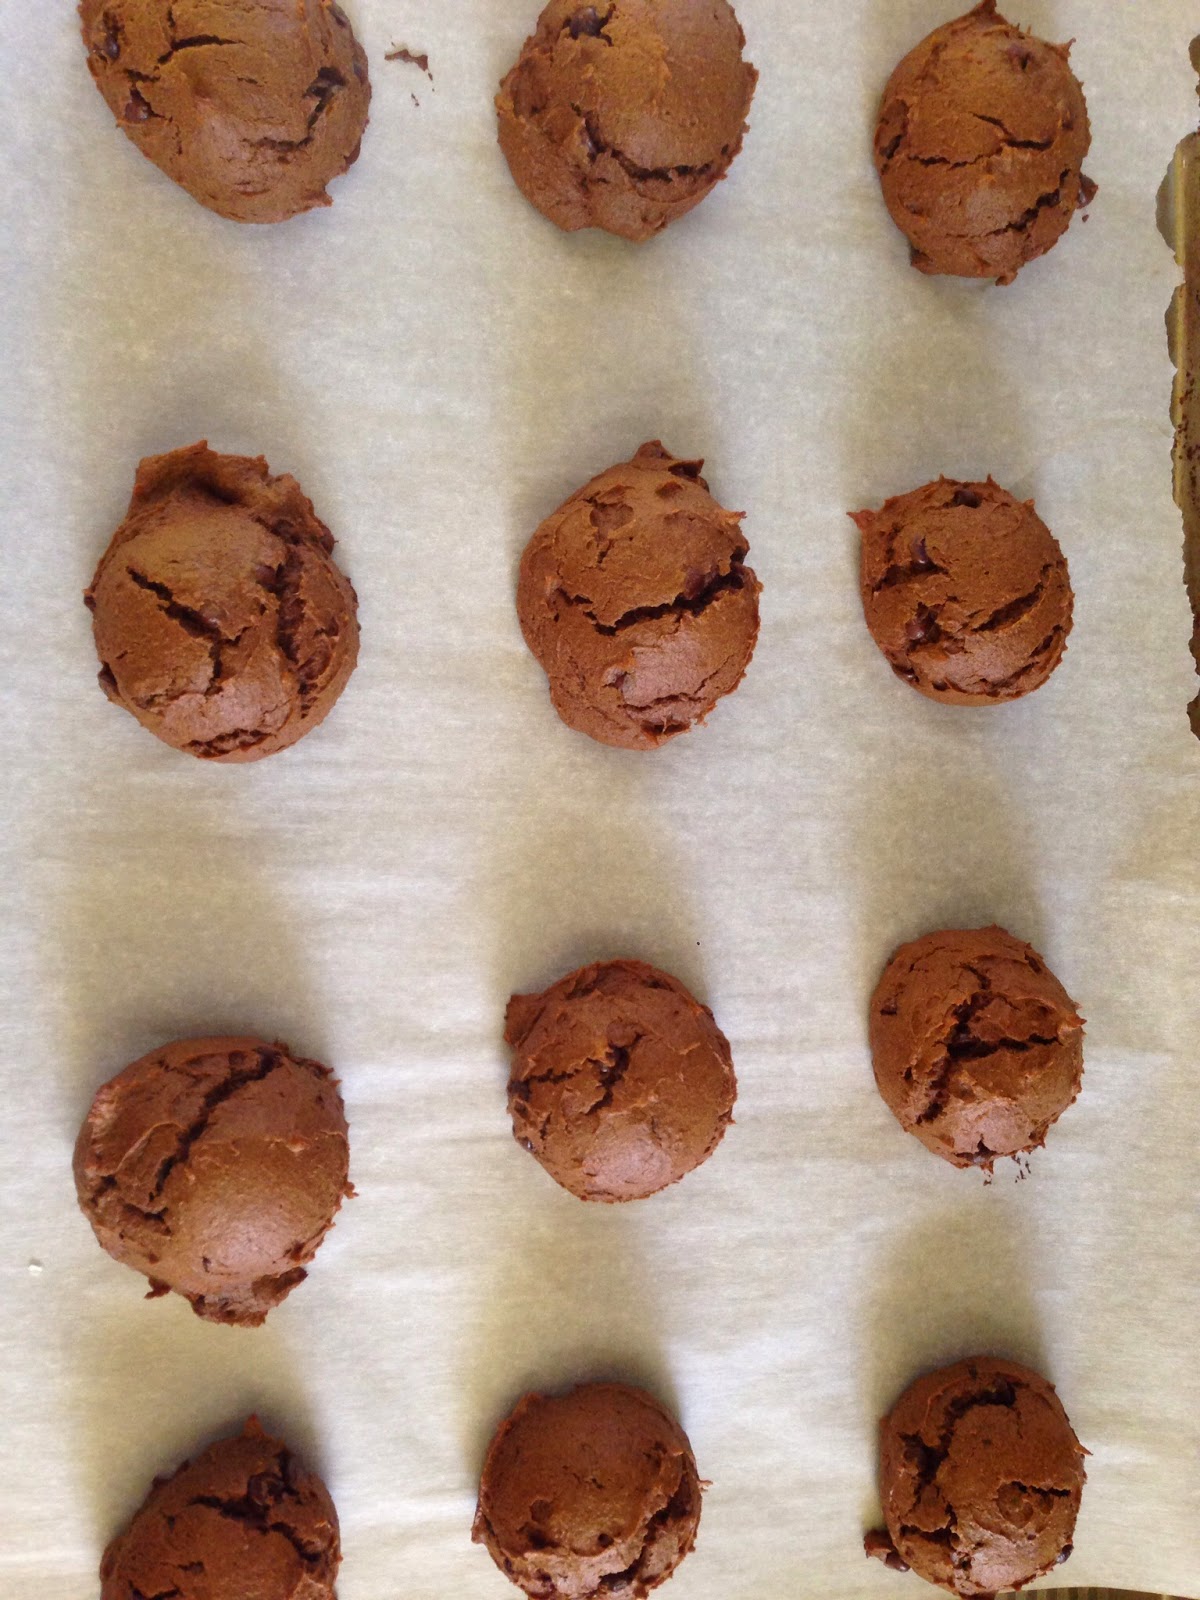
3. Using a tablespoon, scoop dough onto a greased or parchment lined cookie sheet. You can put these cookies close together because they don't spread out. One batch makes about 15 cookies.


4. Bake for 12-15 minutes until they puff up and crack slightly on the top. Cool and enjoy. I stored mine in an airtight container in the fridge.


Monday, October 27, 2014

Buffalo Chicken Salad

This past weekend we went to the Zoo Boo at the Detroit Zoo. The path of the zoo is lined with jack-o-laterns, there are cool displays of favorite characters made out of pumpkins/squash and there are candy stops along the way. It is perfect for someone her age who would like trick-or-treating, but going from house to house might be a little far. It was fun to spend Friday night with my little giraffe.  


My sister got me a new lunch container that reminded me of a bento box. It has cool compartments that seal tightly so nothing leaks. I put this chicken salad in with carrots, cucumbers, avocado, and more dressing for dipping. The perfect lunch. 


It looks like this when it is all closed up... it even came with a fork!


I don't love celery, and by that I mean I hate it, but celery or green peppers dipped in this dressing would probably be awesome. You could even replace the carrots with celery in the recipe. Rotisserie chicken makes this way easier, it's even easier to shred when it's still warm, just FYI. :) You could bake and shred chicken too if you don't plan on getting a rotisserie chicken. 

Buffalo Chicken Salad

- 1 Rotisserie Chicken, shredded
- 2/3 Cup Avocado Oil
- 1 Egg
- 1.5 tsp Dijon Mustard
- 1 tsp Lemon Juice
- Pinch of Pepper and Salt
- 1/4 Cup Hot Sauce (I used Frank's)
- 1-2 Carrots, diced
- 1/4 Cup Red Onion, finely chopped

1. Shred the chicken. Put the red onion in cold water until you are ready to mix it- this mellows out the flavor.
2. Combine the avocado oil through salt and pepper in bowl or mason jar. Using an immersion blender or your very strong arm- mix the ingredients until a mayo-type consistency is formed. Some recipes call for you to add the oil slowly but I have never had this fail by adding everything and mixing on high. :) Lazy.


3. Add the hot sauce and mix with a spoon. Add the carrots (or celery) and red onion to the chicken. Pour about half of the sauce over the chicken and mix. Add more sauce if necessary. Chill and enjoy!


Thursday, October 23, 2014

Spaghetti Squash Pad Thai

I never had maternity pictures, newborn pictures, etc. done with Charlie when she was little, so I decided now was the time to have pictures done with our family of 2. I also invited my sister and parents to come along so they could be in some too. I just got the proofs back...yay! :) 


I liked my first pad thai dish- sweet potato pad thai- so much that I decided to try again with a new recipe. This one uses dates as the main sweetener instead of coconut sugar so I think it may be a healthier option. It also could be made into a Whole30 dish if you omit the honey. The sauce is strong on its own, but is mellowed out when added to the dish.
I roasted my spaghetti squash because I like the flavor better, I am also thinking next time I will add toasted cashews for a crunch. :)

Spaghetti Squash Pad Thai


- 1 small Spaghetti Squash, seeded
- 1.5-2 lbs Chicken Breasts (about 4 breasts) cut into bite-sized pieces
- 2 Carrots, peeled and diced
- 1/2 Sweet Onion, diced
- 3 Eggs, whisked
- 3 Green Onions, white and green parts, chopped
- 1 Lime (Optional)

Sauce-
- 5 Dried Dates (pitted)
- 1/4 Cup Coconut Aminos (or gluten free soy sauce)
- 1 Tbsp Fish Sauce
- 2 Tbsp Lime Juice
- 2 Tbsp Apple Cider Vinegar
- 2 Garlic Cloves
- 1/4 inch Fresh Ginger
- Pinch of Red Pepper Flakes (optional)
- 1-2 Tbsp Raw Honey (optional)

To roast squash:
1. Preheat Oven to 400 degrees.
2. Cut the squash in half length-wise and remove the seeds.
3. Rub the inside with olive oil and sprinkle with salt. Place cut-side down on a cookie sheet.
4. Roast on the middle rack for 35-40 minutes (this is "under-cooked" or else it will be too mushy for the dish)
5. When it is cool enough to touch, use a fork to shred the inside into "spaghetti"


Sauce:
1. Place all ingredients for sauce in a high powered blender and blend until smooth. Set aside.

Dish:
1. In a large skillet, or wok, over medium-high heat, add a little oil and saute the chicken and onions until the chicken is cooked about half-way through. Add the carrots and cook until the chicken is done.
2. Make room in the middle of the pan, add the eggs and cook until they are scrambled.
3. Add the spaghetti squash, toss until combined.
4. Add the sauce and saute until the dish is thick and combined.
5. Top with green onions and serve with a lime wedge.... and maybe some toasted cashews.


Sunday, October 19, 2014

Protein Pumpkin "Mug Cake"

Yesterday I competed in my first only weight-lifting competition. Since I usually rely heavily on my MetCon I thought this would be a great way to test my strength pound-for-pound (I weighed in at 116lbs.) So many people I train with were doing it also... it was awesome! So many Prs... so many strong people! This was my favorite Pr- the deadlift. My last lift of the day... I Pr'd by 20 pounds and hit 295 pounds... so close to the 300 pound club!! I took 3rd in the deadlift and snatch. :)


 I also hit a Pr clean and jerk... I don't know how I didn't fail the clean in this picture. My sister was my spotter and weight-person, loading my bar, etc. I don't know how to describe how much I appreciate her support, and the support of all my friends not competing that came to watch everyone. 


To prepare I tried to watch what I ate this week. Meal prep is so key when you are trying not to fall into bad habits- If you don't have food on-hand and made you usually grab whatever you can when you are hungry.  A lot of people don't understand the training, prep, etc. that goes into something like this, it's probably why people who workout this much stick together!


Friday night a little dessert was in order due to the lack of sugar all week. Mug cakes are pretty popular among college students because you are basically making a mini-cupcake in a coffee cup with a microwave. I used to top mine with ice cream... not Friday... sigh. I  used protein powder as my "flour" base because I didn't want to completely fall off track.


The consistency is a little like a pudding cake, very moist, and I don't make mine very sweet because that's not my thing. It also needs to be done in a big mug because it has a tendency to over flow if you aren't careful. It's not the most beautiful thing when it is done- which is why I am showing you the batter- but it's tasty!


 Protein Pumpkin "Mug Cake"
(Single Servings)

- 1 Scoop Protein Powder (Vanilla or Chocolate)
- 1/4 Cup Pumpkin Puree
- 1/2 tsp Pumpkin Pie Spice
- 1/4 tsp Baking Powder
- Pinch of Salt
- 1 Egg White
- 1 Tbsp Honey
- 3 Tbsp Any Milk (or Water)
- 1/4 tsp Cinnamon (Optional)
- Enjoy Life Chocolate Chips (Optional)

1. Mix everything REALLY well in a large coffee cup. Sprinkle the top with cinnamon and chocolate chips if you want.
2. Microwave 90 seconds to 2 minutes... careful it will be really hot when it comes out! Watch it the whole time so it doesn't overflow.
I know.... it's not pretty.

Nutrition Facts
Servings 1.0
Amount Per Serving
calories 277
% Daily Value *
Total Fat 3 g5 %
Saturated Fat 2 g8 %
Monounsaturated Fat 0 g
Polyunsaturated Fat 0 g
Trans Fat 0 g
Cholesterol 71 mg24 %
Sodium 987 mg41 %
Potassium 310 mg9 %
Total Carbohydrate 32 g11 %
Dietary Fiber 7 g29 %
Sugars 23 g
Protein 34 g68 %
Vitamin A263 %
Vitamin C3 %
Calcium19 %
Iron6 %
* The Percent Daily Values are based on a 2,000 calorie diet, so your values may change depending on your calorie needs. The values here may not be 100% accurate because the recipes have not been professionally evaluated nor have they been evaluated by the U.S. FDA.

Tuesday, October 14, 2014

Spiced Banana Pancakes (made in the blender!)

Breakfast for dinner is a common theme in my house. 1) It's easy 2) It's fast and 3) I like breakfast foods. :) Charlie has been "helping" me a lot more and I am happy to have her with me versus sitting in front of the T.V. or playing by herself while I cook.


For this recipe she poured ingredients into the blender for me. To do the eggs I crack them into a measuring cup and then she pours them in. She is also in charge of peeling bananas.


 She's only 2 years old, so if you think you're kid is too young to help in the kitchen, don't underestimate what they can do. She also practiced her knife skills and I made her a Mickey Mouse pancake.

Spiced Banana Pancakes

- 1/3 Cup Raw Sunflower Seeds (or 1/2 cup Almond Flour)
- 2 Ripe Bananas
- 3 Eggs
- 1 tsp Cinnamon (heaping)
- 1/2 tsp Pumpkin Pie Spice
- 1 tsp Baking Powder
- Pinch of Salt

1. In a high-powdered blender, pulse the seeds on high, stopping to mix occasionally, until they resemble flour. (Omit this step if you are using Almond Flour)
2. Add the remaining ingredients and blend until smooth.


3. Heat a skillet over medium heat. Grease it with butter or coconut oil. Pour about 1/4 cup of batter into the skillet for each pancake, flipping once when bubbles appear on the top (about 5-7 minutes.)

Saturday, October 11, 2014

Weekend Breakfast Bake

I know this is true for most parents, working or not, mornings are busy. Very rarely do we have no where to go and nothing to do. On my work days, making an elaborate breakfast, or even sitting down to eat, isn't a possibility. Charlie and I already get up so early I really don't care to get up even 5 minutes sooner, and I am guessing neither does she. I usually eat my hash of some kind and we make her a "banana smoothie" which consists of a whole banana, one baby yogurt, a splash of milk, scoop of probiotic and a drop of vitamin D (Sometimes I throw in some spinach.) She helps me now and I love having her in the kitchen with me. Yes it is slower, yes it makes more of a mess, but teaching her how to prepare healthy food and establishing a healthy relationship with food, is something that I think only comes from having her in the kitchen with me.


I call this my "weekend" breakfast bake because I, in no way, have time to prepare this before work. I have made it on a Sunday and heated up a piece served with an avocado half before and that's a nice quick breakfast. When you first put it together it looks like not enough egg and too much broccoli, don't worry, veggies are good for you and the eggs puff up! 


Weekend Breakfast Bake

- Two broccoli crowns, chopped smaller than bite-sized florets
- 8 Eggs
- 4-6 Pieces of Bacon, thinly sliced
- 1/2 Sweet Onion, chopped
- Salt and Pepper

Preheat the oven to 350 degrees.

1. Saute the sliced bacon and onions over medium-high heat until crispy. 
2. While the bacon is cooking, chop the broccoli- I chop it into florets and then run my knife over the pieces several times. Whisk eggs and sprinkle with salt and pepper.
3. Grease a pie pan, 8x8 baking dish or 11x7 baking dish... something smaller than the typical 9x13 :)
4. Pour the bacon and onions on the bottom. Top with the broccoli and pour the eggs over top.


5. Bake 30-35 minutes, until eggs are set. Store for during the week or enjoy immediately! 


I didn't grease my pan the first time.... oops!