Monday, August 4, 2014

Chicken and Avocado Salad

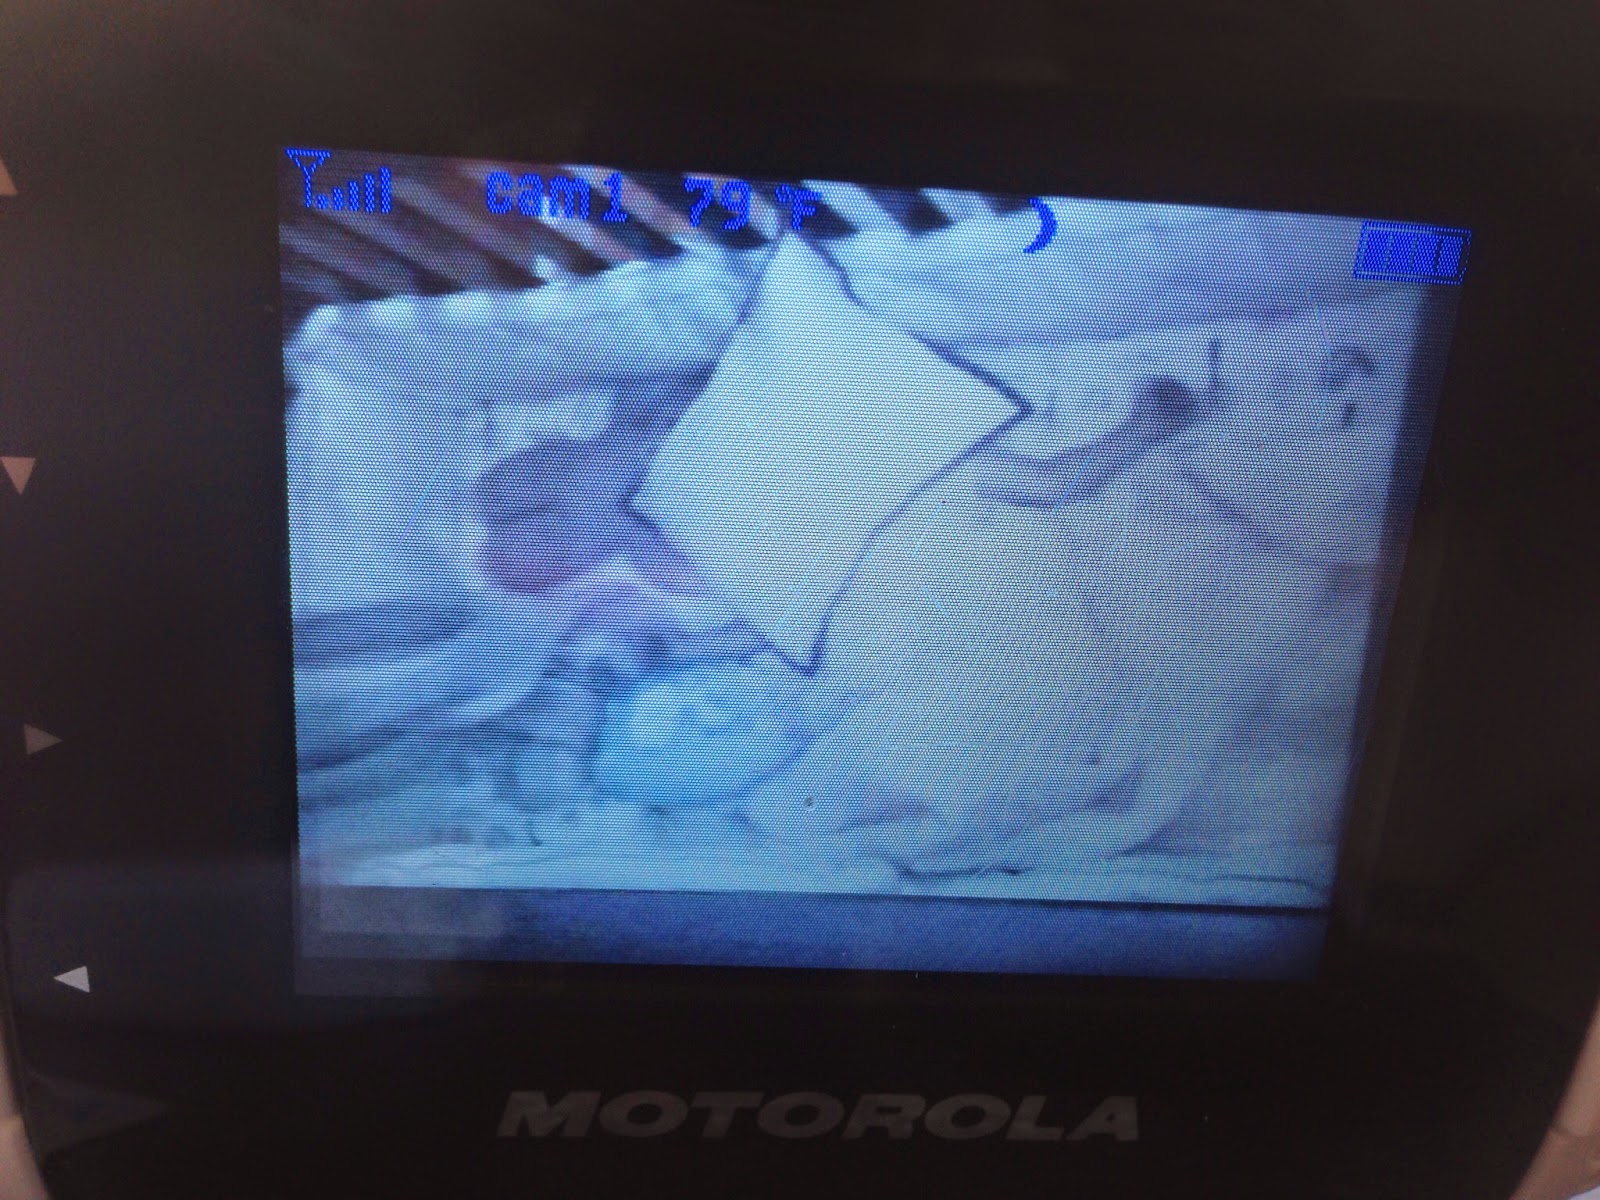
There are many differing opinions on baby monitors.... use them, don't use them, have the camera kind, don't have the camera, have the app so you can see them on your phone when you are out, etc. I started with the just sound kind but when I moved into my own house and am now sleeping on a different level then Charlie I wanted to be able to see her. It is reassuring to wake up in the night and just see that she is still there (I know, why wouldn't she be?) My parents made fun of me for getting one with a video but now when they babysit at night they are glued to it. Too cute. I also enjoy seeing the funny ways she sleeps...

This week I picked up a rotisserie chicken because they are cheap (~$5) and yield a lot of meat without me having to do anything besides pull it apart. The picture below is dark because I was prepping food after she went to bed... sorry! But I used the chicken, some avocado, a jalapeno from my garden and I didn't have a fresh lime so I used bottled juice (naughty) and after sitting over night this was a really tasty salad. I served it over cucumber and tomato just to give a different texture and because it is tomato season in Michigan so they are cheap and so flavorful right now.


Chicken and Avocado Salad
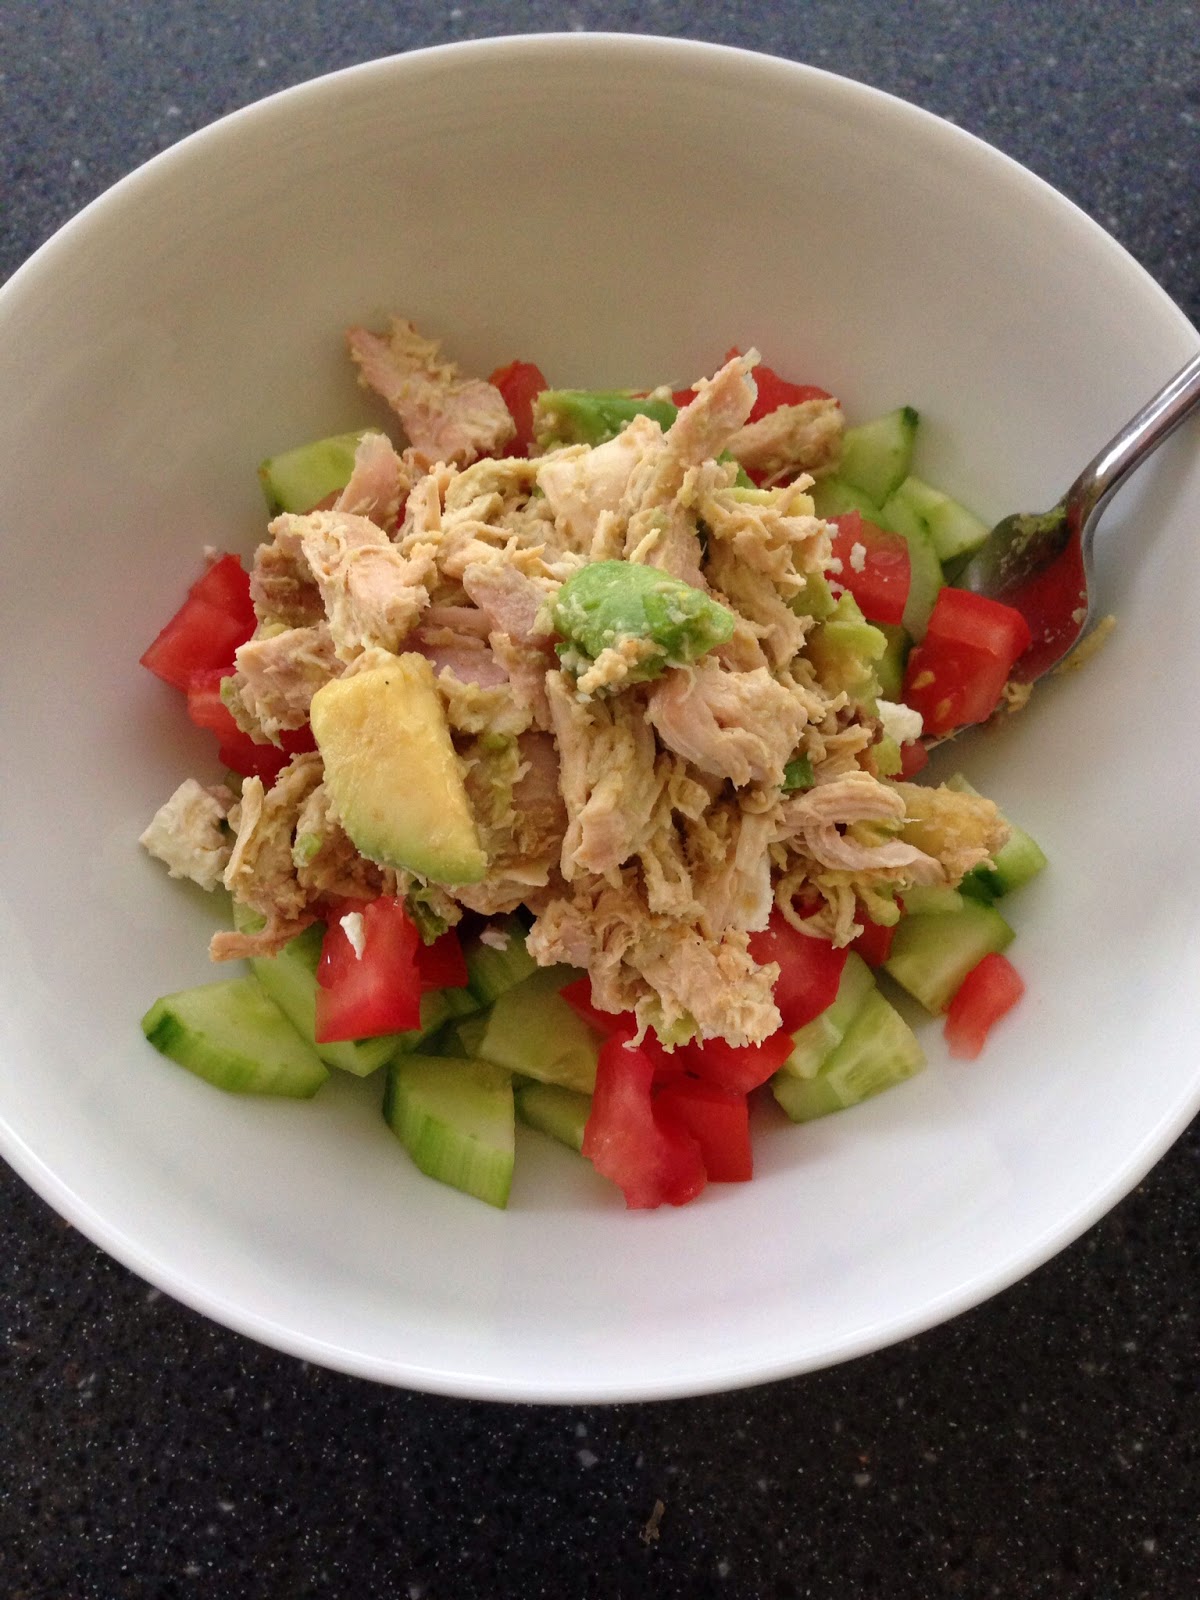

- 1 Rotisserie Chicken, shredded
- 1-2 Avocados, cut into bite sized pieces
- Juice of 1 Lime (~1/4 cup)
- Siracha (optional)
- 1/2 tsp Salt
- 1/4 tsp Garlic Powder
- 1 Jalapeno, finely chopped (optional)

1. Add everything to a bowl and mix. Taste for seasoning... a little coconut aminos (or gluten free soy sauce) would also be tasty if you think it needs salt :) I added some siracha to give it some spice but feel free to omit it. Let it chill over night or for a few hours.


Wednesday, July 30, 2014

Watermelon and Cucumber Salad

I fall into the same category with a lot of people who do something active on a regular basis in that if I miss one day, two days, or heaven forbid THREE days I feel like I have lost all my gains, I am fat, slow, etc. I realize that just like I didn't get in shape in three days I can't lose it in three and rest days are extremely important- just sharing a bit of my crazy. So on my "rest day" today I went for a 5 mile run with my peanut in her jogger. People can bash CrossFit and injuries all they want, but my knees plagued me today on what used to be considered a short run due to my years of running marathons and the training that entails. I am obviously not an expert, but I think CrossFit's use of a variety of movements versus running's perpetual same stride movement is the issue. Yes, I did interval training while I ran, but usually, like most runners, I did my 5, 10, 20 mile runs at the same speed and the same running gate and that constant pounding has done some damage to my knees. I will add that weight training and strengthening my legs has definitely helped my knees not ache so much. I really don't want to bash running because it was so much a part of my life with training, coaching, and my family- I am just now wishing maybe I should have been doing some strength training back then so I wouldn't have this problem today!
For my mom's 50th birthday she wanted to run a marathon... so here is us running the Chicago Marathon the year it was cancelled mid-race due to extreme heat and no water on the course... but we finished then and did Chicago two more times. :) 

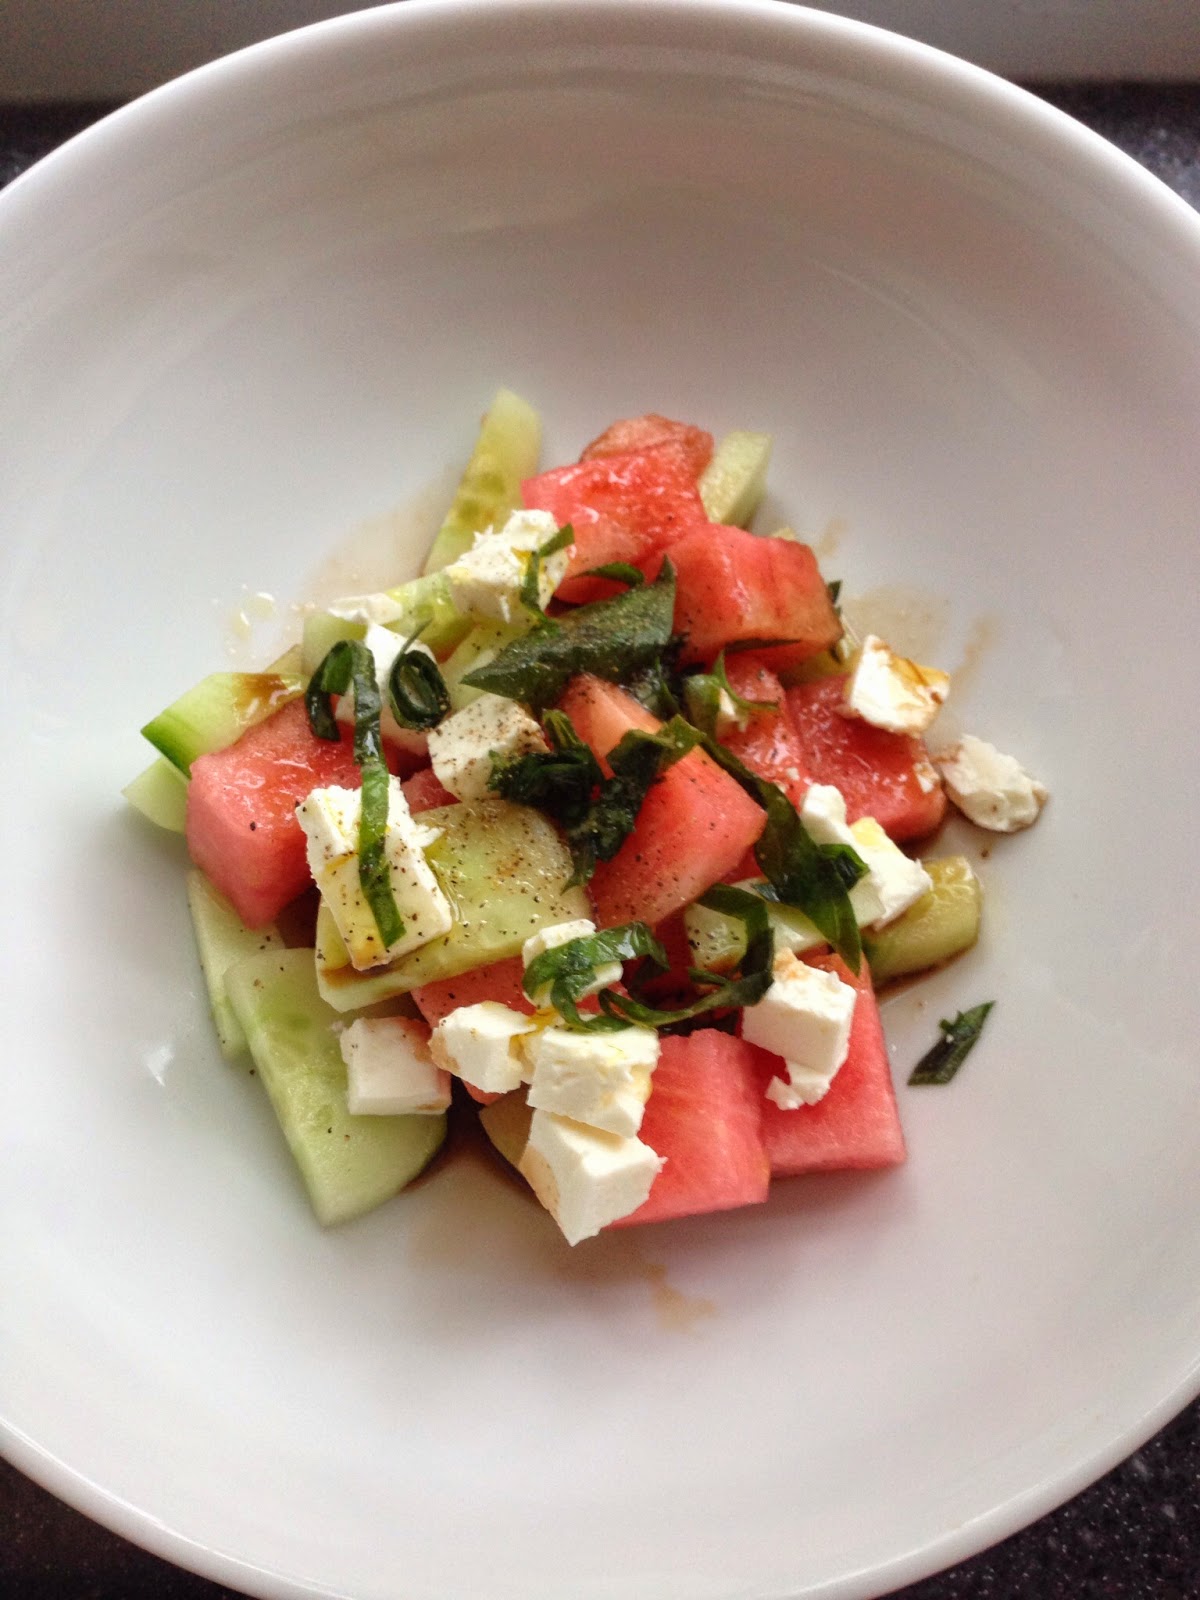
I don't particularly love watermelon, but my child does so I had some hanging around the house and I thought I would try and make a light snack with it- turns out feta and watermelon is fantastic and the cucumber just gives a different texture. There are not measurements with the "dressing" because it needs to be done just before eating, or per bowl, or else the color and taste are just, well, not good.

Watermelon and Cucumber Salad

- 1/4 Large Seedless Watermelon, or 1/2 a small, cut into 1 inch chunks
- 1 English Cucumber, halved and diced into bite-sized pieces
- Fresh Basil
- Balsamic Vinegar
- Olive Oil
- Feta Cheese
- Black Pepper

1. Toss the cucumber and watermelon together. 
2. When you are ready to eat- In serving sizes of about 1heaping cup of the watermelon and cucumber, add 2 tsp (ish) of vinegar, a drizzle of olive oil, a sprinkling of feta, fresh pepper and some fresh basil (chiffonade.) Toss and enjoy!


Monday, July 28, 2014

Mix and Match Meals

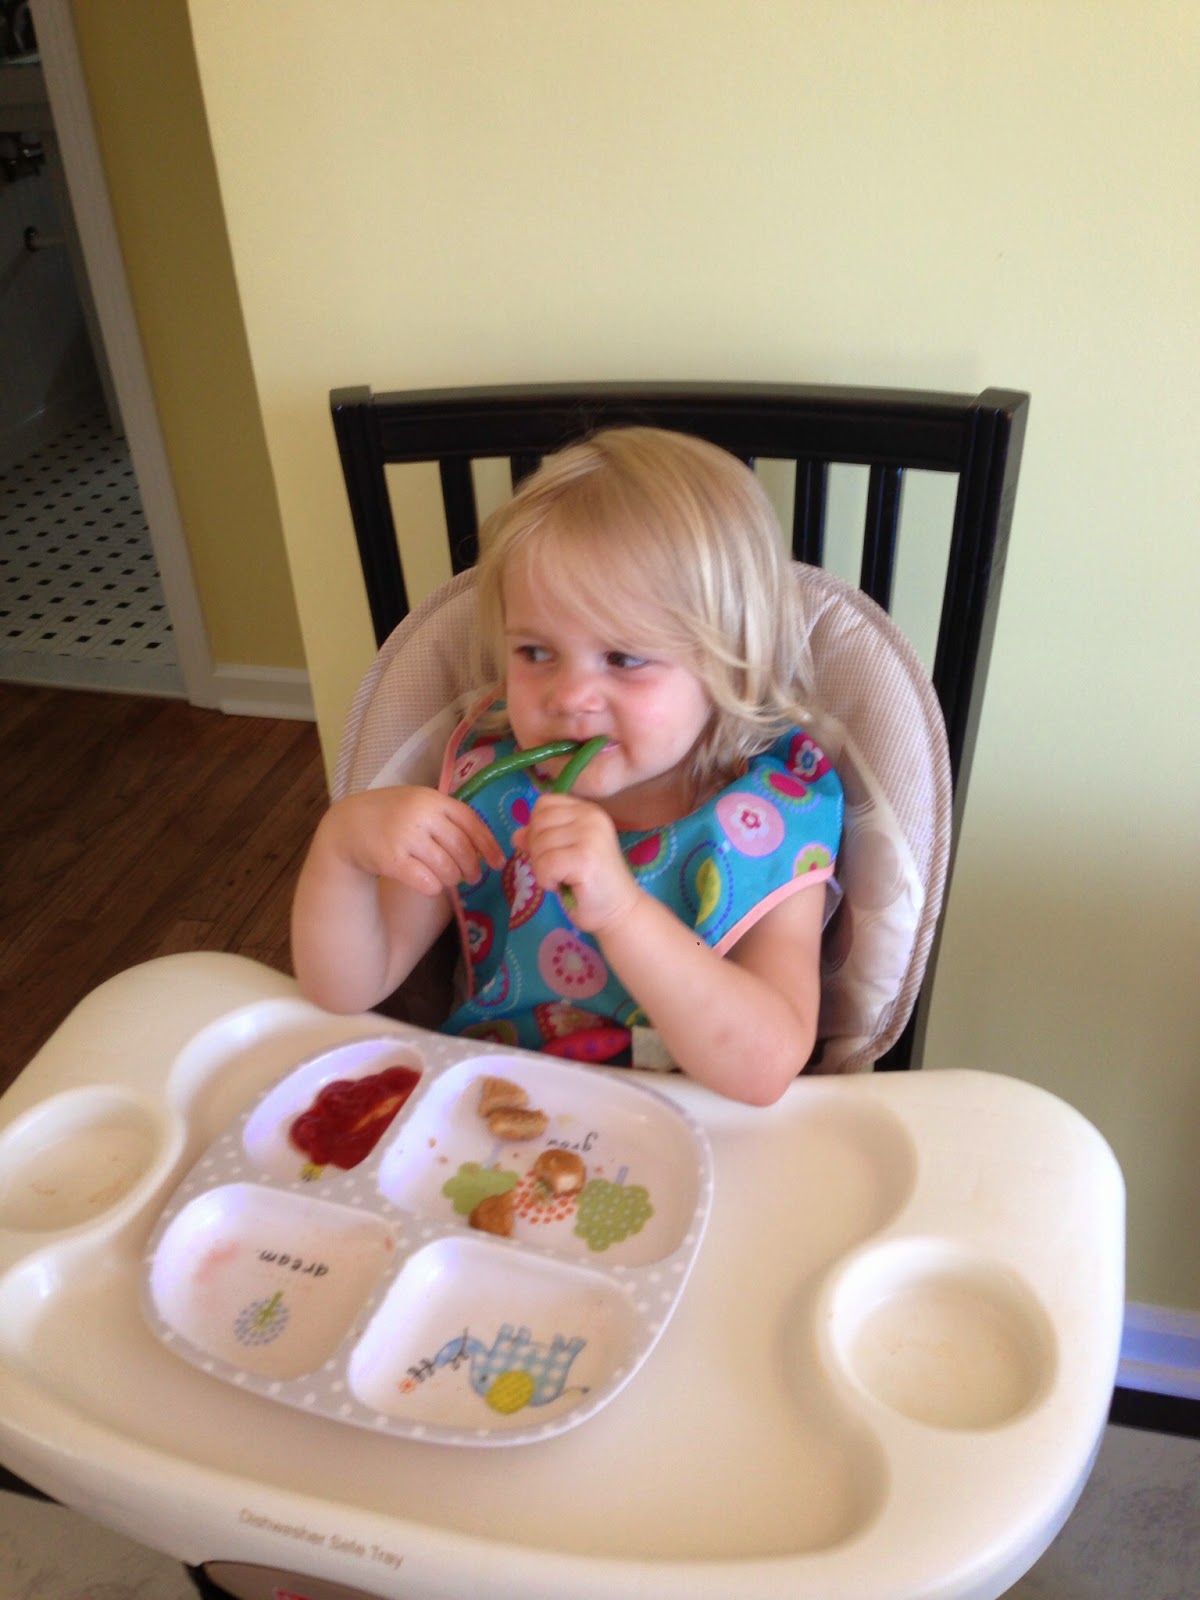
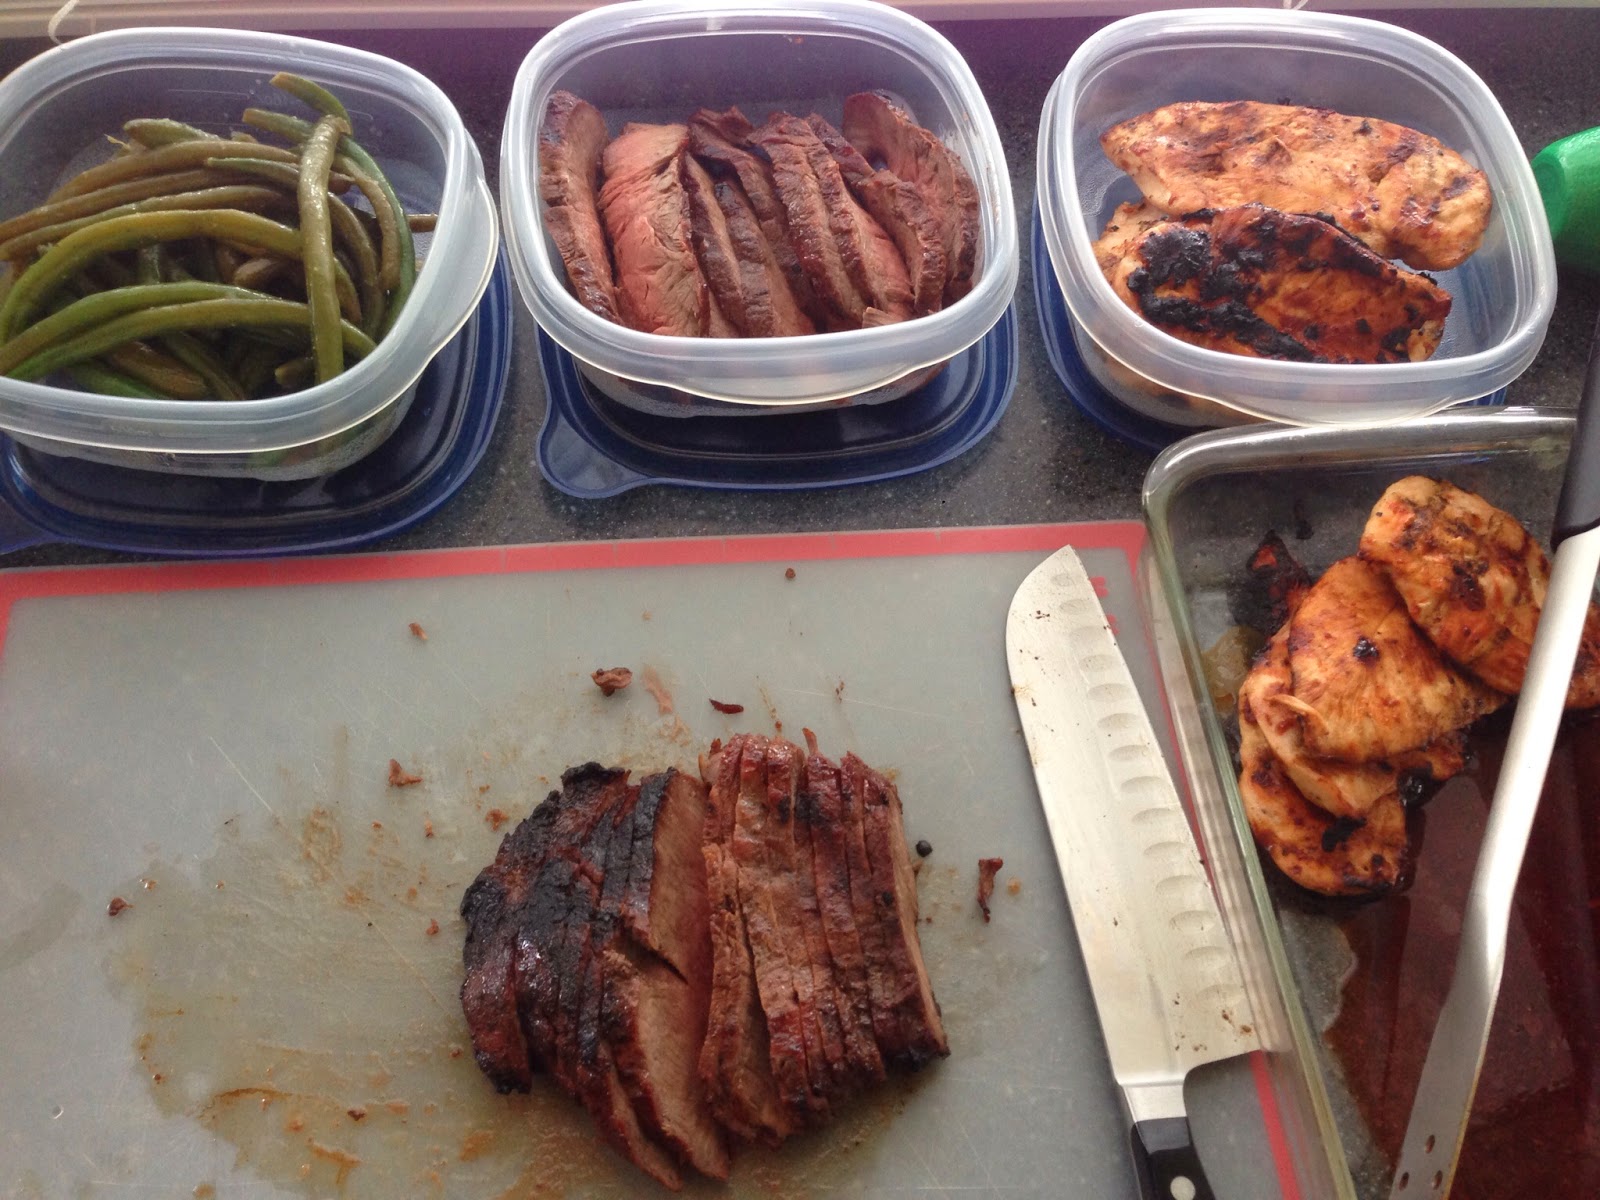
I am one of those people who doesn't mind eating the same thing for dinner and possibly lunch several days in a row...but I realize a lot of people aren't like that! Here is what I did for meals a week ago so that different combinations of protein and vegetables could be made for dinner to mix it up. Charlie was a big fan of the green beans.

What do you need?
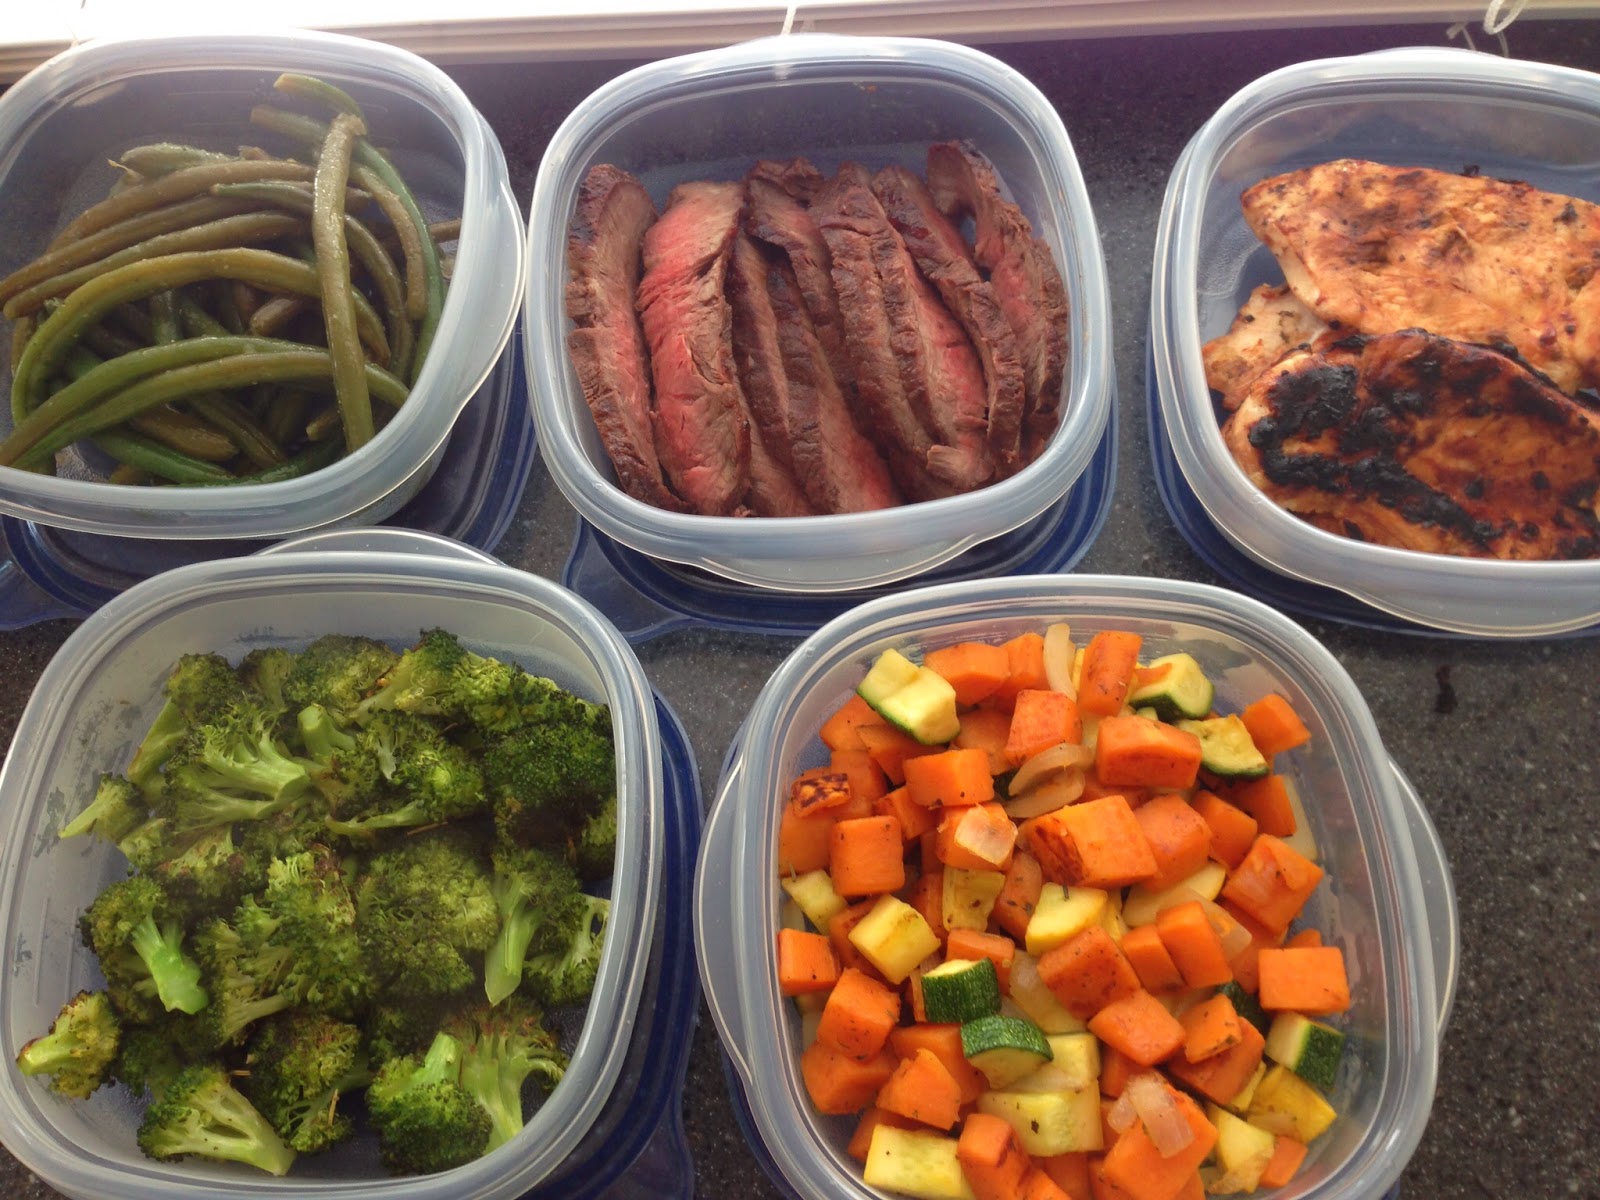
I used two different protein sources- chicken and steak (skirt or flank) and three different vegetables combinations- broccoli, green beans and a medley. They were all packed in separate tupperware so I could grab whatever combination I felt like that night. To make my life even easier, I grilled all the meat- no hot kitchen, easy clean-up... plus I was using the microwave, stove, and oven for the veggies simultaneously. :) Hectic hour (including prep and clean up) but dinner is ready for the week!


Steak (1.5-2 pounds Flank or Skirt Steak)
- Marinated over night: 2 Tbsp Coconut Aminos (or gluten free soy sauce), 2 Tbsp Oil, 1 Clove minced Garlic, 1 tsp Grated Ginger, 2 tsp Red Pepper Flakes, 2 Tbsp Lime Juice, 1 Tbsp Honey (optional).

Chicken (4-6 Breasts)
- Brushed with Paleo BBQ sauce while grilling

Green Beans
- One bag of fresh (not frozen) green beans in a microwaveable bag. After they were cooked I added salt, pepper, 2 Tbsp Apple Cider Vinegar, 1-2 Tbsp Olive Oil, 1/4 tsp Garlic Powder.

Broccoli
- 4 Stalks- I cut the florets off. Preheat oven to 400 degrees. On a large cookie sheet I toss the florets with olive oil, salt, pepper, and garlic powder. Roast until bright green with some crispy edges...10-15 minutes.

Veggie Medley
- 1 Sweet potato, 1/2 sweet Onion, 1 Zucchini, 1 Squash... all cut into bite sized pieces. Over Medium heat I sauteed the potato and onion until almost fork tender then added the squash and zucchini. Sprinkled in some thyme, salt, pepper, garlic powder.


Friday, July 25, 2014

Stacked Pear Snack

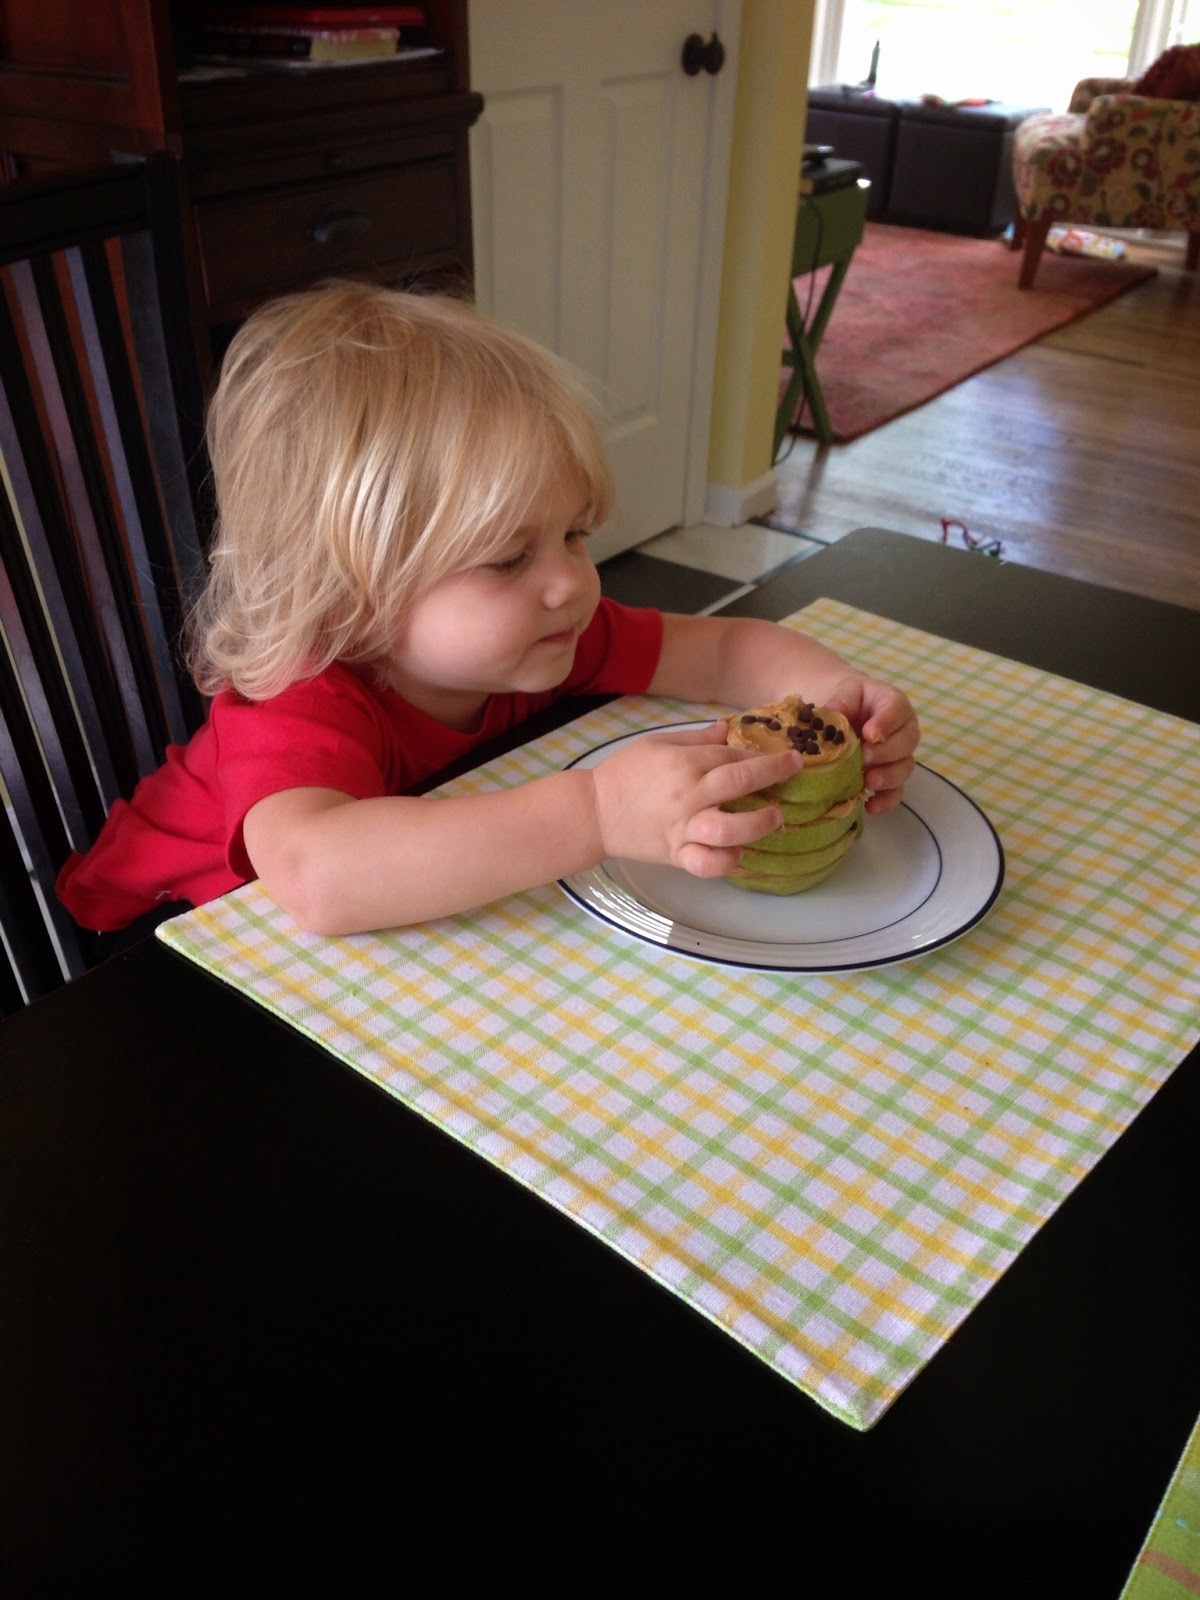
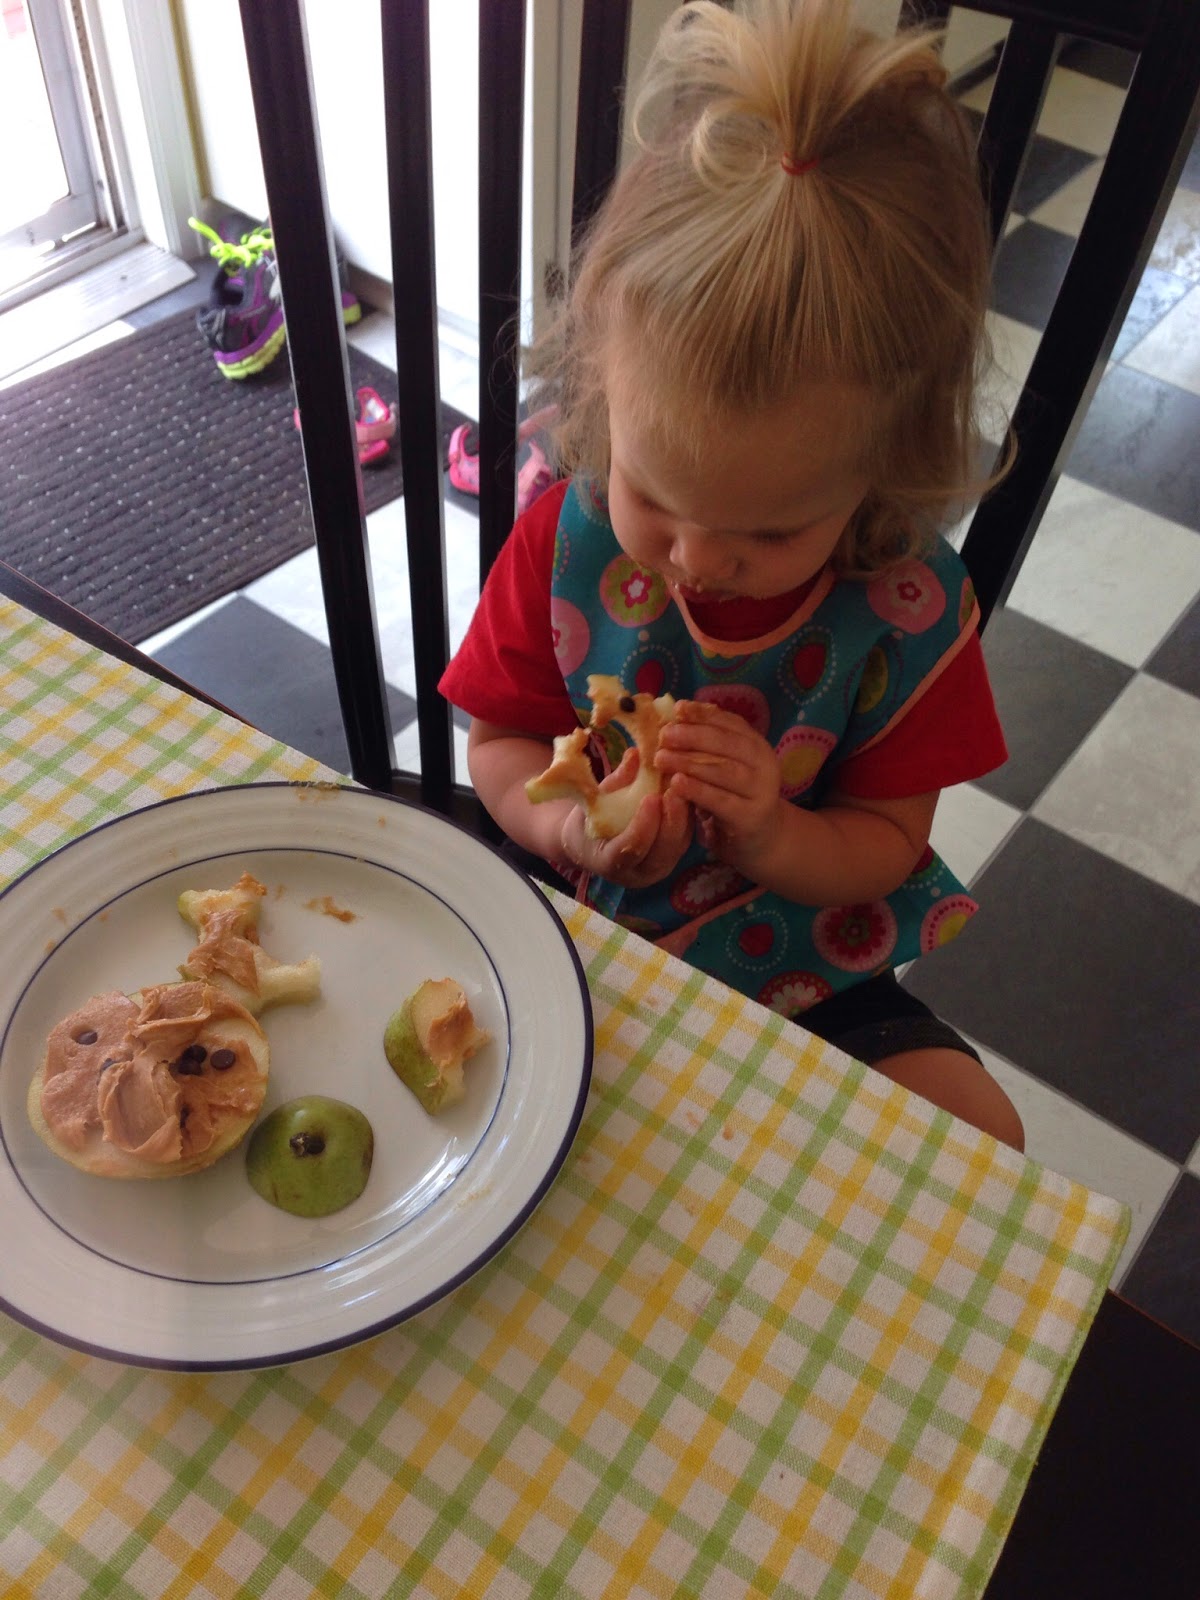
I have those days where she is taking a long nap I, for once, have all of my stuff I care to do done, and am ready for her to wake up again so we can go do something. Since I am usually on the go from work to gym to daycare to grocery, etc. it is odd (in a good way) in the summer to have such "down time" where I can accomplish things I usually only can get to on the weekends like laundry and cleaning. So this day I decided to make snack-time more interesting because I was waiting for her to wake up and play with me.

I know every mom struggles with different things, but the hardest part I have found about being a stay-at-home mom, even just for the summer, is the lack of interaction with other people. I love interacting with Charlie, but without any other kids or adults around, even at night since I am not married, I miss talking to people who do more than ask "doing momma?" a million times a day. If that's the biggest problem in my life right now though I really can't complain... just saying in case anyone out there feels the same. :)

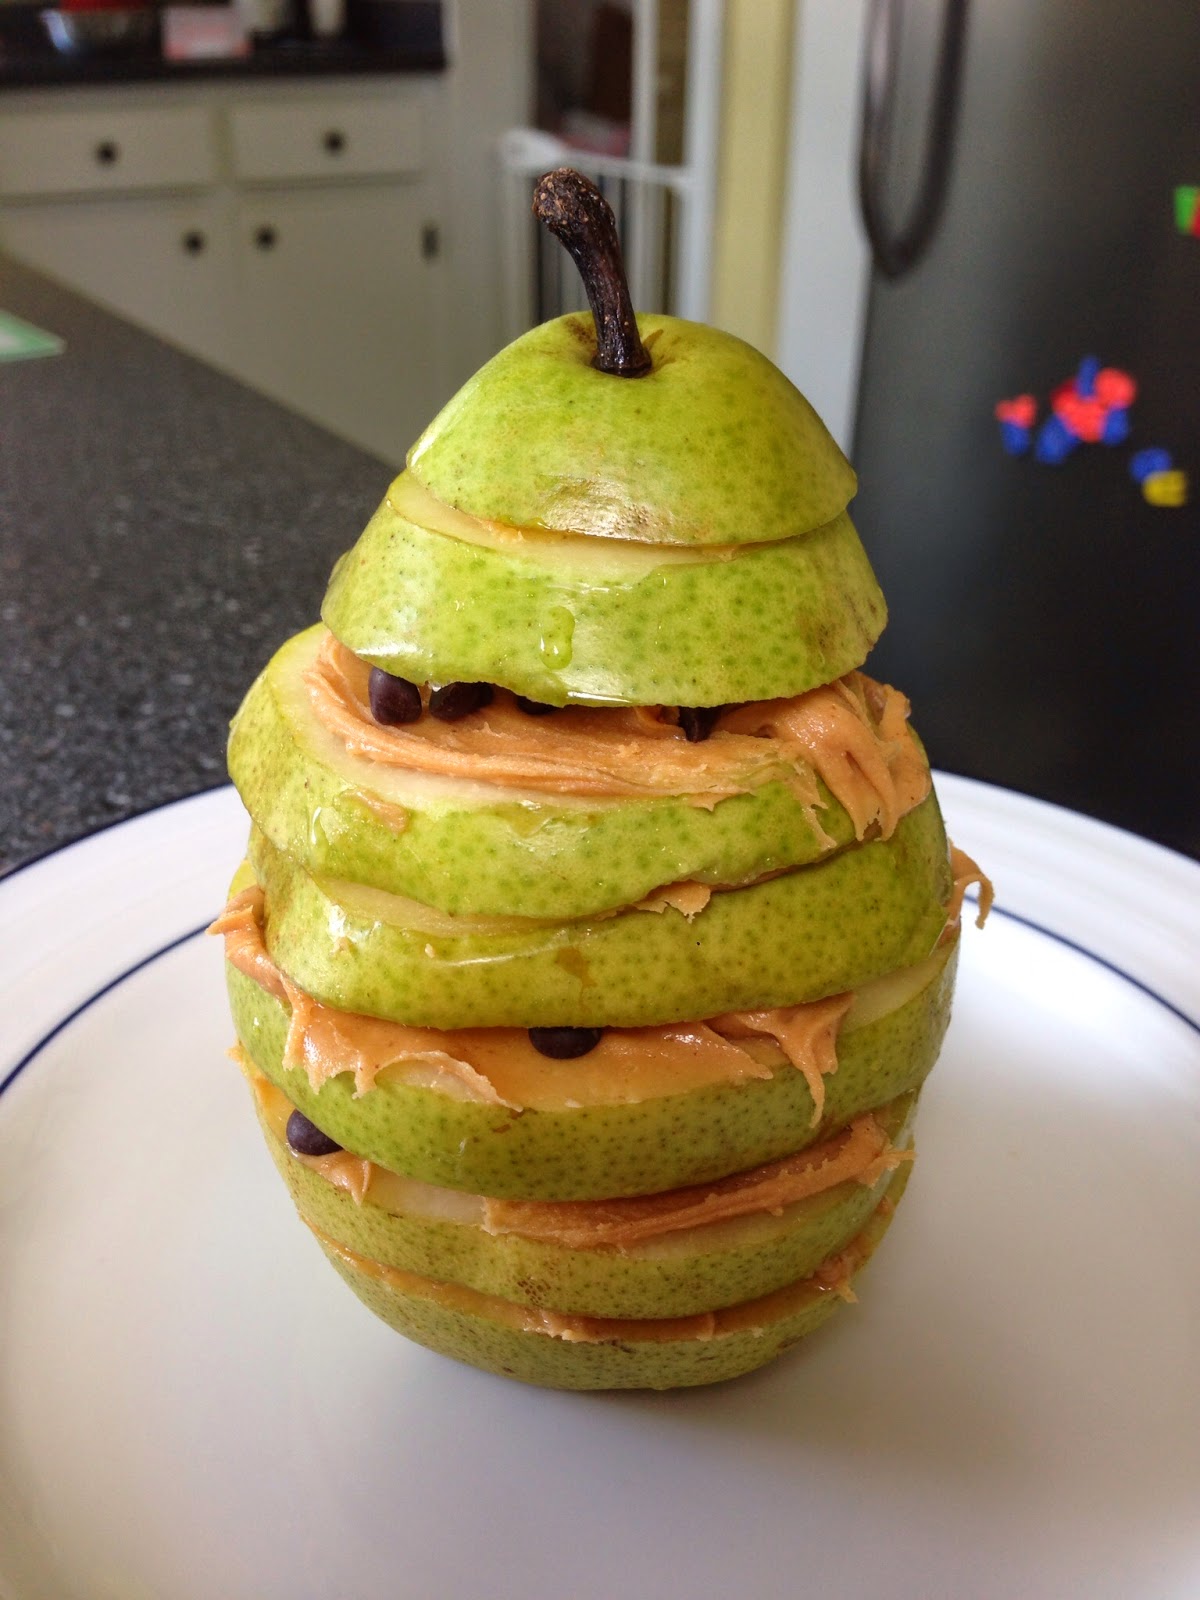
So when Charlie woke up she was delighted to see this mountain of fruit just for her when she usually is given the pear in pieces. Only every other layer was chocolate chips and she soon discovered that and looked for them. Another idea if you don't want chocolate chips would be coconut. Or actually you could do all of the above. Hehehe. An apple would be great here too, but like I have said I am allergic so we don't have them in the house. I am not really sure if you would call this a recipe, but I can tell you how I did it. :)

Stacked Pear Snack

- 1 whole Pear (or apple)
- Nut or seed butter (I used almond)
- Enjoy Life Chocolate Chips (non-dairy)
- Honey
- Unsweetened coconut (optional)

1. Using a paring knife, cut a thin layer of the bottom off so it sits flat. Cut the pear in 1/4 inch slices. Carefully, cut around seeds so the pear slices have holes in them but are still "whole."
2. Spread each slice with a thin layer of nut butter and sprinkle with a few chocolate chips and drizzle with honey.
3. Stack the pear back together- done!

Wednesday, July 23, 2014

Indian Spiced Turkey Burgers

I think this upcoming school year is going to be a little harder than others. I am sitting in a AP Environmental Conference because it is a new class that I am teaching this year and this is only day two of my four 9-hour days here and I already miss my daughter. This is not a good sign. A positive is that I am staying with my parents because they are watching Charlie for me and I am reminded how lucky I am they live so close and have such great parents. I also enjoy seeing how in love my dad is because it is like looking at how he probably was with me- again, so lucky. Anyway...FOOD!

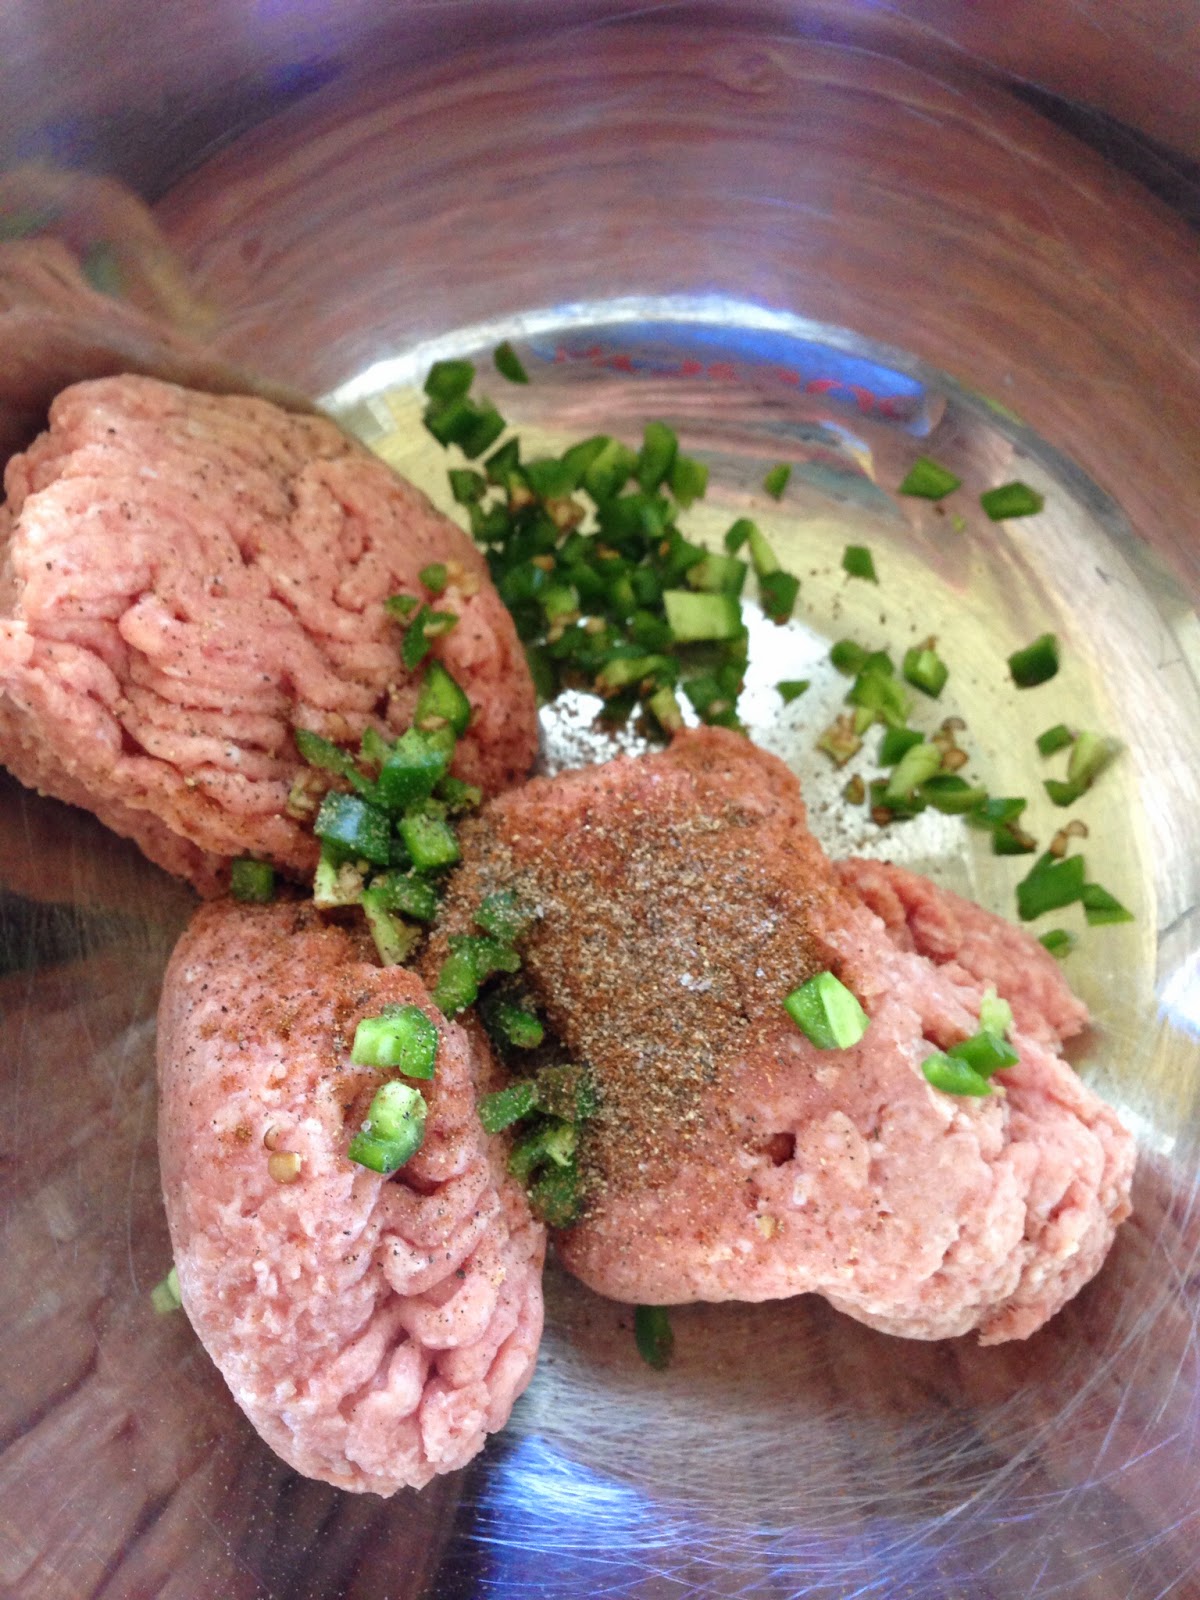
Dilemma... you bought Garam Masala for my Tikka Masala recipe and now you only used a teaspoon and have a lot to spare. Fix? Use it with other meats and recipes! I bought this spice after coming home from Malaysia and have experimented with it in several dishes because it is nice to mix up my typical spice profile. I also want Charlie to expand her palate at a young age.

Turkey was on sale so that's the meat of choice this time, beef or lamb would also work. Watch the fat content of turkey because the very lean turkey doesn't grill well and you will need to add a fat of some kind to prevent the burgers from being too dry. I served mine over lettuce with avocado and tomato....yum!

Indian Spiced Turkey Burgers

- 1 lb Ground Turkey
- 1 1/2 tsp Garam Masala
- 1 tsp Salt
- 1/2 tsp Pepper
- 1 Jalapeno, finely chopped
- 1/2 tsp Ground Cumin
- 1/4 tsp Garlic Powder
- 1 Tbsp Fat or oil (optional)

1. Mix everything until just combined. Form into four patties... remember to make them flatter and indent the middle because they will shrink and pop-up in the middle while cooking. 


2. Cook over medium heat, or grill, flipping once (about 5 minutes per side depending on thickness.) Since it is poultry do not undercook. :) Serve with your favorite toppings. 

Monday, July 21, 2014

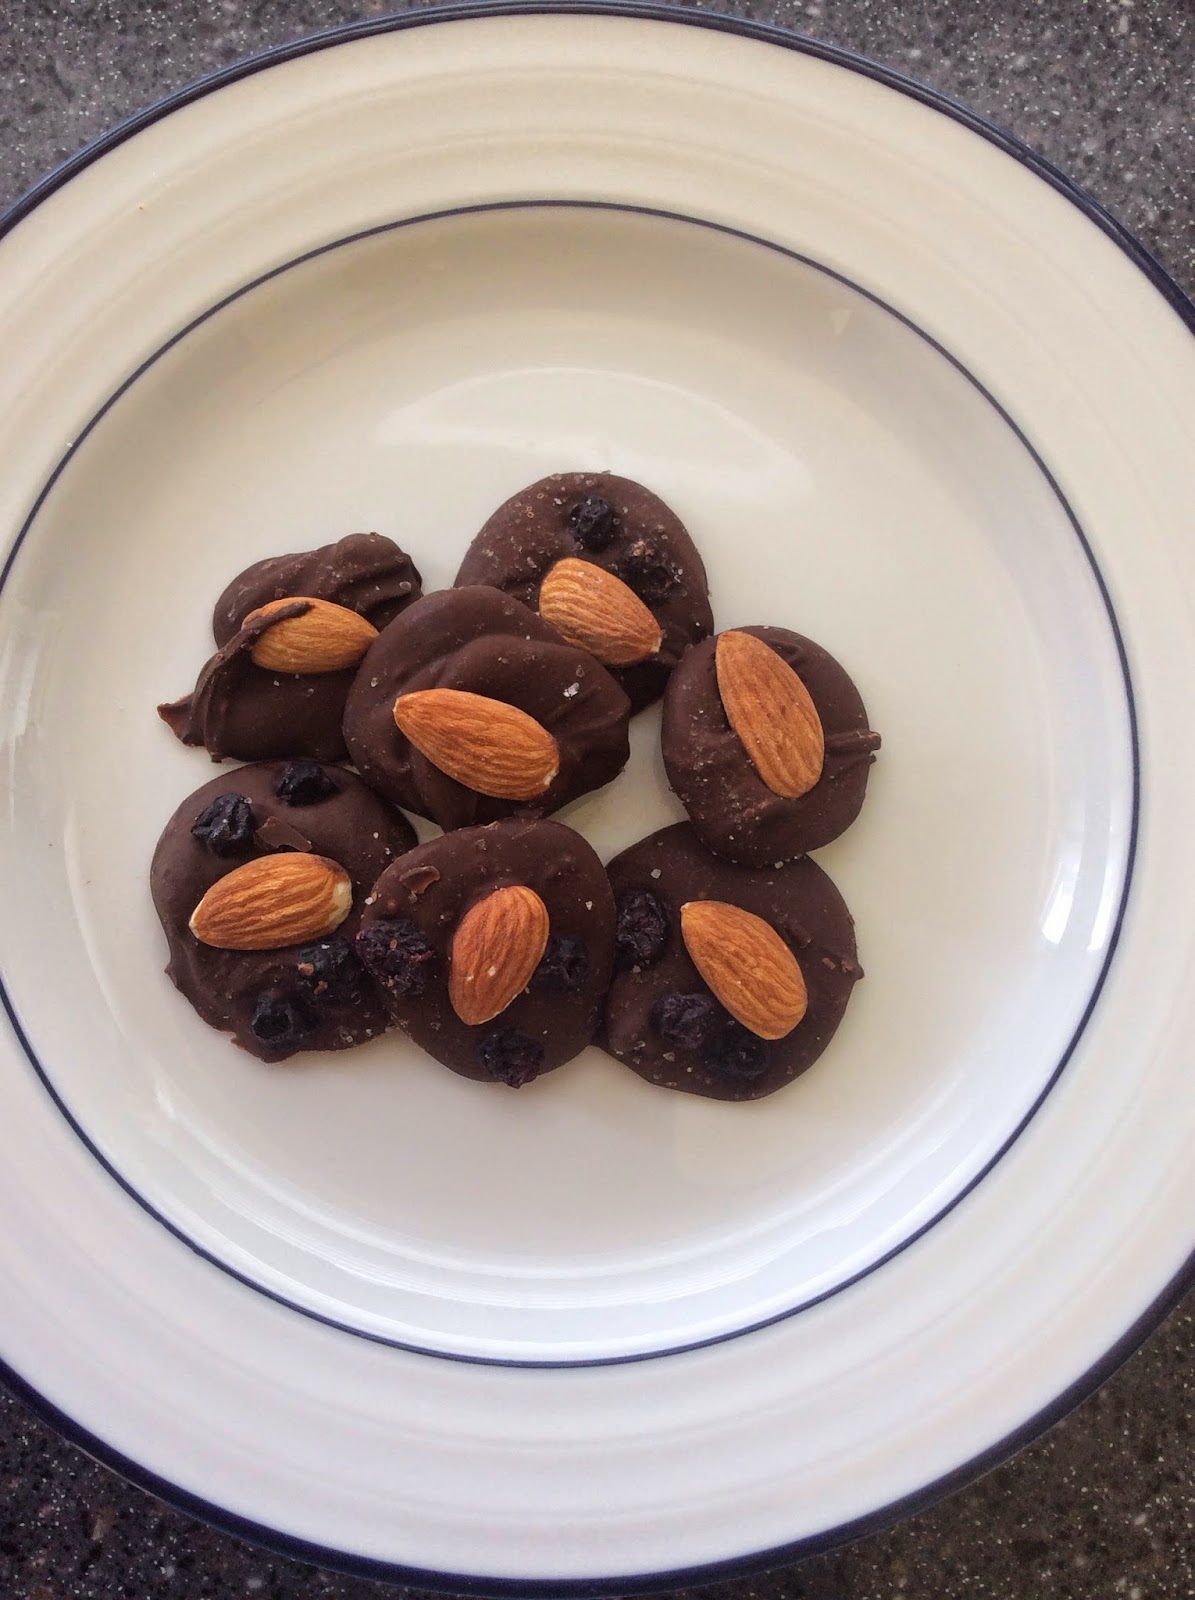
Paleo Almond Chocolate Treats

My sister, Mara, and I did a CrossFit competition this past weekend. It was Battle of the Sexes and the teams were either F-F or M-M. Men's weights were heavier, but the WODs and body weight movements were the same so male and female teams were competing against each other. We had a lot of fun and our box had a lot of teams there. It is interesting that when you start to do competitions you become friends with, or at least recognize, a lot of the same people. It is always inspiring to see so many fit people in one location.


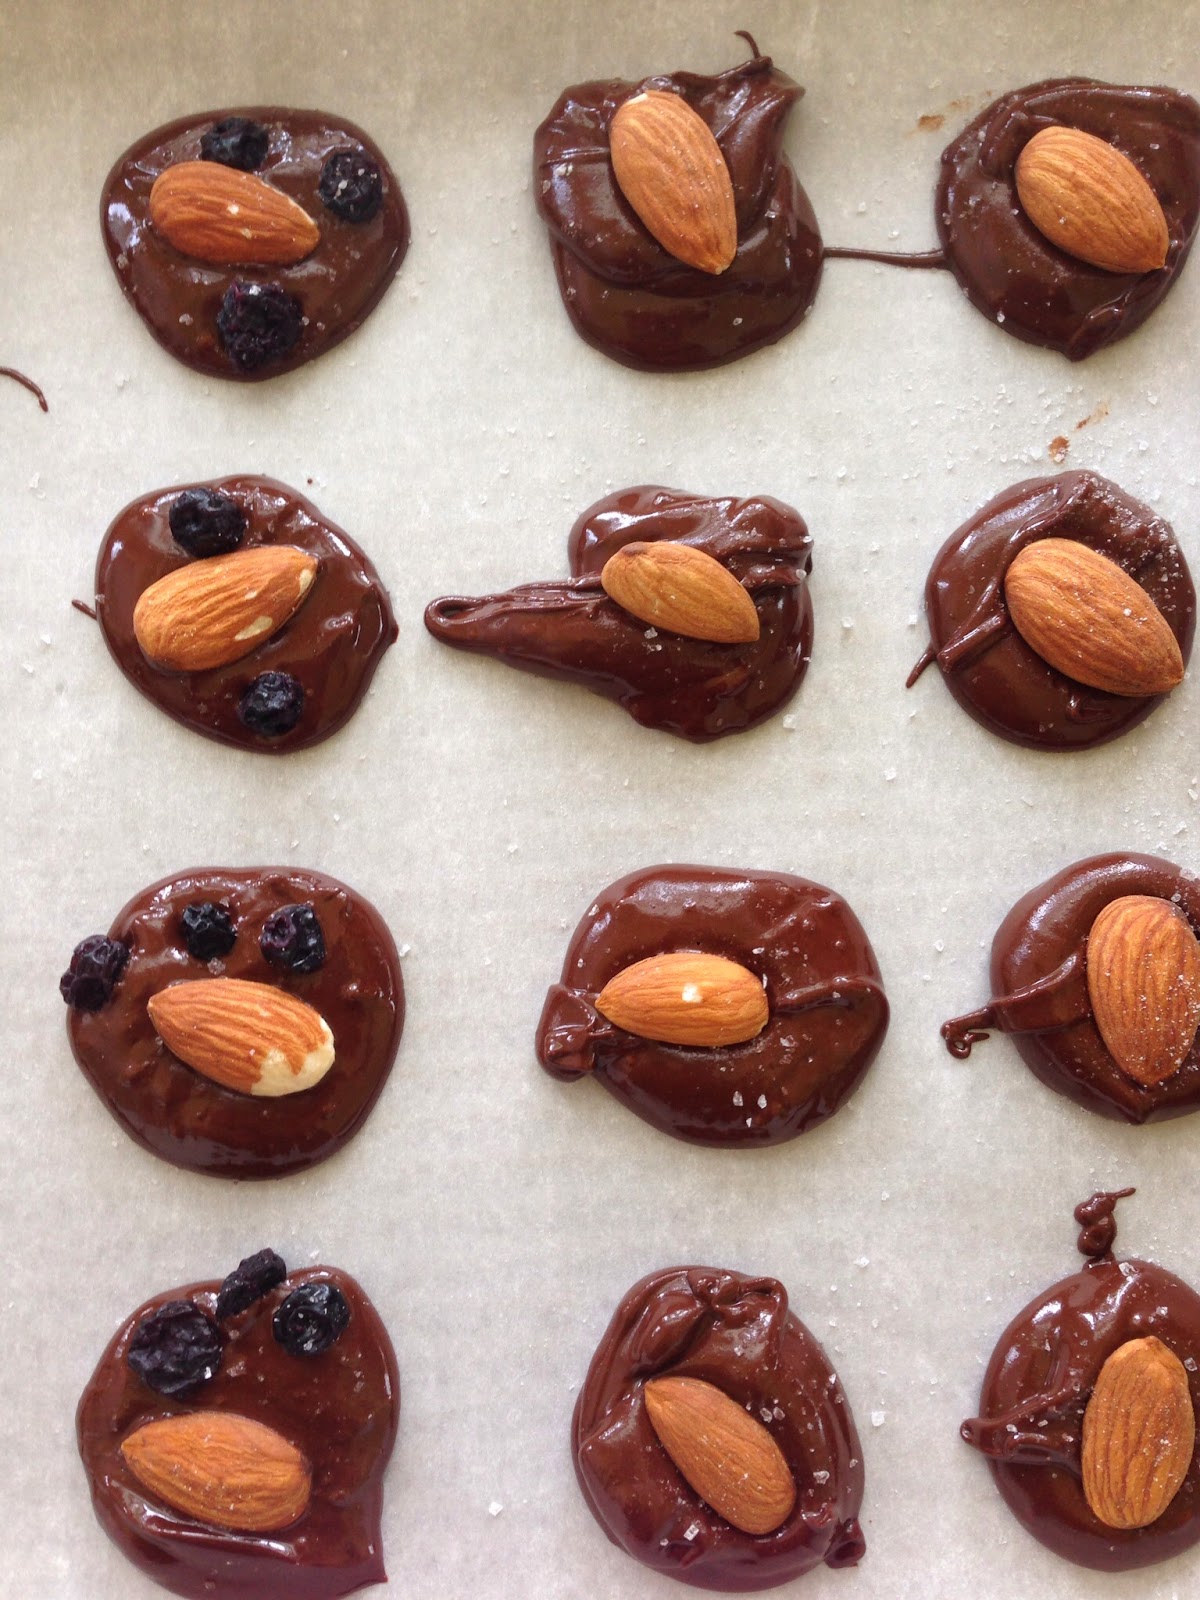
Mara and I bet her boyfriend Alex and his partner Tim that we could beat them.... well we didn't....boo! So I told them I would make them a treat. Here they are... I may or may not have had to make them more than once because I ate too many.


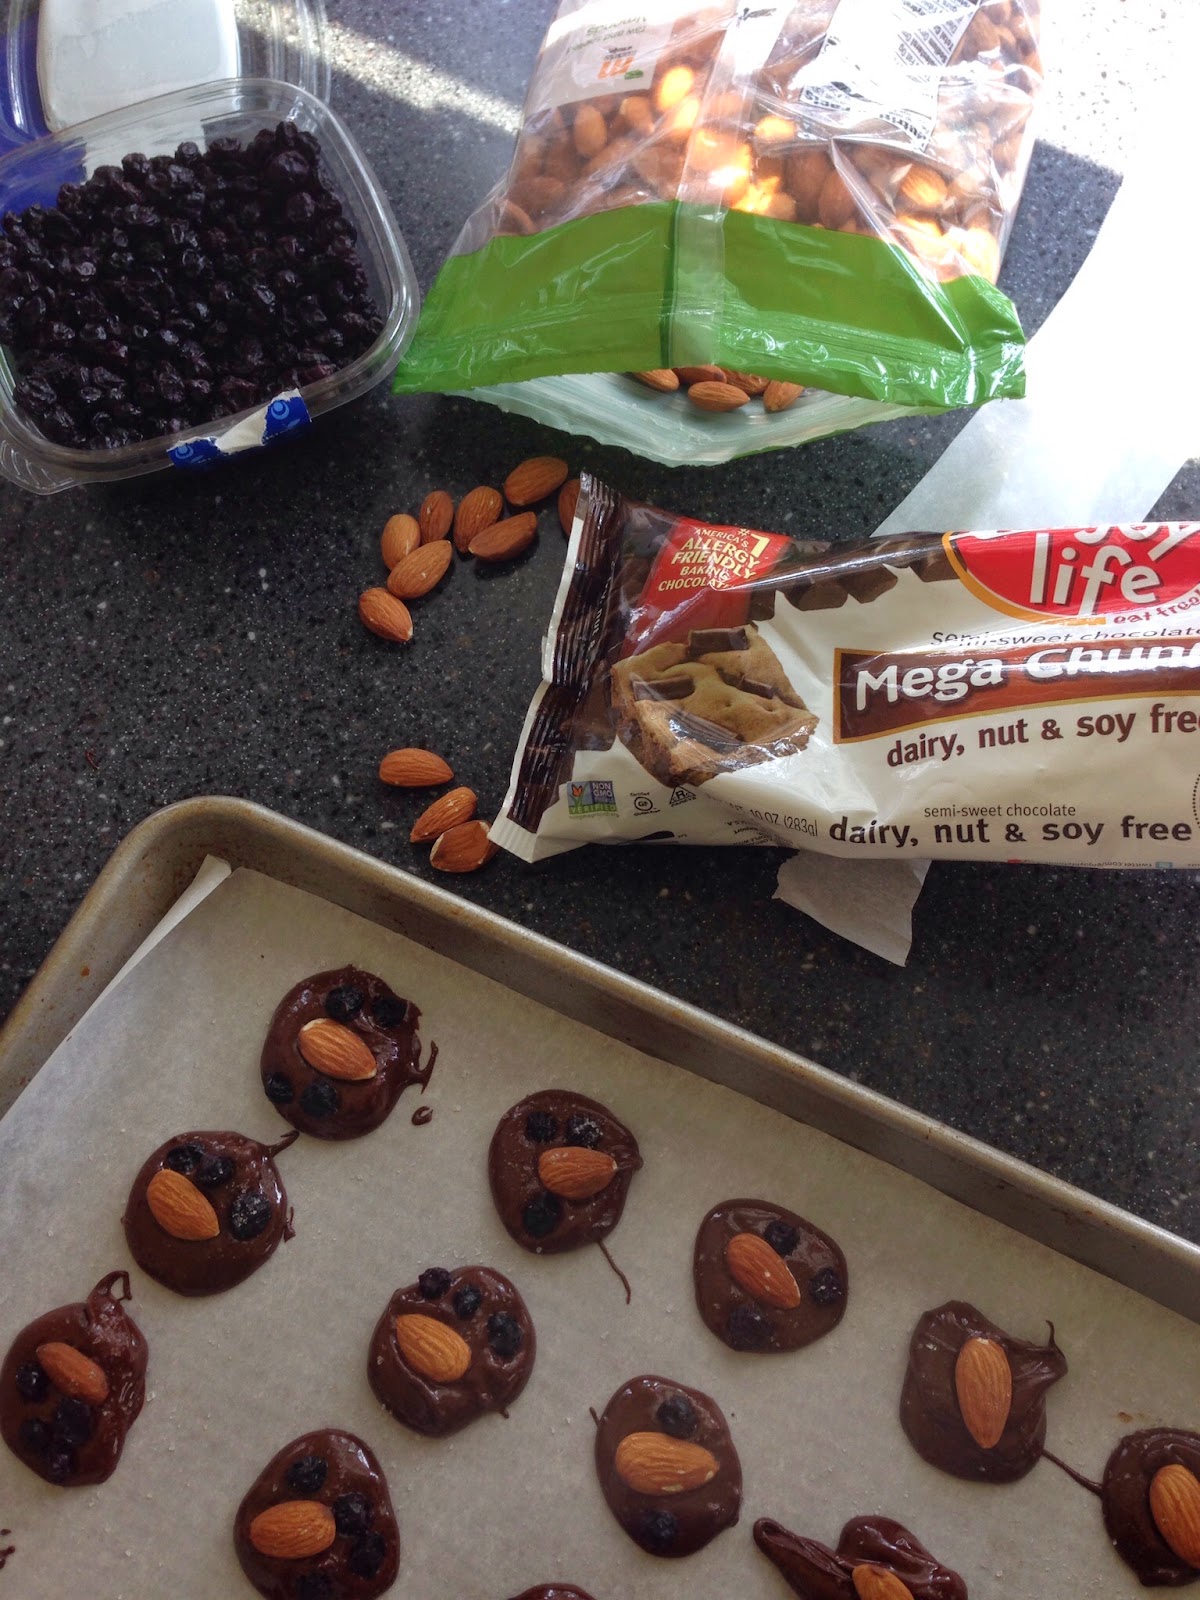
 I used dried blueberries and raw whole almonds, but any dried fruit or nut would work. I made some with no fruit at all too. I also line my cookie sheet with parchment paper and put it in the freezer for a few hours before making these so the chocolate starts to harden right away and doesn't run all over the sheet.

Paleo Almond Chocolate Treats

- 1 Cup Non-Dairy Chocolate (such as Enjoy Life Chocolate Chunks)
- 15-20 Whole Raw Almonds
- 1/4 Cup Dried Blueberries (about 3 per chocolate)
- 1 tsp Unsweetened Cocoa Powder
- 1 tsp Vanilla
- Sea Salt


1. Mix the chocolate, cocoa powder, and vanilla together. Either use a double-boiler, or microwave if you are feeling lazy and melt the chocolate, stirring until smooth.
2. Using a tablespoon, place small mounds of chocolate on a cookie sheet. Doing about 4 at a time because the chocolate will start to harden, gently put an almond and a few blueberries on each mound. Sprinkle with a touch of sea salt.
3. Put the cookie sheet in the freezer for about 30 minutes until the chocolates harden completely. Store either in the freezer or fridge. 

Friday, July 18, 2014

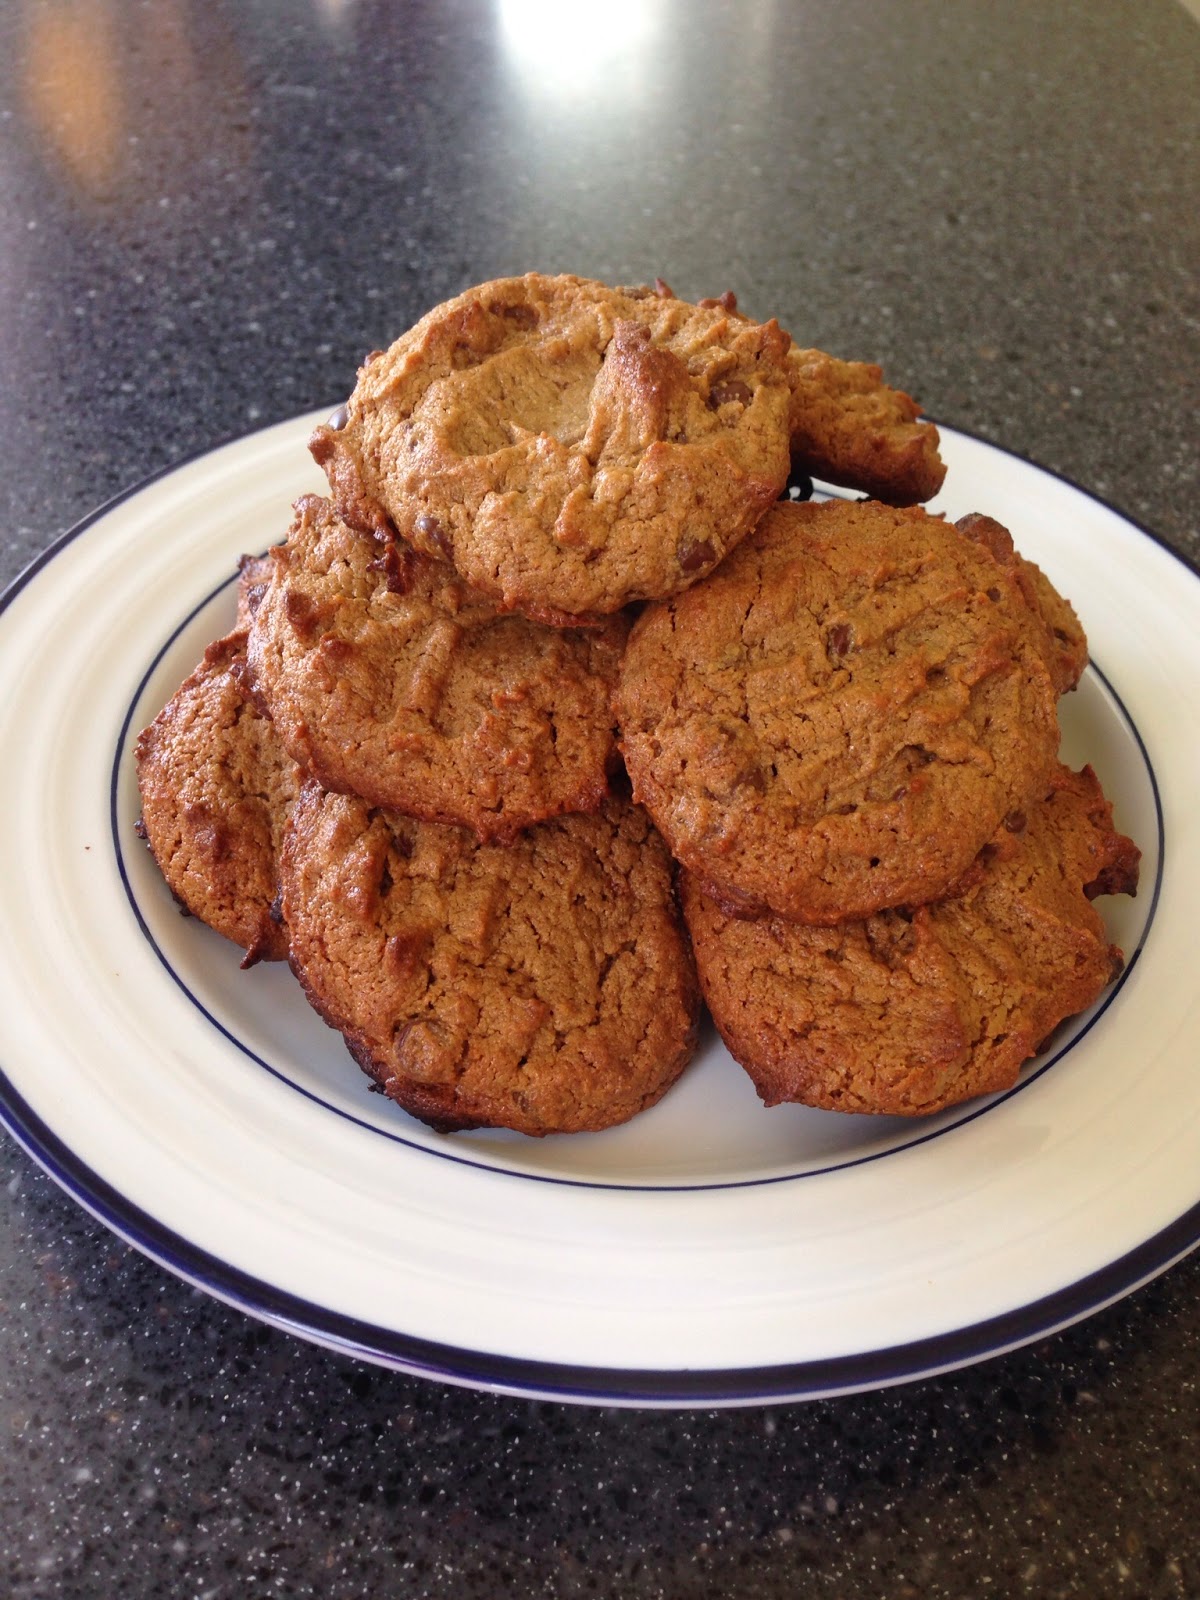
Paleo "Peanut Butter" Chocolate Chip Cookies

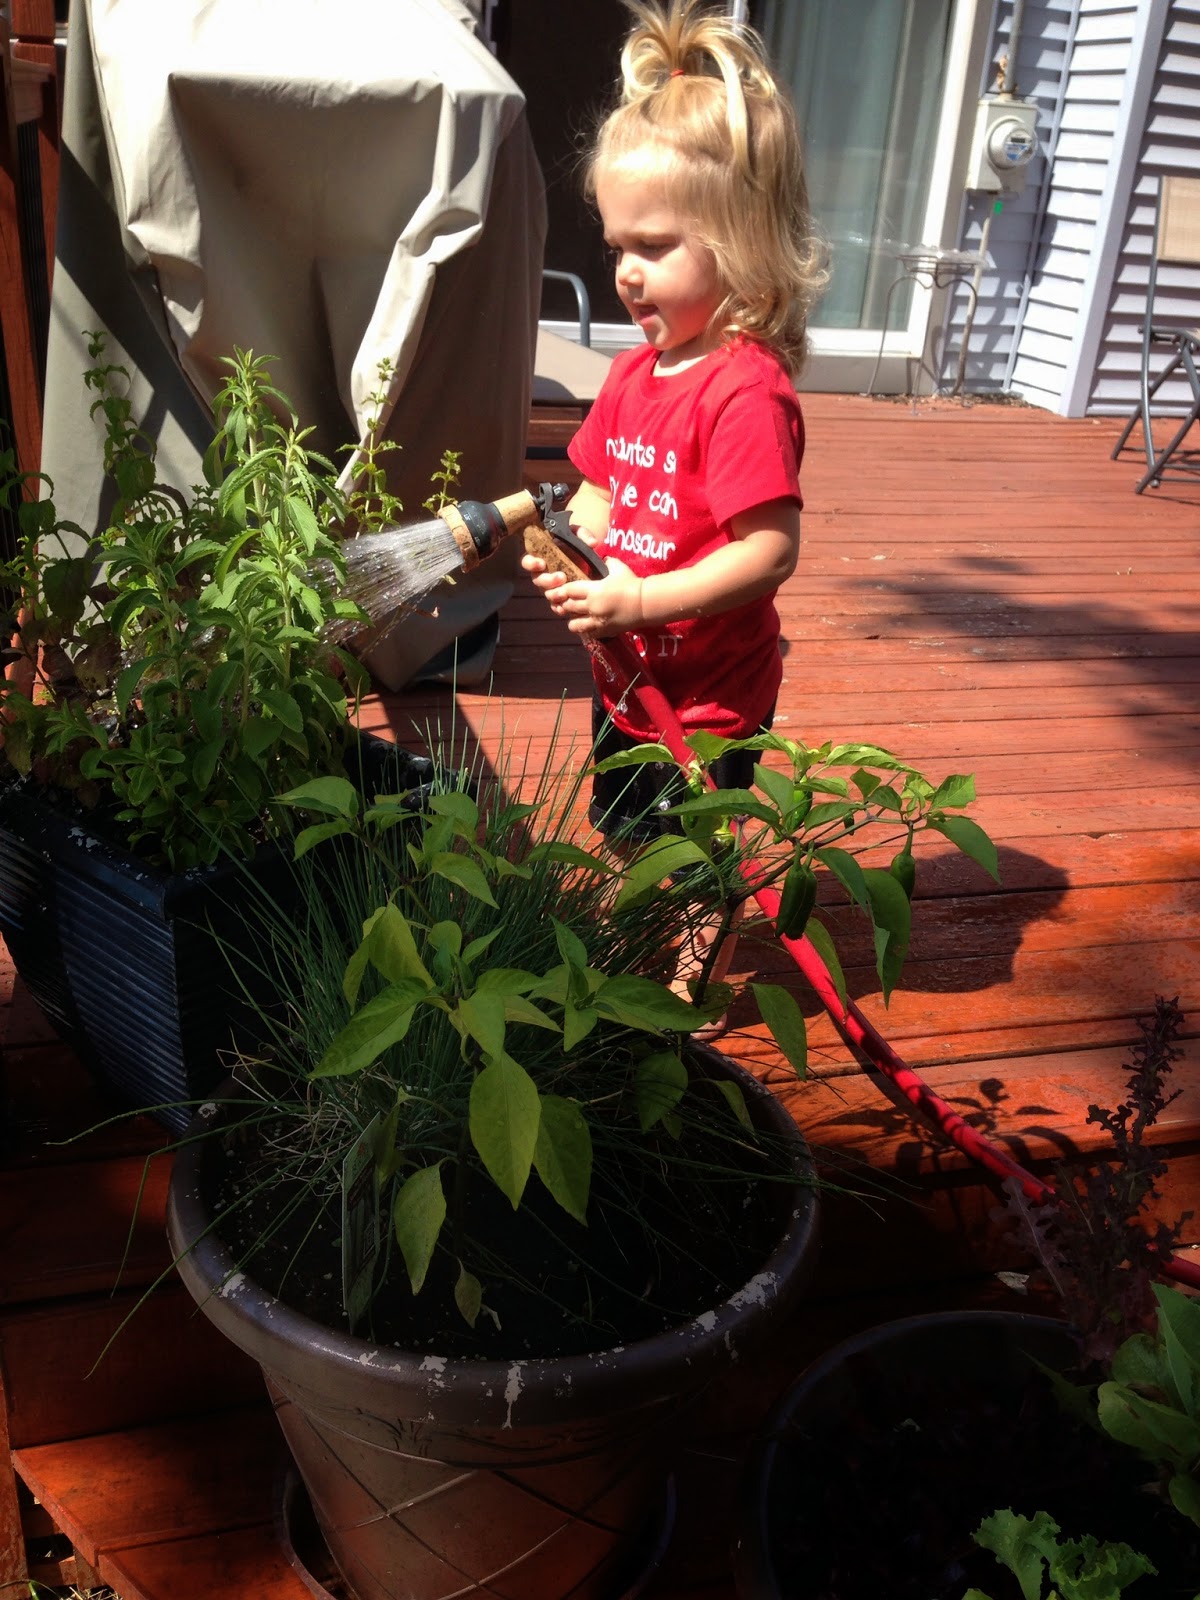
Gardening and cooking remind me of some of my favorite memories I had with my Grandma and cousins.  My mom has always told me to start my little girl in the kitchen and garden young...Not because she is a girl, but because it is important to know where food comes from and how to prepare it... starting her off *hopefully* with a good relationship with food and healthy choices. She really enjoys being helpful, so I have given her the task of watering the potted vegetables and flowers. We talk about what is growing and she can name the vegetables even if she doesn't know what that means yet :)

I was having one of those days where I needed everyone in the world who needed me for something to stop for one second. It didn't happen, but to make myself feel better I made cookies. I am not lying when I say the dough for these cookies is arguably better than the cookie itself. I am not a huge sweet-loving person but I literally got out a spatula and licked the bowl. You can use any nut-butter you want in these, I just used Sunbutter because that's what I had in the house.

I am competing with my sister in a Battle of the Sexes competition Saturday and I am thinking I will bring these for between events. There is nothing in them that would upset my stomach and I did the protein bites (also so good) last time.

Paleo "Peanut Butter" Chocolate Chip Cookies

(Printable Version)


- 1 Egg White
- 1/4 tsp Salt
- 1 Cup Nut Butter
- 1/2 tsp Vanilla Extract
- 1/2 Cup Coconut Sugar
- 2 Tbsp Honey
- 1/4 Cup Enjoy Life (non-dairy) mini Chocolate Chips

Preheat the oven to 350 degrees

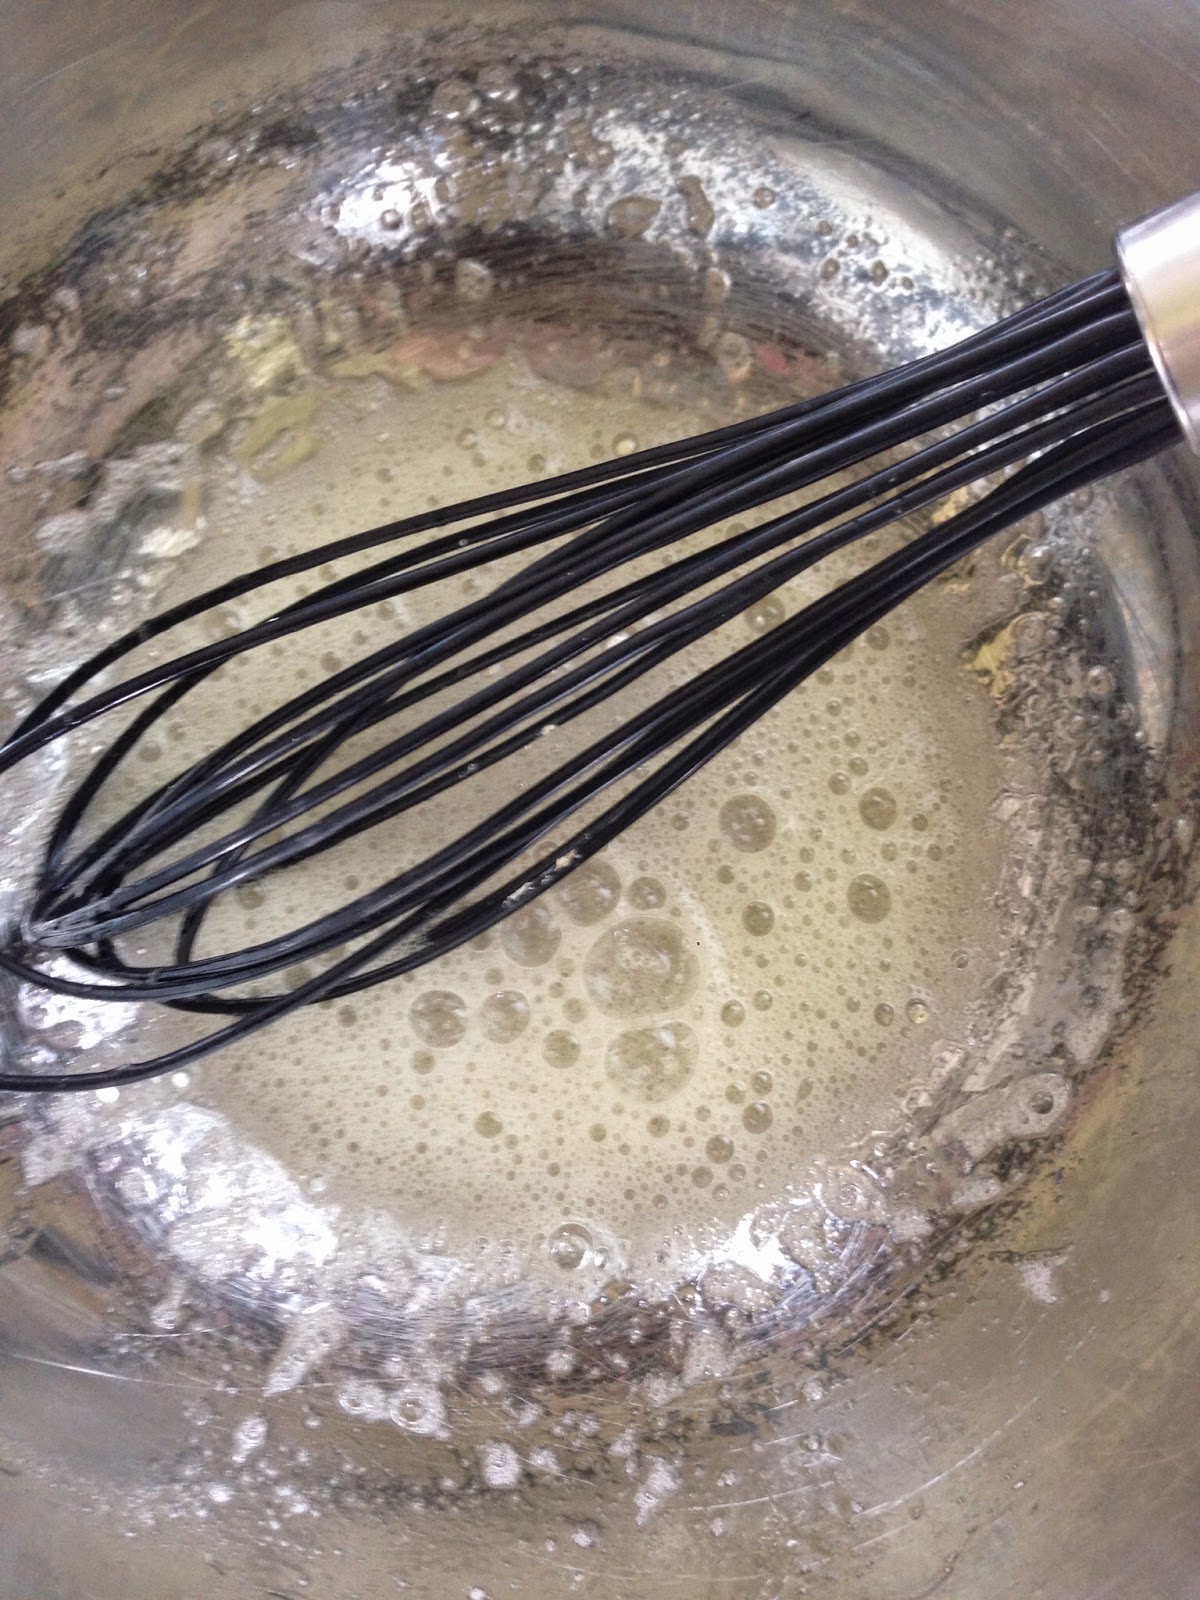
1. Whisk the egg white and salt together until it is frothy.


2. Add the other ingredients besides the chocolate chips and mix until smooth. Add the chocolate chips and mix until combined.
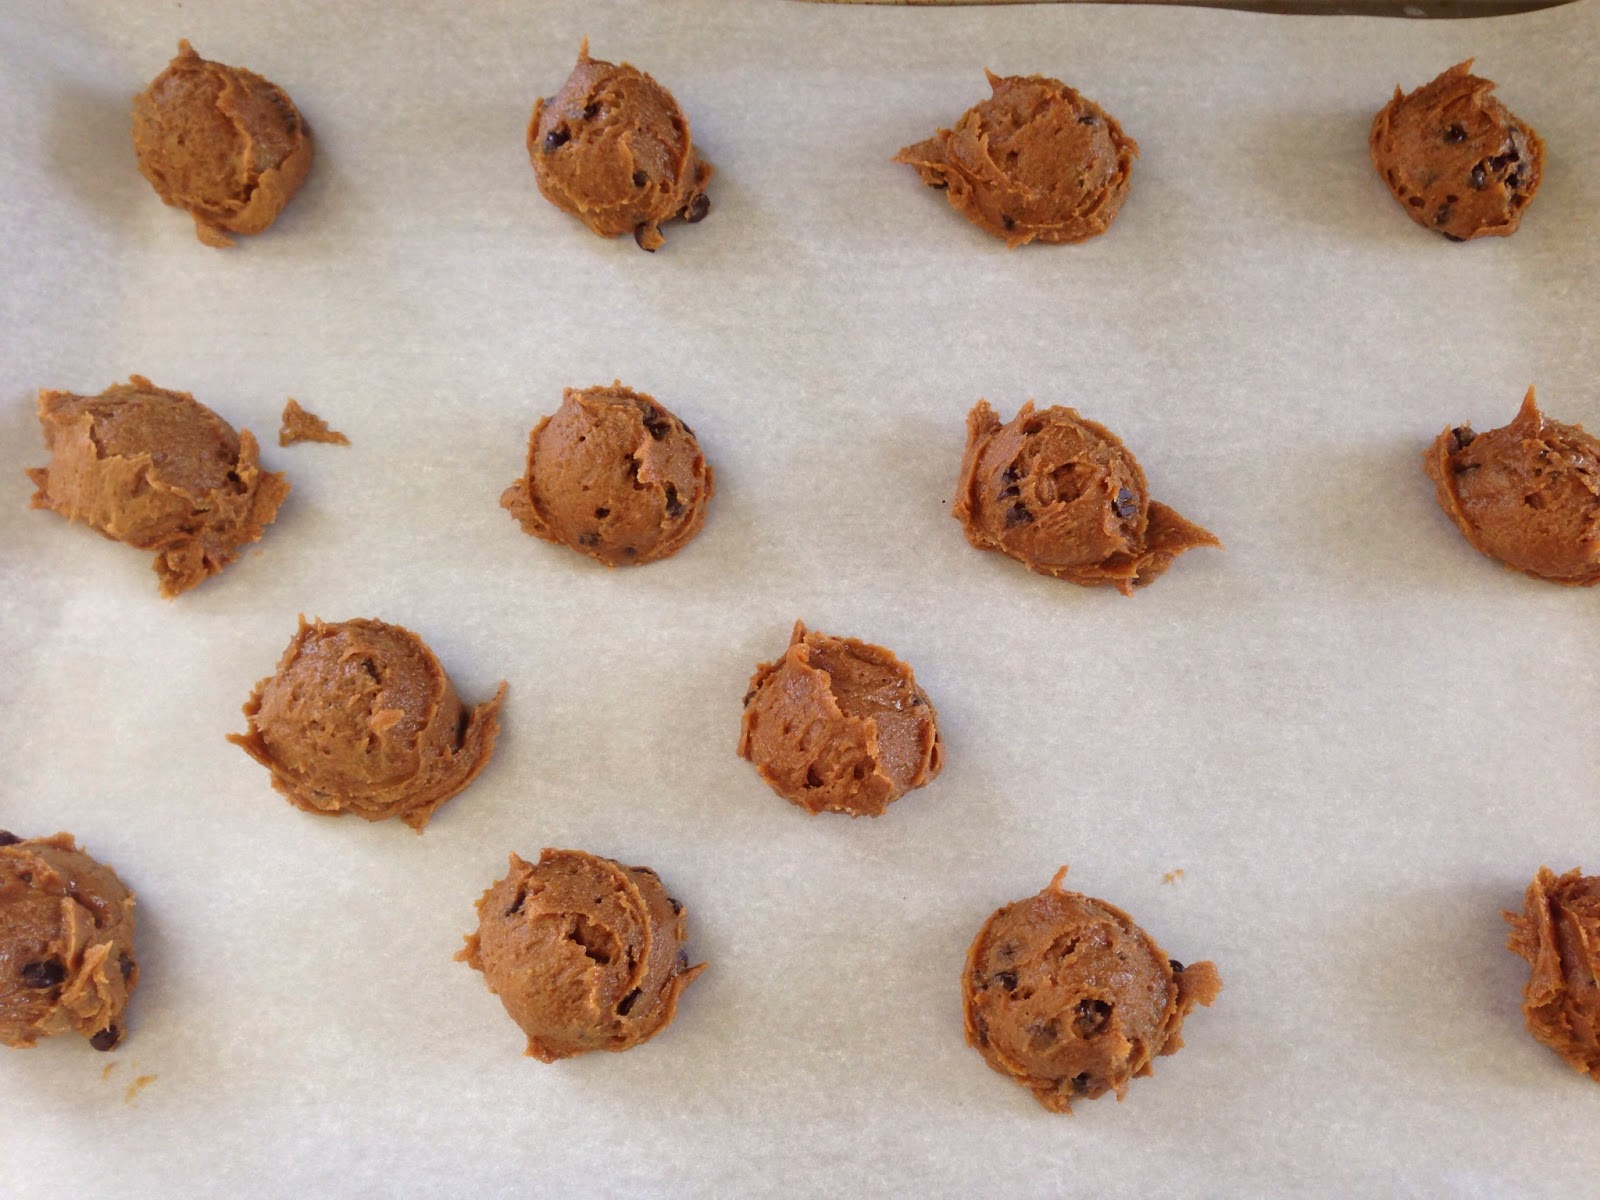
3. On a greased cookie sheet, or one lined with parchment paper, scoop out 1 Tbsp balls of dough. This recipe will make about 20 cookies. Flatten them slightly with your scooper or a spatula.


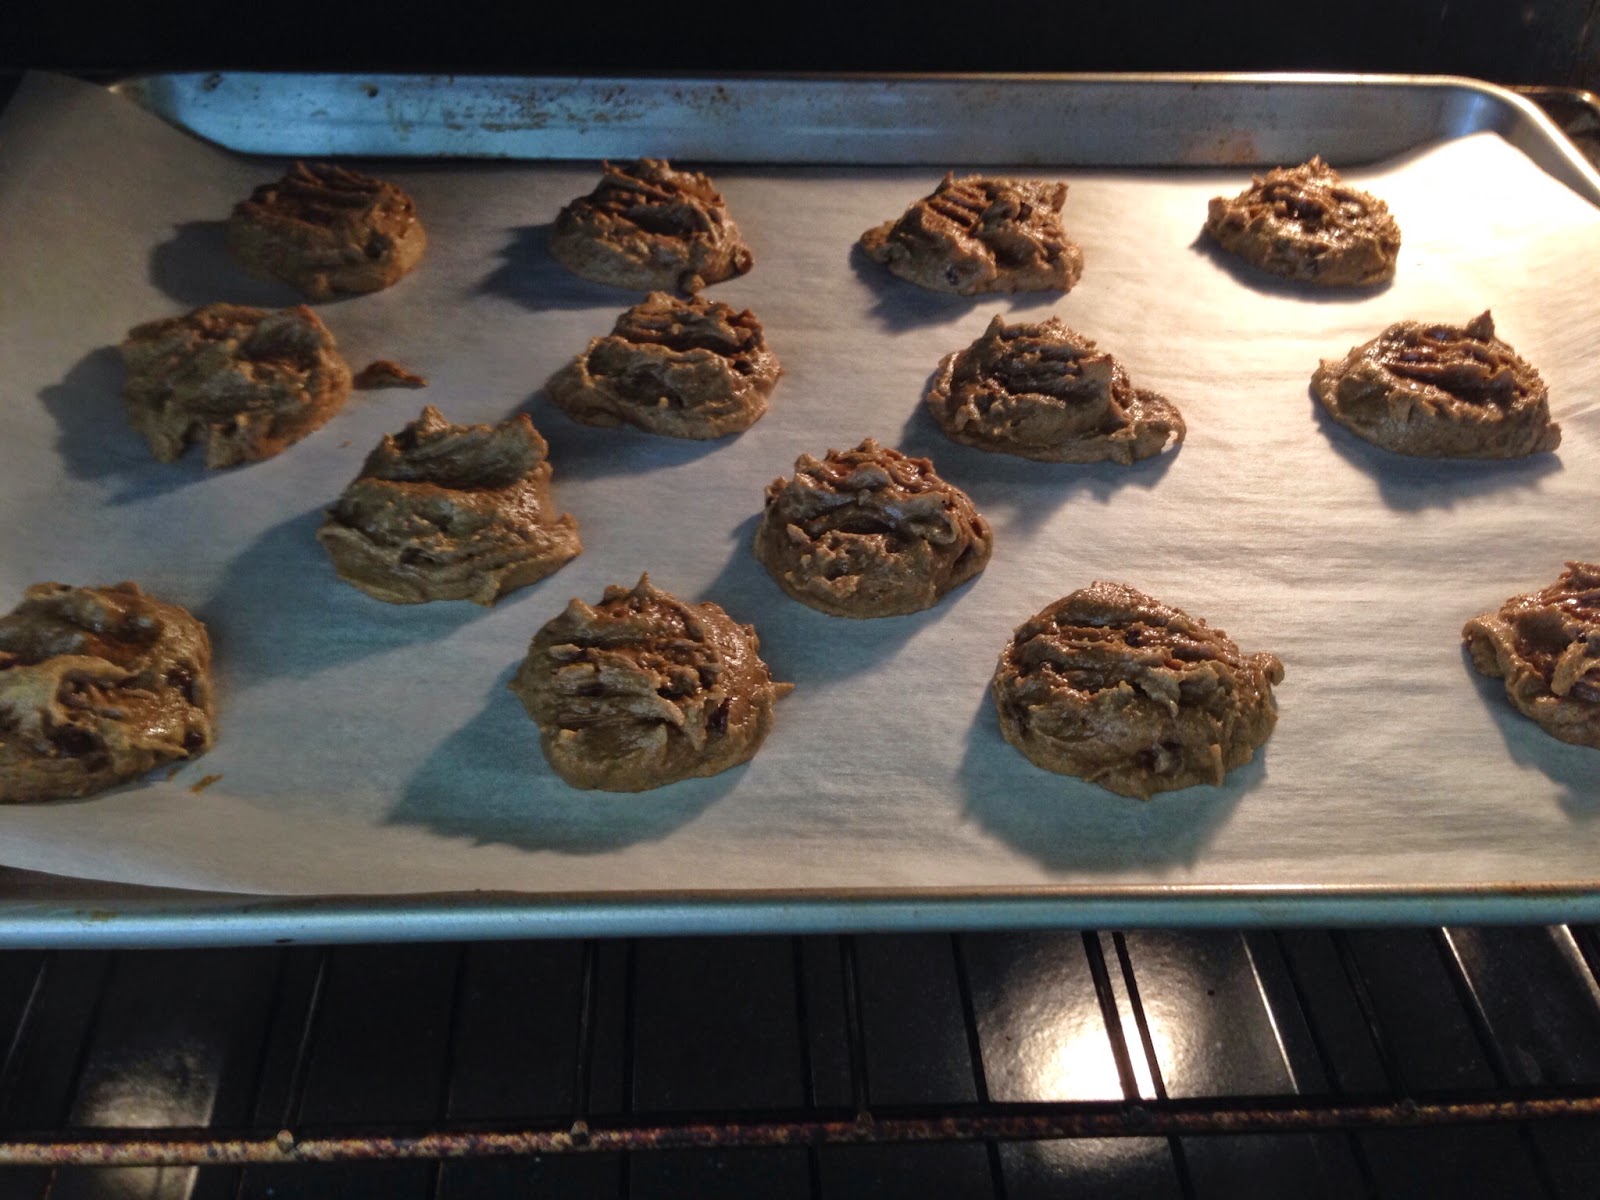
4. Bake 10-12 minutes until edges get slightly crispy and they are golden brown.