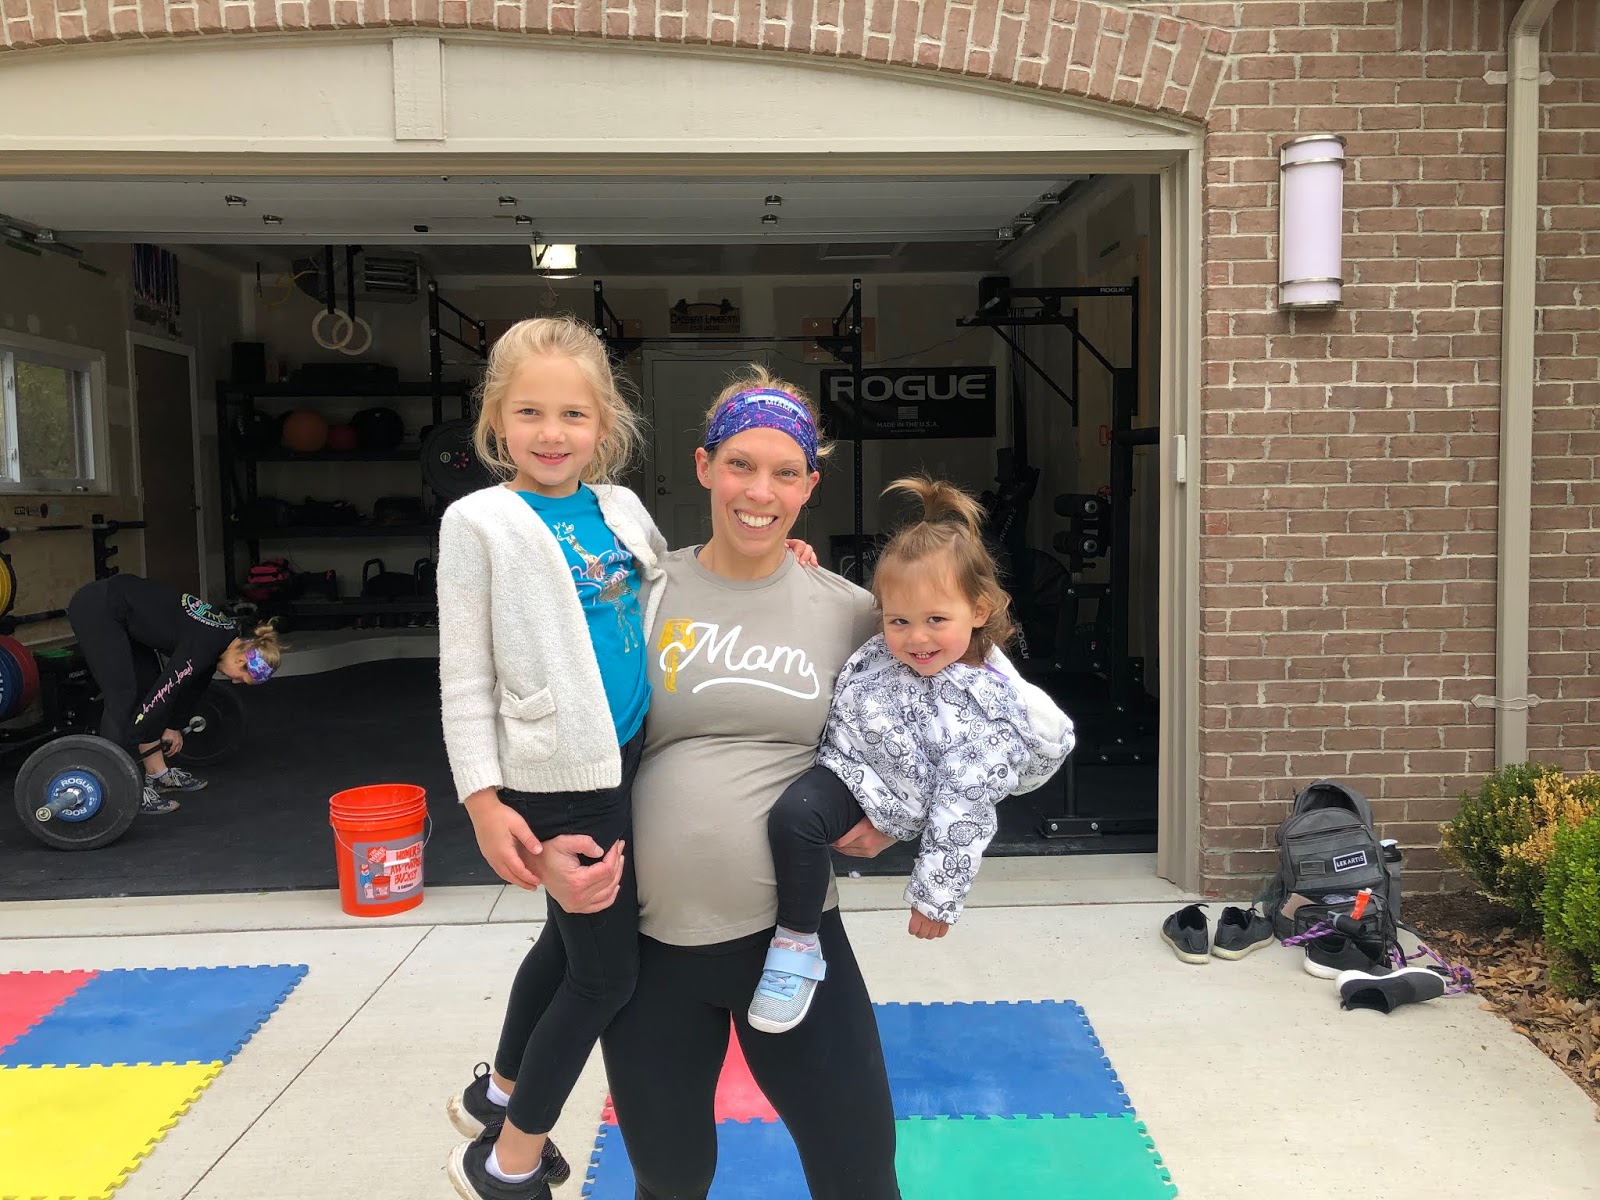
We have a boy! Mack Robert Lamberti was born Just before midnight on June 27th. He was a tiny little guy, only 6lbs 6oz, but never lost the initial weight babies usually do and has been steadily growing ever since. People keep wondering about the name because it isn't common. Robert is for Matt's grandpa, but Mack is literally just a name we liked. It isn't short for anything or named after anyone. :) We had a few options for boy/girls names, but weren't really settled on any. It is assumed since there are two girls already and two girl dogs that we wanted a boy, but even if he were a girl we would have been equally as excited- gender is one of the least concerning things, in our opinion, when it comes to having a baby. Mila has not really taken to having a brother, she loves to give him his pacifier and blanket and gets concerned when he cries, but also likes to tell us to put him down so that she may be picked up. Charlie is amazing... so helpful and I am so glad she is independent to a point. This summer is now going to be a lot less going places and a lot more low key activities around the area/house. So glad my little guy is safely out in the world.

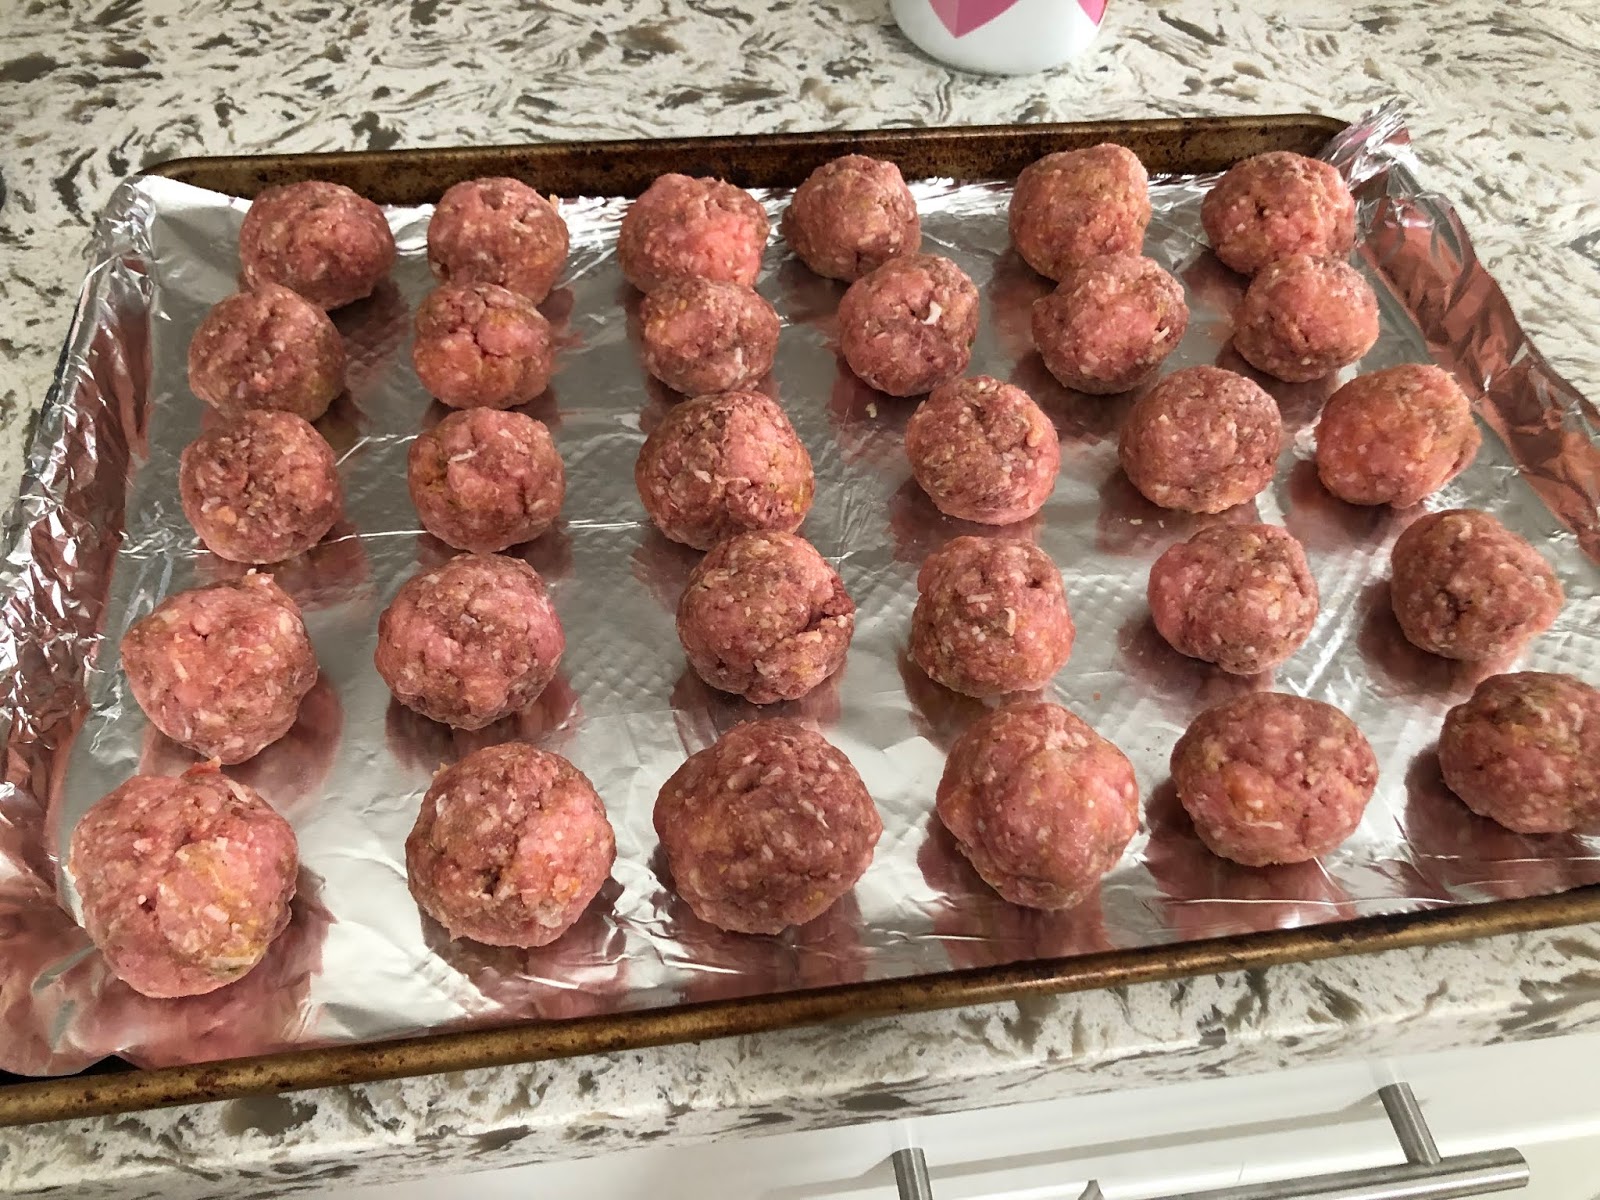
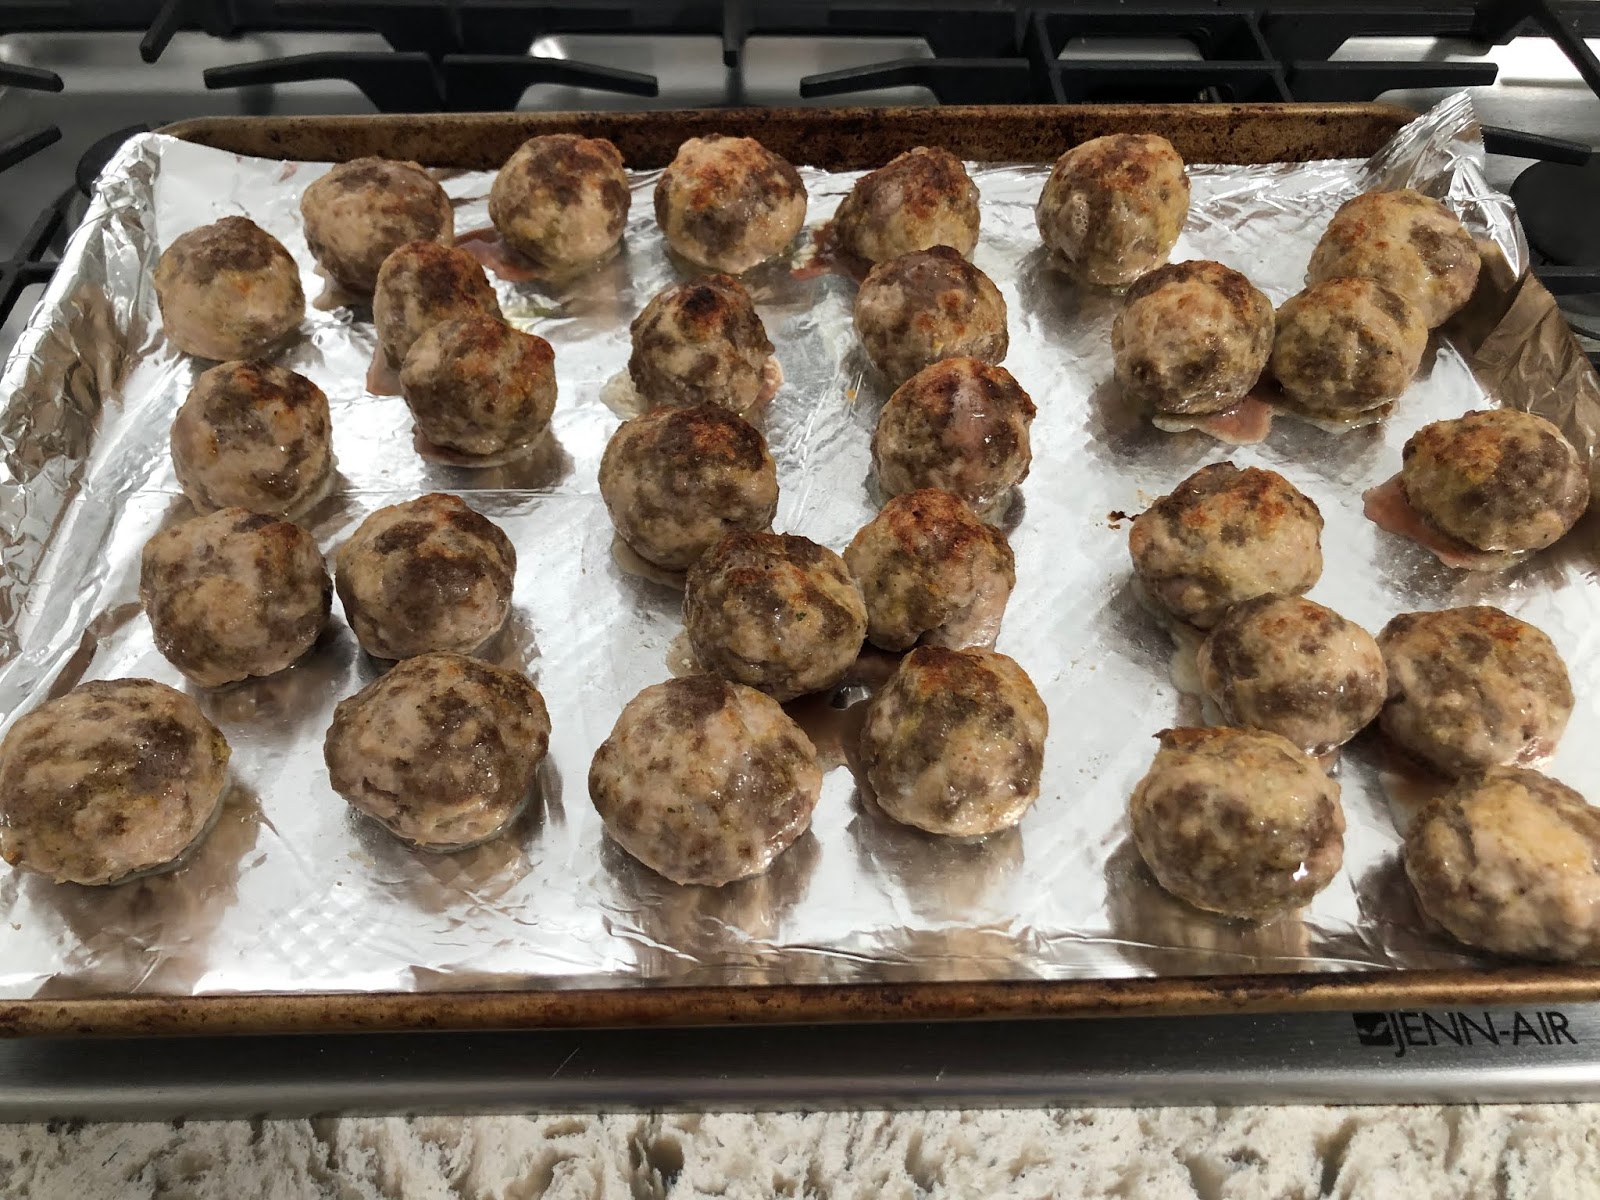
I am saving most of my post-partum meal prep for when I go back to work. In all honesty I still have a decent amount of time right now to prepare dinner. Mila gives me about a 30 min+ nap in the afternoon and Mack can be "worn" or sleeps enough I can prep dinner. This one for sure will be going on the menu though... the meatballs can easily be frozen for a fast dinner in the future. In the summer so it is so nice to use the crockpot, not heat up the house/stand over the stove, to cook dinner. As with most of my recipes, I don't measure a lot! Eyeball it and save yourself the dishes. More meat just means more meatballs, you will have plenty of sauce! Same with the seasoning, eyeballing it is good enough. :) Mila devoured these plain, the rest of the family had them over pasta with roasted broccoli. They would also be amazing on toasted bread as a sub sandwich!
Crockpot Meatballs
(makes about 30 1" balls)
- 1-2lbs Lean Ground Beef
- 1-2lbs Ground Pork
- 1 tsp Onion Powder
- 1 tsp Garlic
- 1 Cup Italian Bread Crumbs
- 2 eggs
- 1/2 Cup Grated Parmesan
- 1 tsp Salt
- 1/2 tsp Pepper
- 2 24-oz Cans Crushed Tomatoes
- 1 8-oz Can Tomato Paste
- 1-2 Dried Bay Leaves
- 1 Tbsp Sugar
- 1 tsp Dried Italian Seasoning
1. Add the meat through pepper to a large bowl. Mix with your hands until everything is well combined. Form into 1-2" balls and place on a foil-lined baking sheet.
2. Move your rack to the top of the over and turn on your broiler. Broil the meatballs until they are browned, flip and do the same to the other side (about 5 min per side.) While they are broiling, make the sauce....
3. Add one can of the crushed tomatoes to your crockpot. When the meatballs are done, add those to the sauce (they won't be cooked through and that's ok!) Add the other can of crushed tomatoes and the remaining ingredients. Cook on low 4-5 hours, taste for more salt/pepper... Enjoy!
Let the countdown begin! I am full-term now and just waiting on the newest member of our family to arrive. I feel like now and the beginning of pregnancy you pay attention to every little detail of your body... then because you are hoping you are pregnant before the test confirms it, and now because you are looking for signs of labor. I am still working out at least 5 days a week but have drastically slowed down. I am about 22 lbs up and showing signs that labor is *hopefully* soon. This week is bittersweet for me because, although I am excited to have a new baby, it is also the week Charlie is with her dad... yes, the week before my due date. Not ideal timing, but in the grand scheme of life and for the sake of being mature I didn't even say anything or argue. I don't need the cliche hospital photos anyway and it will still be a surprise if we add our new addition while she is away. We do plan on not announcing anything about the birth publicly until after she returns, however, so that it is a true surprise for her if it happens this week. :) Although this is the sixth summer, it never gets easier saying good-bye to your first baby. My only advice for those going through the same thing for the first time is to stay busy, make plans, and try to accomplish a task or something you haven't had time to do with kids around. Therefore, Mila and I are trying to stay busy this week and I am trying to enjoy my time with her since this is the last time she will be an only child when Charlie is away. The little stinker is probably not going to be thrilled with this new development!
I am not going to lie, I don't make homemade waffles or pancakes very often. Kodiak cake pancake mix from Costco is a go-to as well as Trader Joe's who makes an excellent frozen version that is ready, without the mess, much faster than anything I could whip up before school! But on the weekends, or even now that it is summer break, making a homemade breakfast not only kills time with the kids in the morning, but is a lot more enjoyable for everyone since we aren't usually rushing off anywhere. These waffles are very old-school, often called "yeasted waffles." I found a very in a very old cookbook I was going through and made some changes. They are made the night before and placed in the fridge, ready to go when you are in the morning. The yeast makes them extra fluffy on the inside and you still get that amazing crispy-ness on the outside. Far superior to pancakes! I recommend making extra so you can freeze some yourself and pop them in the toaster in the future :)
Overnight Waffles
(makes 8-10 waffles)
- 1 3/4 Milk (I used 2%)
- 4 Tbsp Butter (I always use Kerrygold)
- 1 Cup All-purpose Flour
- 1 Cup Whole-Wheat Flour (or all all-purpose)
- 1 Tbsp Honey
- 1 1/2 tsp Rapid-rise Yeast (or instant yeast)
- 1 tsp Salt
- 2 Eggs
- 2 tsp Vanilla Extract
- Pinch of Cinnamon (optional)
The night before-
1. Either in the microwave for 2 minutes, or on the stove, heat the milk and butter together until the butter is melted and the milk is warm. Let the mixture cool while you gather the other ingredients.
2. In a large bowl, whisk the flours, sugar, yeast, salt and cinnamon.
3. Add the eggs and vanilla, then slowly whisk in the warm milk mixture until smooth.
4. Cover the bowl tightly with plastic wrap and refrigerate overnight... at least 10 hours.
In the morning-
Your batter will have risen just like you and your children!
Heat your waffle iron.
When the iron is ready, remove the batter from the fridge and whisk. It will deflate. Pour the batter into the center as you normally would, close and cook until the waffle is golden brown. I usually use about 1 cup of batter for my square waffle iron that makes 4 at a time.
Enjoy!
The end of the school year is upon us, at least in Michigan. I know a lot of schools are already out, but we don't get out until mid-June. This is the time of year the parents are forcing tired and worn out kids to go to school and keep trying, and teachers are trying to keep the kids focused just a little longer. With the idea that we will be starting before labor day in the coming years and still going to this time at the end of the year I can only imagine this will get worse. There is something to be said about quality over quantity of school days. The state keeps adding days... that's not going to fix the gap between low and high achieving students, nor is it probably best for students in general, but what do I know, I am just a teacher with 10 years of experience, not a law maker with none aside from their own schooling.
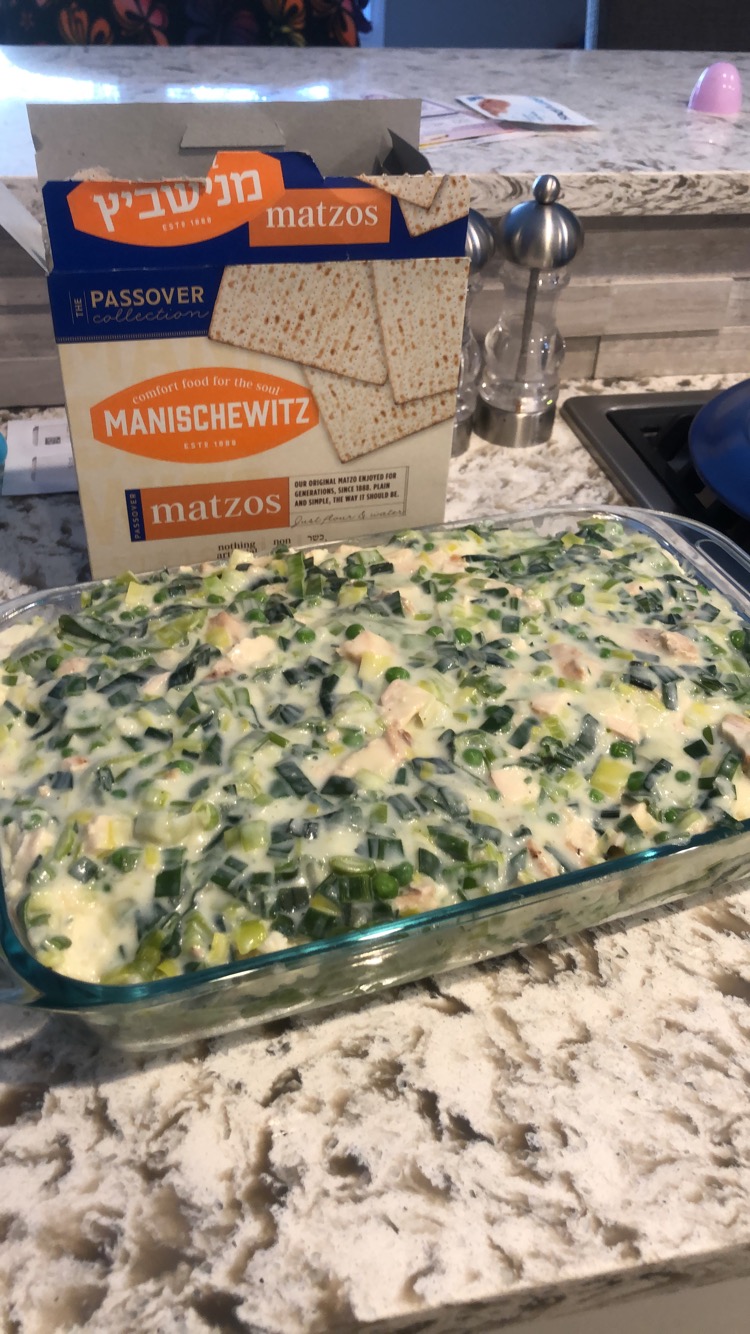
This is also the time of the year I am running out of dinner ideas. I am sick of every thing and prepping ahead is getting more daunting. I have been watching Molly Yeh, among others, on the Food Network and she made a dish similar to this I thought I would try. Charlie doesn't eat noodles so I thought this would be a great idea for her, and I was correct, she ate four helpings the first night. It was also a big hit with the rest of the family as well. Since Passover just ended it is also a great way to find matzo sheets on sale, or use up any leftovers. I couldn't find sheets at my local grocery store, probably because I didn't know where to look and shopping with kids is incredibly distracting, but my best friend Rena's mom came to the rescue with an extra box she had from Passover... yay! This dish could easily be made vegetarian like Molly did, just leave out the chicken.
Matzo Chicken White Lasagna
Sauce:
1/4 Cup (4 Tbsp) Unsalted Butter
1/4 Cup All-purpose Flour
2 Leeks, chopped and rinsed
4-6 Green Onions (scallions), chopped
4 Garlic Cloves, minced
3 Cups Milk
1 Cup Chicken (or vegetable) Stock
1/2 Cup Peas, frozen is fine
1 tsp Onion Powder
2 Chicken Breasts, cooked and chopped
Salt and Pepper
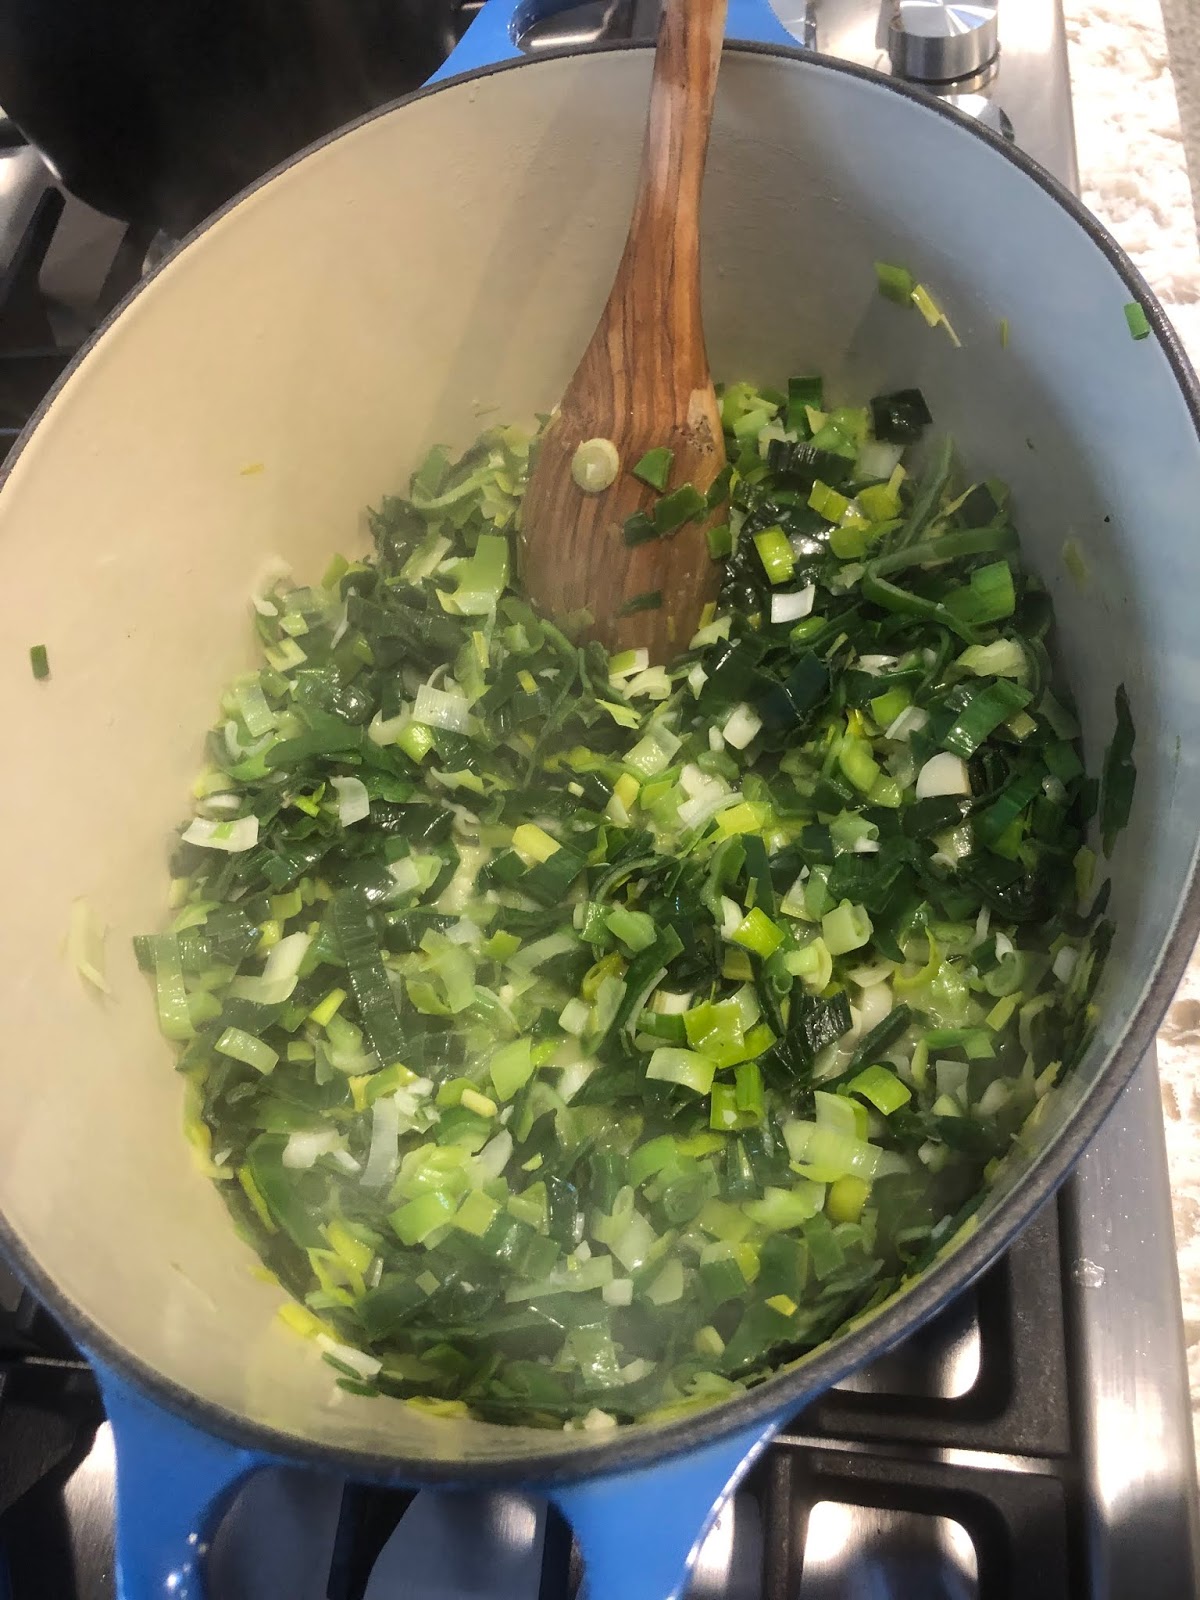
In a large sauce pan, melt the butter over medium high heat. Add the onions and leeks with a pinch of salt. Saute until very soft- 5-7 min.
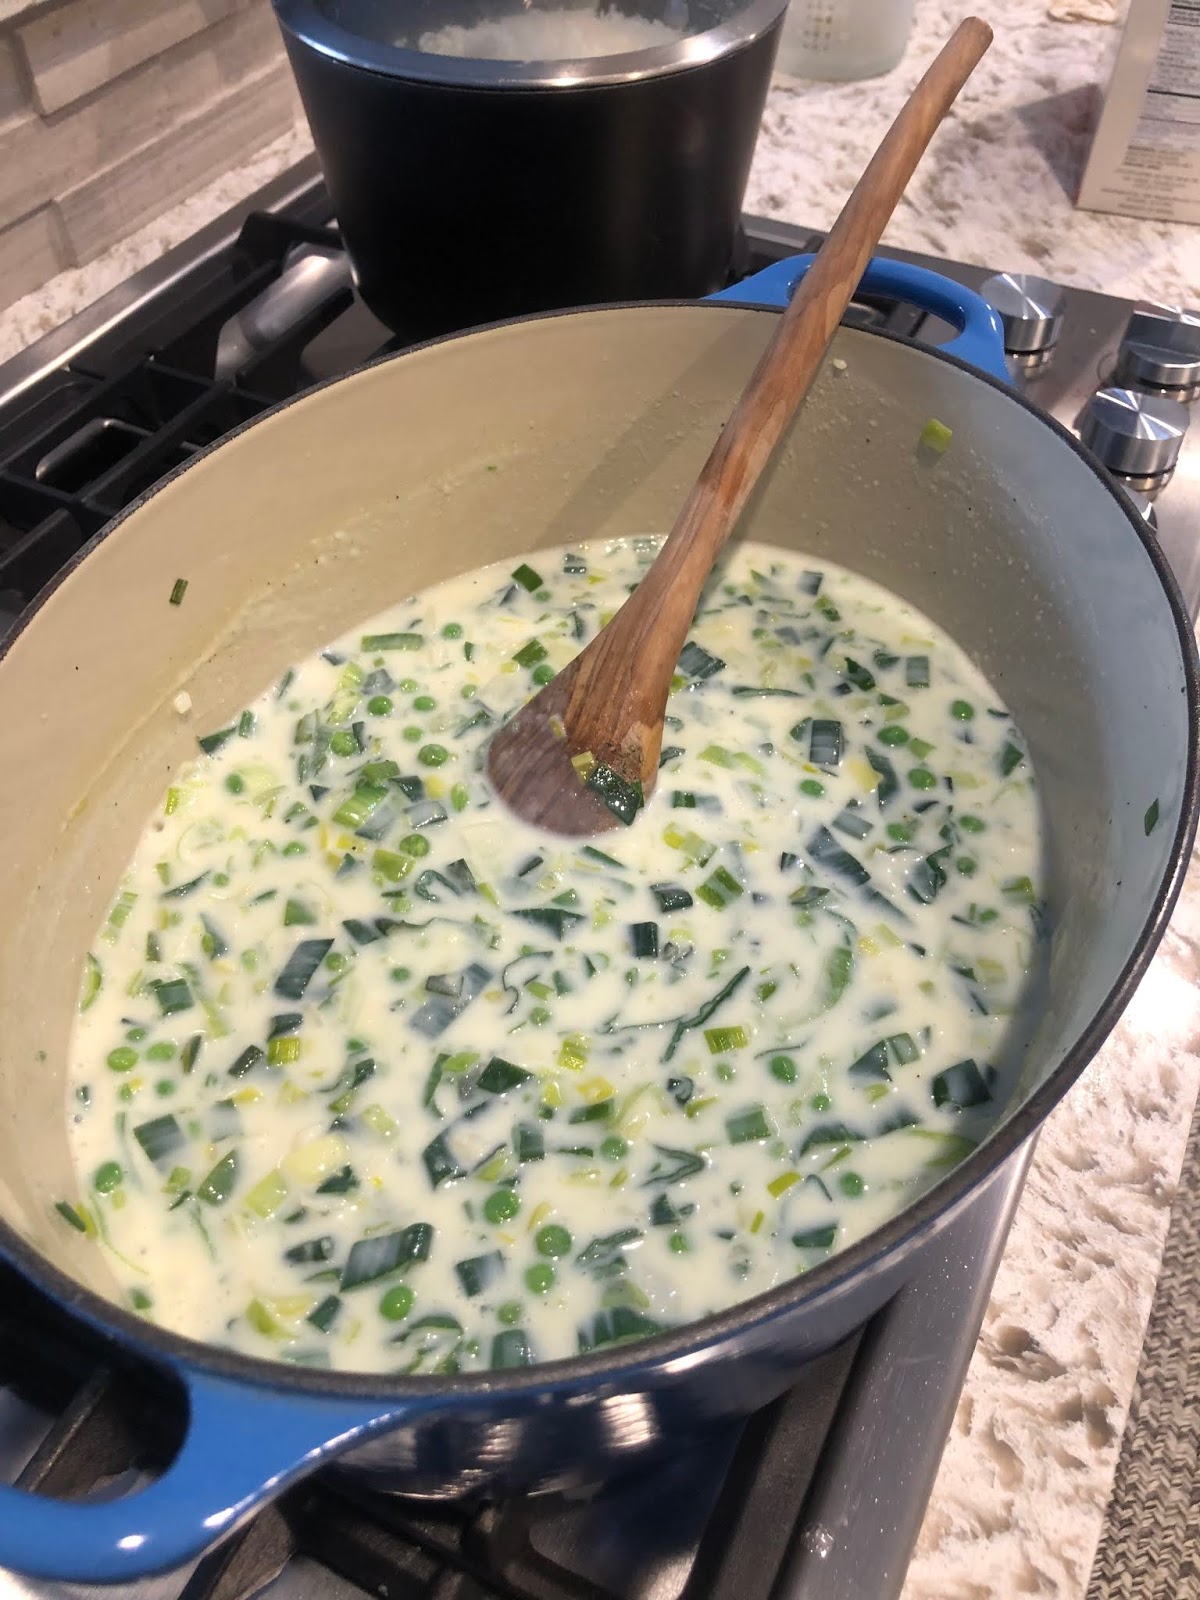
Add the garlic and onion powder and cook another 1 min. Add the flour and whisk until the mixture is thick and clumpy- about 1 more min. Add the milk and stock slowly, whisking constantly. Continue to stir until the mixture thickens. Stir in the peas, chicken
and a few cranks of fresh pepper. Taste for salt and pepper. Add more to taste. Set the sauce aside.
Filling:
- 1 Egg
- 1 15-oz Container Part Skim Ricotta
- 1 10-oz Container Frozen, Chopped Spinach, thawed and squeezed
- 1 Cup Shredded Parmesan Cheese
- 2 Cups Shredded Mozarella
- Salt and Pepper
9+ Sheets of Matzo (plain or lightly salted)
To make the filling, mix the egg through salt and pepper in a bowl. Reserve some of the cheese for the topping! About 1/2 cup of each kind.
Preheat the oven to 350 degrees.
In a lightly sprayed 9x13 glass baking dish, spread 1/2 cup of the sauce.
Next, start the layers...
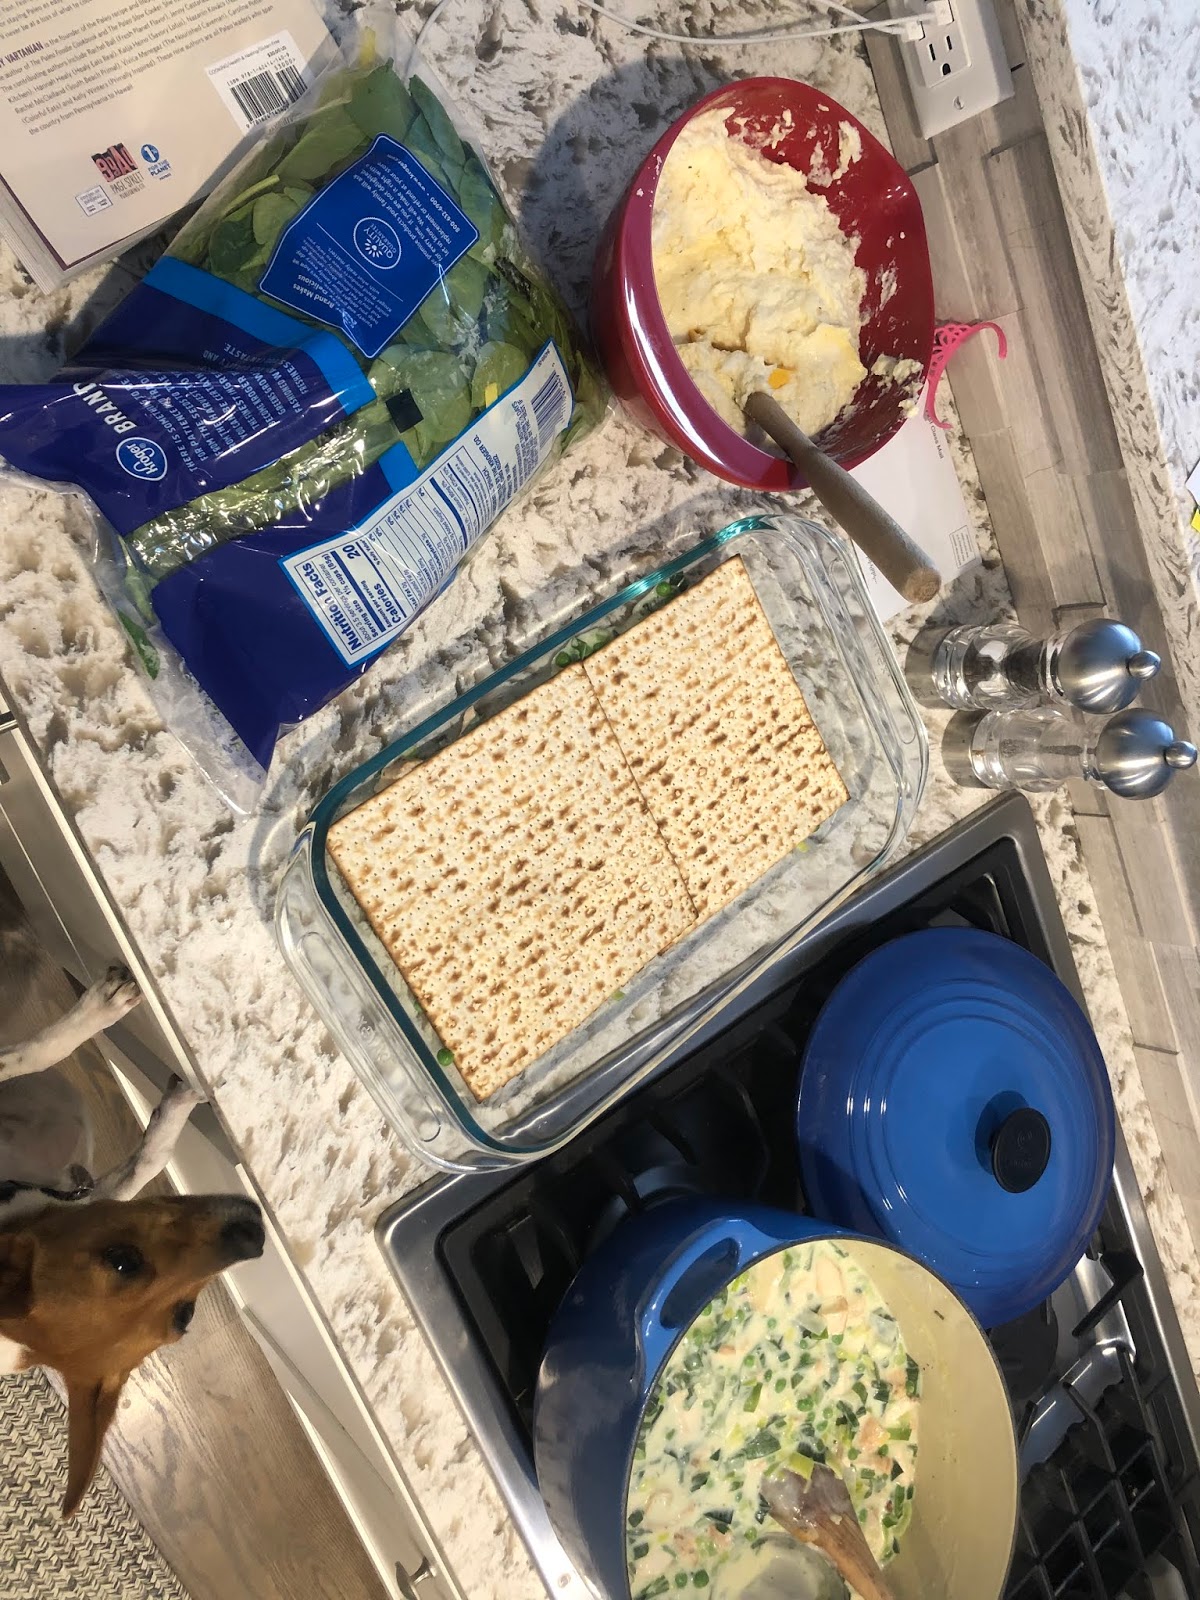
2 Sheets of Matzo
1/3 Filling
1-2 Cups of Sauce
....
another 2 Sheets of Matzo
1/3 Filling
1-2 Cups of Sauce
....
2 Sheets of Matzo
The rest of the Filling
The rest of the Sauce
Crumble the remaining sheets of matzo and combine with the cheese you saved. Sprinkle over the top. Cover with foil and bake 45 min. Remove the foil and bake uncovered for another 15 until bubbly.
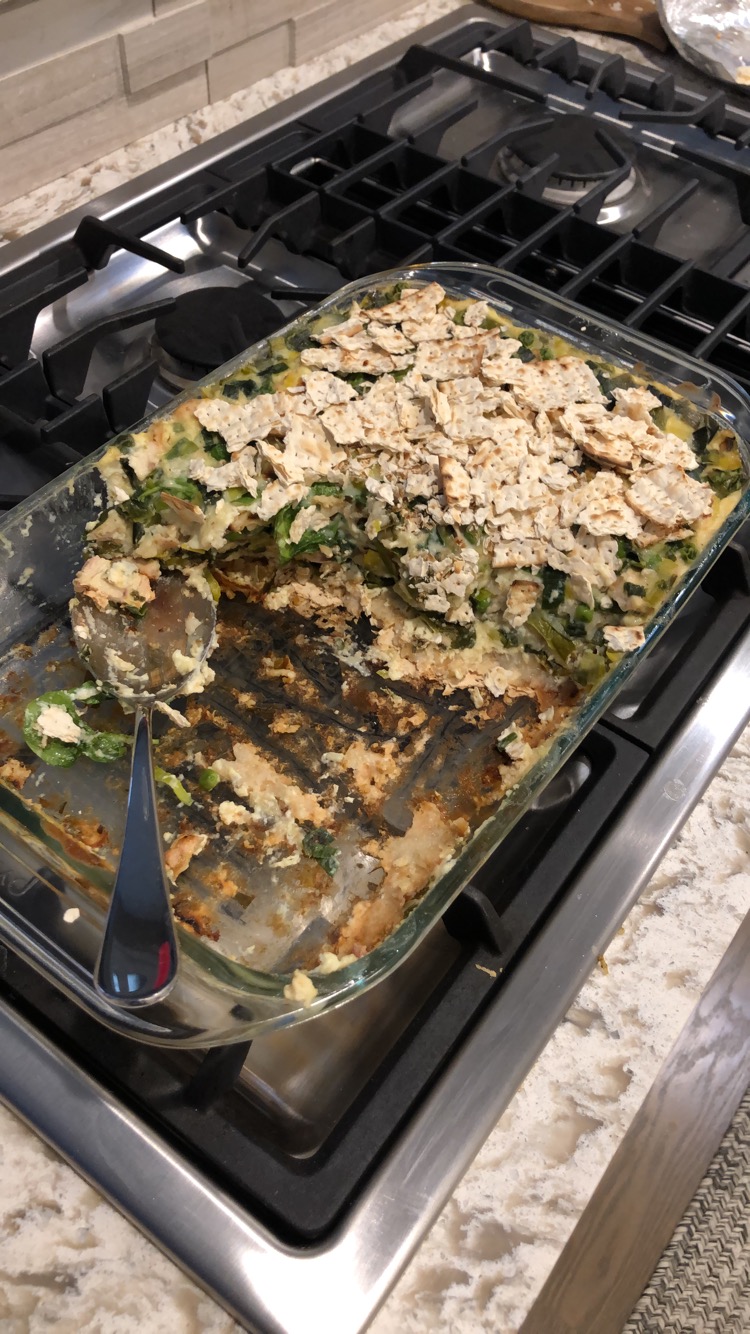
You can also freeze this or make it in advance and bake it the next day! Bake, covered, for 1 hr 15-30min and another 15 uncovered if this is the case. My first attempt wasn't beautiful as you can see, but it was delicious! Enjoy!
I'm back! Since October I had been debating stopping my blog altogether, turning it into a .com or continuing as is. As with most things, the longer you take not doing something the longer it takes to get it going again... couple that with us moving, getting a new puppy and finding out I was pregnant with baby 3.5 and life got in the way! I am now entering my third trimester, we moved our gym to our new garage, and Izzy, the pomskey, has been an interesting add to the family... I have also still be taking pictures of food and writing recipes so I guess a small part of me knew I would start this up again.

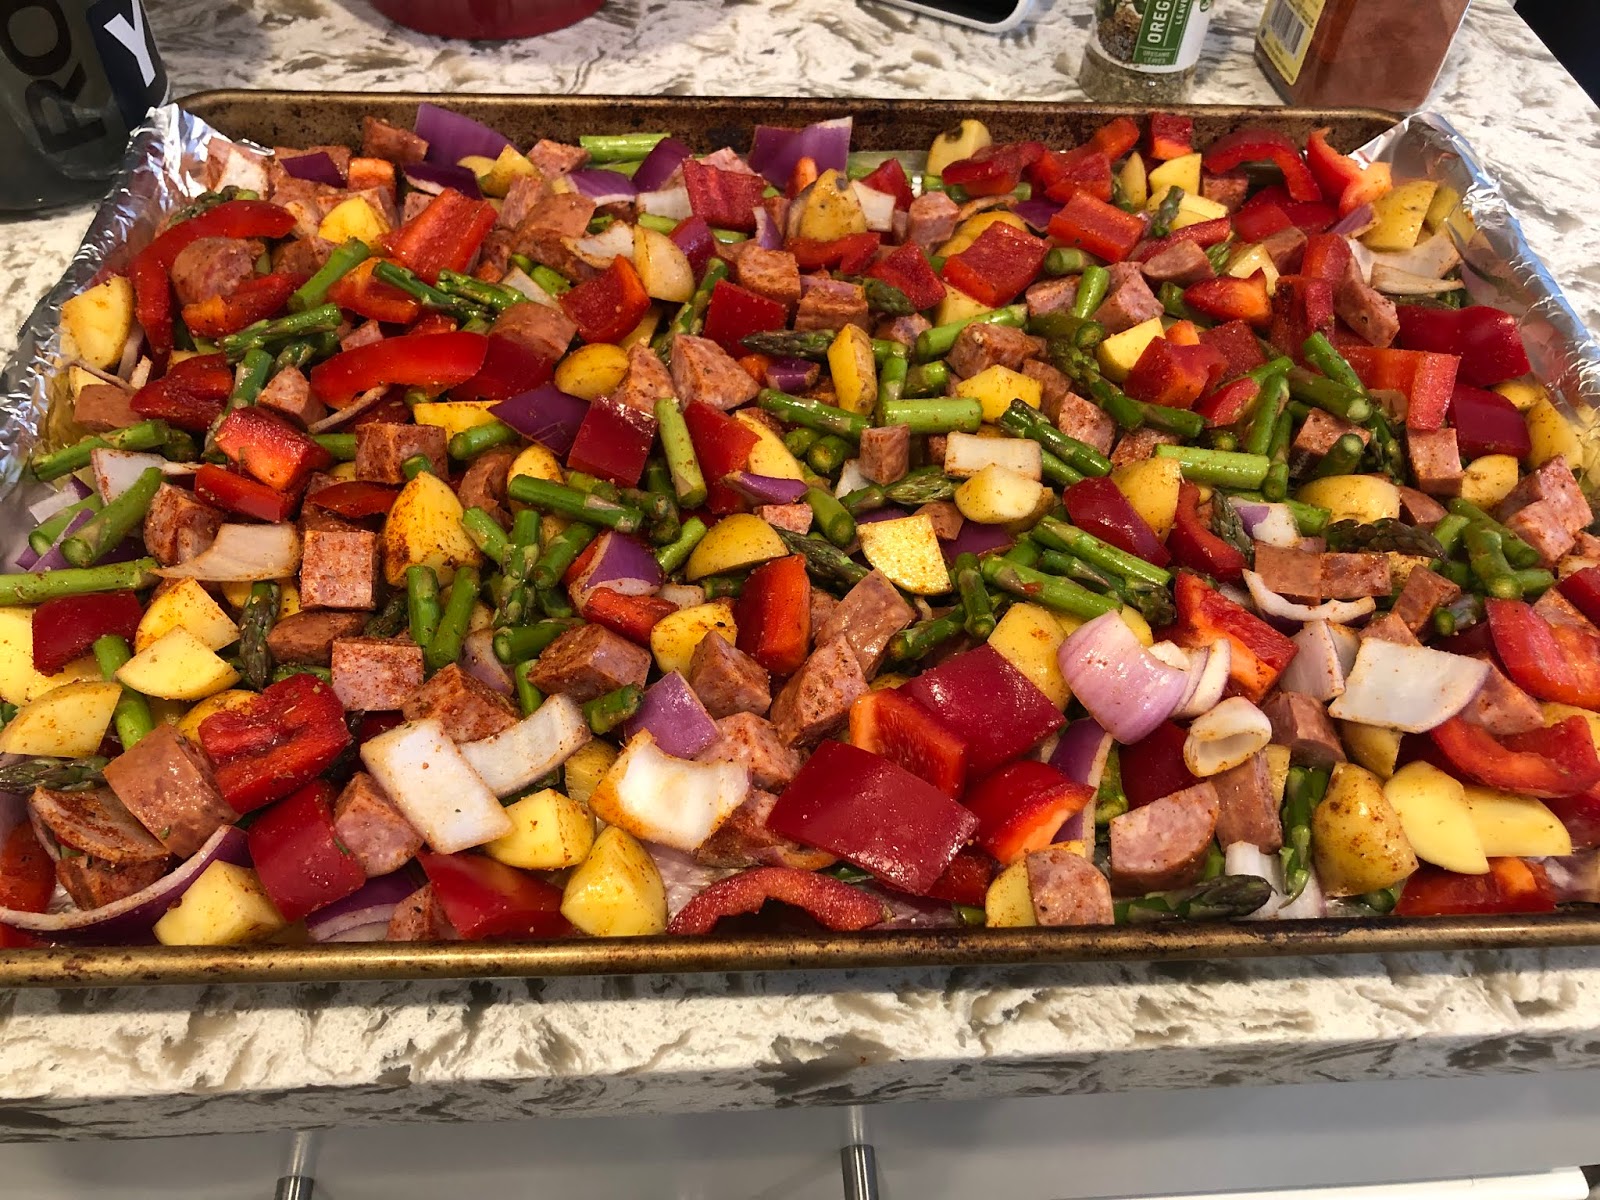
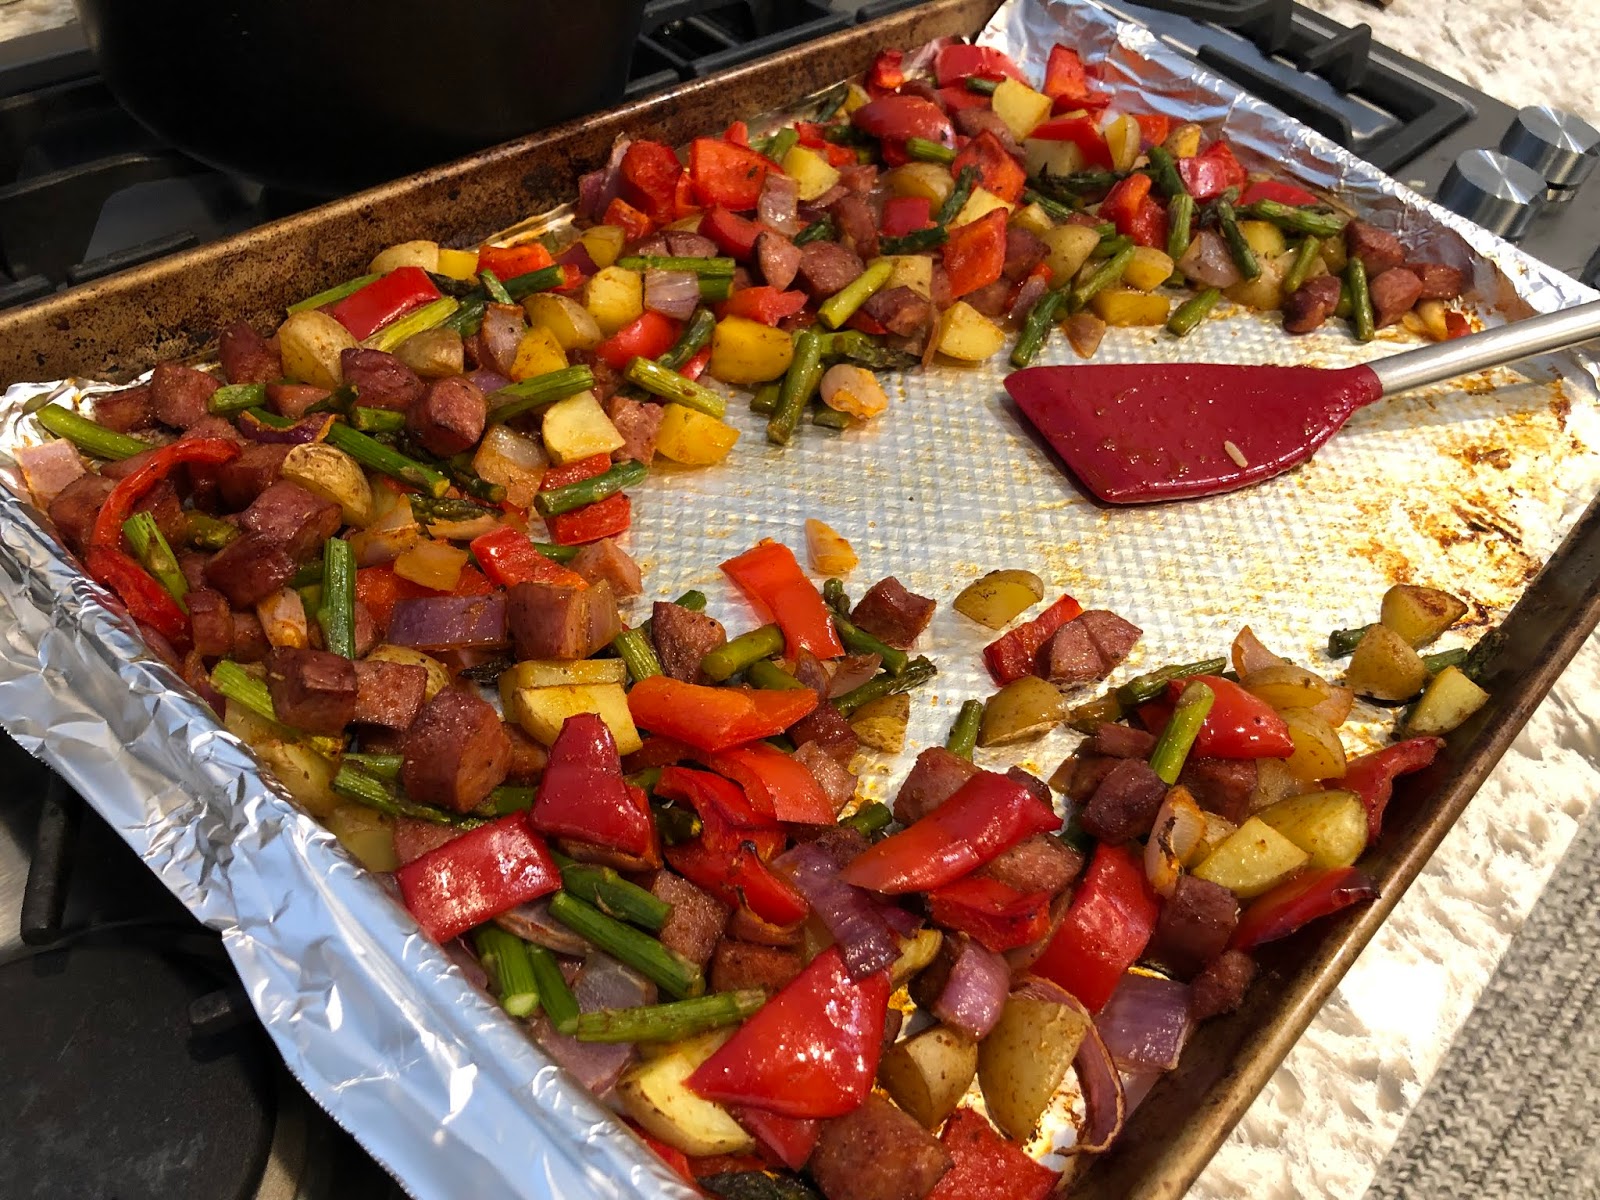
As with most things in my life food-wise I like to keep it simple and easy. This is something we make at least three times a month at home. It is easy and can be thrown together with whatever vegetables and meat I have on-hand. If you have a family larger than 4 I would recommend two sheet pans... you want to roast everything, not steam it by crowding the pan. Since there are already potatoes I don't eat it with anything else except hot sauce, but Matt being Matt likes it over rice :)
Sheet Pan Dinners
(Vegetables can be changed for whatever your family likes- just try to get 5+ cups!)
- 2-3 Small to Medium Yukon Gold Potatoes (or red skin or one sweet potato)
- 1 Bunch of Asparagus, trimmed and cut into 1"ish sections
- 2 Cups-ish Broccoli Florets
- 1/2 Onion (red onion is a great idea!)
- 1-2 Bell Peppers, cut into thin strips or 1" chunks
- 1lb Meat- I use smoked turkey sausage or kielbasa (for a lower fat option, use chicken breasts cut into bite-sized pieces)
- Olive Oil
- 1/2 tsp Garlic Powder
- 1 tsp Paprika
- 1/2 tsp Salt
- 1/4 tsp Black Pepper
- 1/2 tsp Dried Oregano*
- Pinch of Red Pepper Flakes*
*Optional
Preheat oven to 400 degrees
Line a cookie sheet with parchment paper. Toss the vegetables/meat with a drizzle of olive oil and spread out on the cookie sheet. Bake for 20 minutes. Toss and turn the oven up to 425 degrees and roast for another 15 minutes.
As you can see from my lack of posts I have been busy... as are most of you I would venture to guess. One of my biggest irritations is the assumption that just because people do not have young children at home that they are not busy. We all have our hobbies, jobs, and priorities that make our lives full. Being a parent was and is a choice, a volunteer position if you will, not a job. If you choose to stay home that is a lifestyle choice that makes you busy and stressed in a different way then someone who doesn't stay home or has no children. I find it insulting to say to someone that doesn't have kids that they don't know what being tired and stressed and financially strapped is compared to someone who does... first of all that was your choice and their life is their choice, so don't complain as many people would love to feel the "stress" of children. Secondly, I have two children (young) and my dog wakes me up more at night to go outside or drink water or whatever than they do.

Either way we all need to eat breakfast... whether you wake up and workout first, run out the door, relax with your cup of coffee, eventually you need to eat. I have been meal prepping for years and breakfast seems to be the neglected meal during the week. I make my eggs and oatmeal every morning, but there had to be a better and faster way... so here are three recipes I have been using to make breakfast easier on the family and myself.
One-Bowl FAST Banana Bread
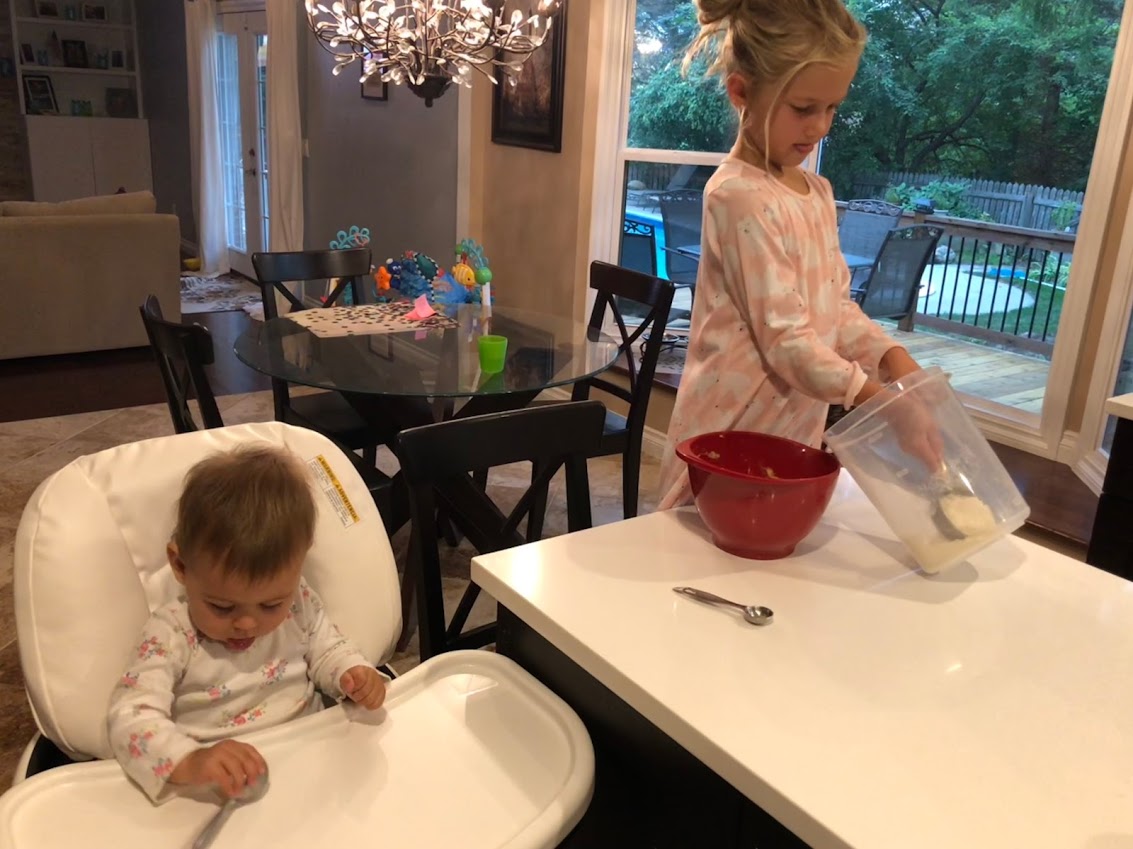
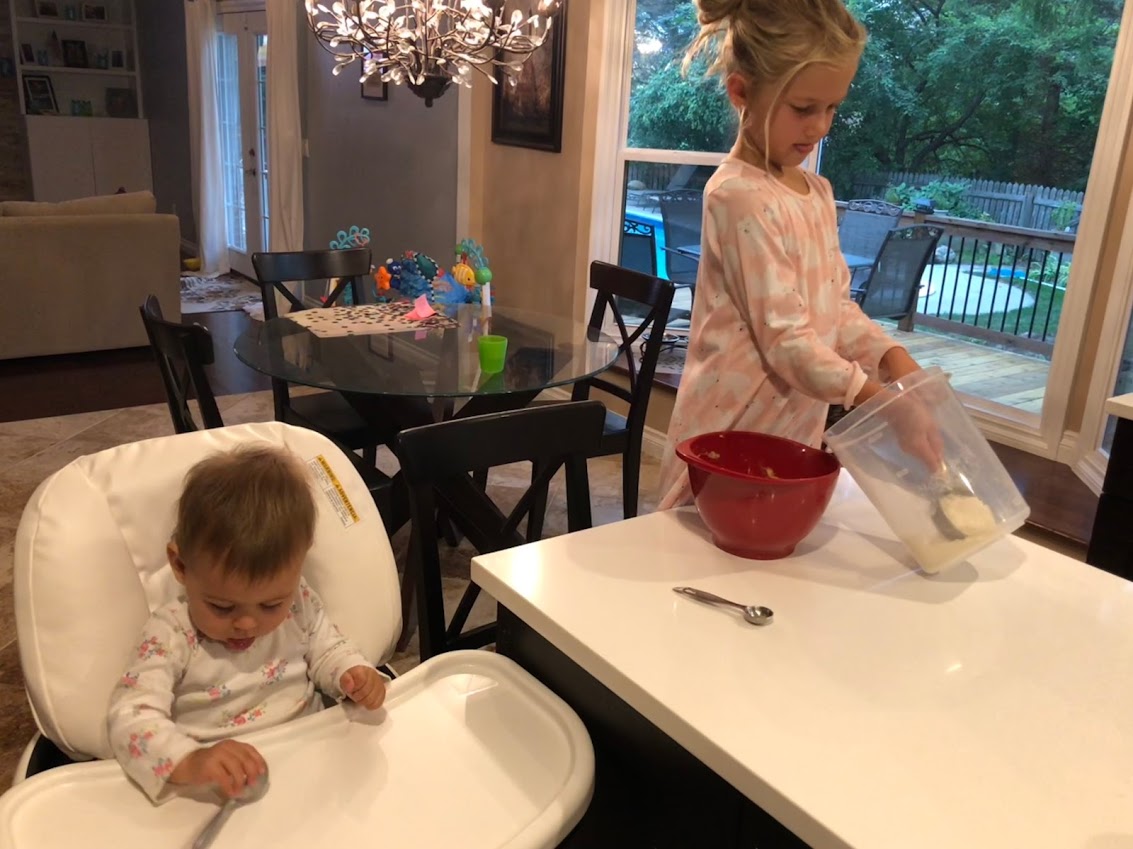
It has happened several mornings where I notice the fruit flies and rotting bananas on my counter. Instead of throwing them in the freezer for smoothies like I normally do, I thought why not make banana bread?! Charlie has gotten so good at helping in the kitchen and this is so easy and so fast and has ingredients we always have on hand she can almost make it herself. It is so fast to make, aside from baking time, we can easily make it at 5am when we are up and it's done by 6am when we leave for school.
- 2-3 overripe bananas
- 5 Tbsp Melted Butter
- 1.5 Cups Flour (you can replace 1/2 cup with whole wheat if you want)
- 1/3 Cup Sugar (I don’t like my bread overly sweet. But you can go up to 1/2 cup)- 1 tsp Vanilla- 1 tsp Baking Powder
- pinch of salt
Preheat the oven to 350 degrees.
Mash the bananas with a fork and add the remaining ingredients to the same bowl. Mix until everything is combined. Pour into a greased loaf pan. Bake for 50 minutes until a toothpick inserted in the middle comes out clean. Enjoy!
- 1 Egg (3 Tbsp Egg whites)
- 1 tsp Cinnamon (optional)
- chocolate chips or nuts or whatever else you like also optional
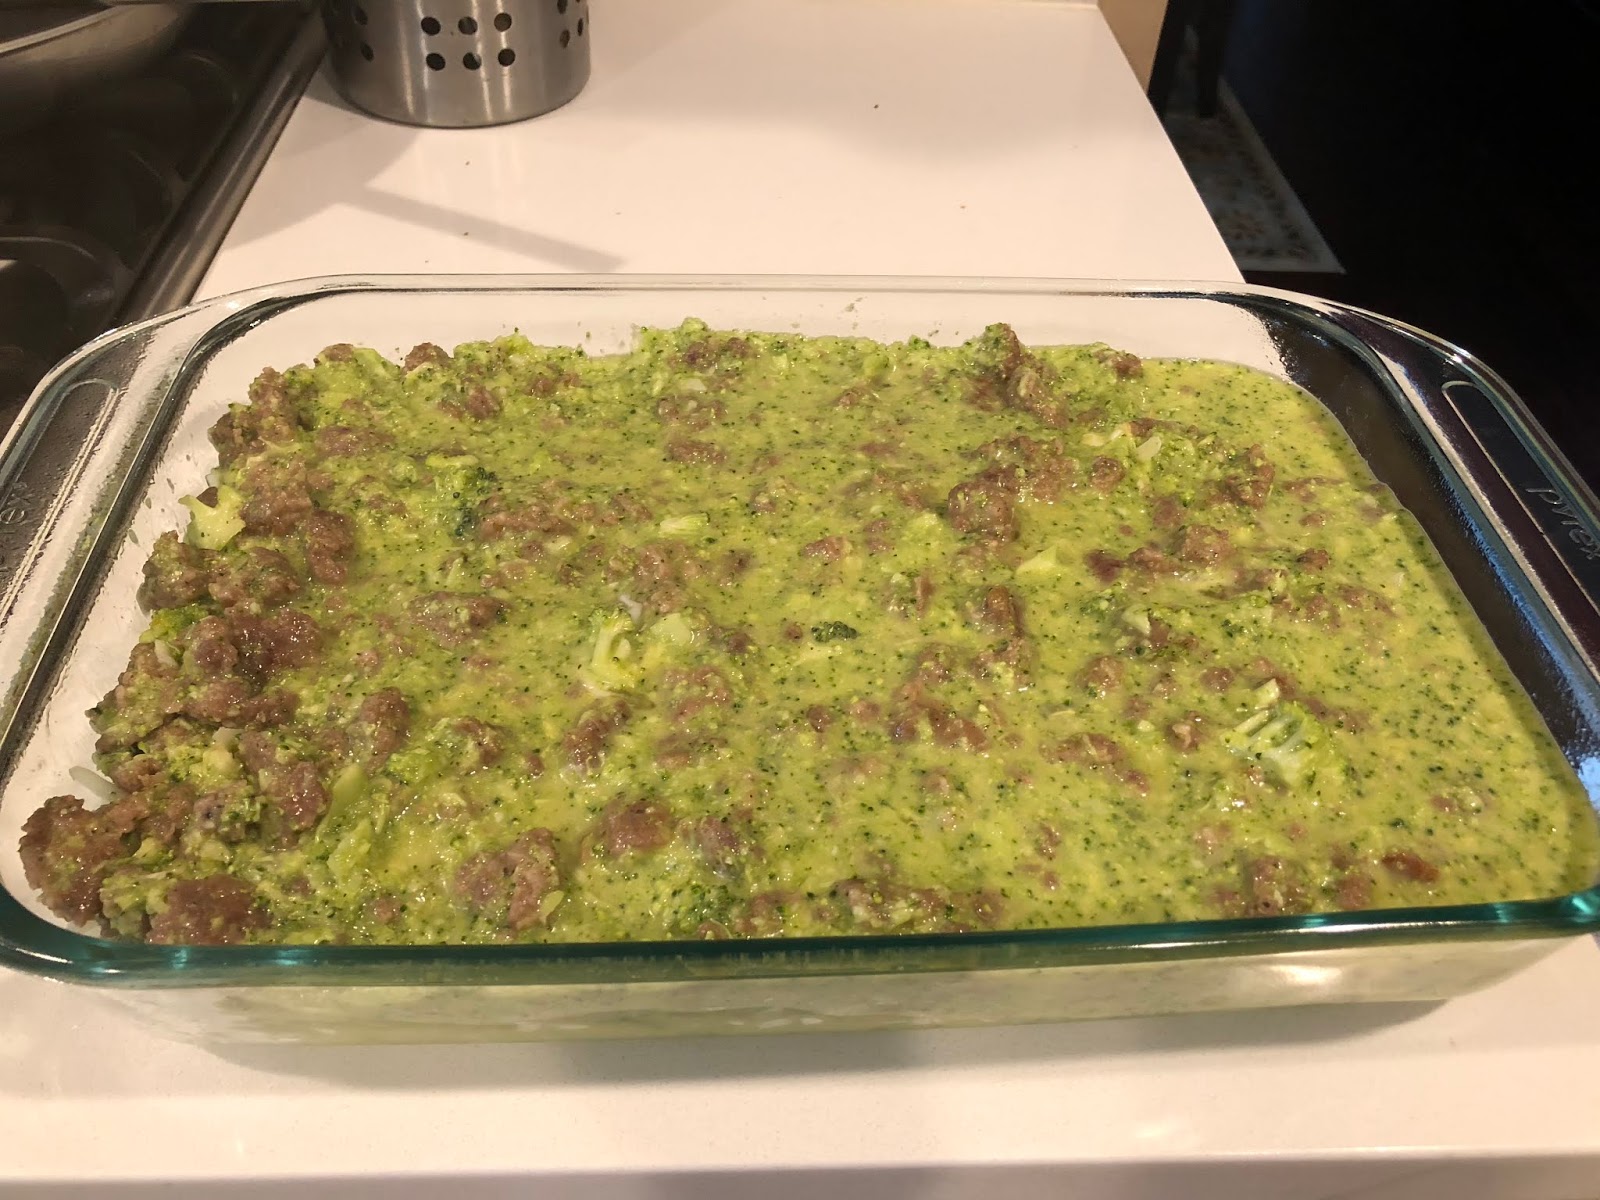
Breakfast Bake
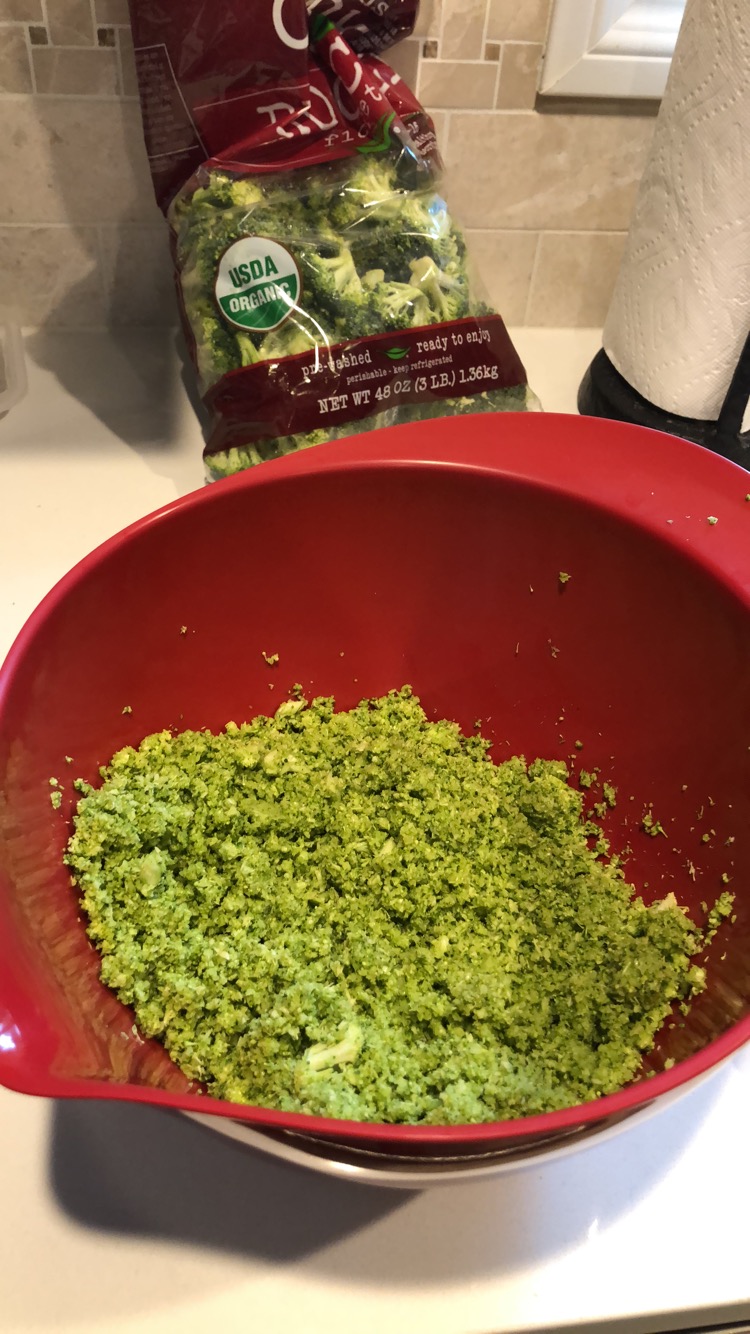
This can be made for whatever vegetables/meat or lack of, your family likes. I have made it with the hashbrowns and without, with the sausage and without, and it turns out great every time. Broccoli in the food processor eliminates food waste by using the stems and adds vegetables without adding too much vegetable flavors you, or your kids, may not enjoy.
Aside from the 12 eggs and milk, the other ingredients are optional!
- 12 eggs
- 1 Cup Milk
- 4-5 Cups Broccoli (or any other vegetables- peppers, mushrooms, spinach, etc)
- 1lb Sausage (ground)
- Salt and Pepper
- 1 Cup Shredded Cheese
- 12 oz Shredded Potatoes
Preheat the oven to 325 degrees.
1. Pulse the broccoli in a food processor, or chop the vegetables in a fine dice.
2. Cook the sausage and set it aside to cool, on paper towel to drain the grease.
3. In a large bowl, whisk the eggs, milk, salt, pepper and vegetables, cheese and meat.
4. Pour the potatoes (if using) into a greased 9x13" glass baking dish. Pour the egg mixture over the top. Cover with foil and bake 50-60 min- on the longer side if you used. Remove the foil and bake another 10-15 min until the center is set.
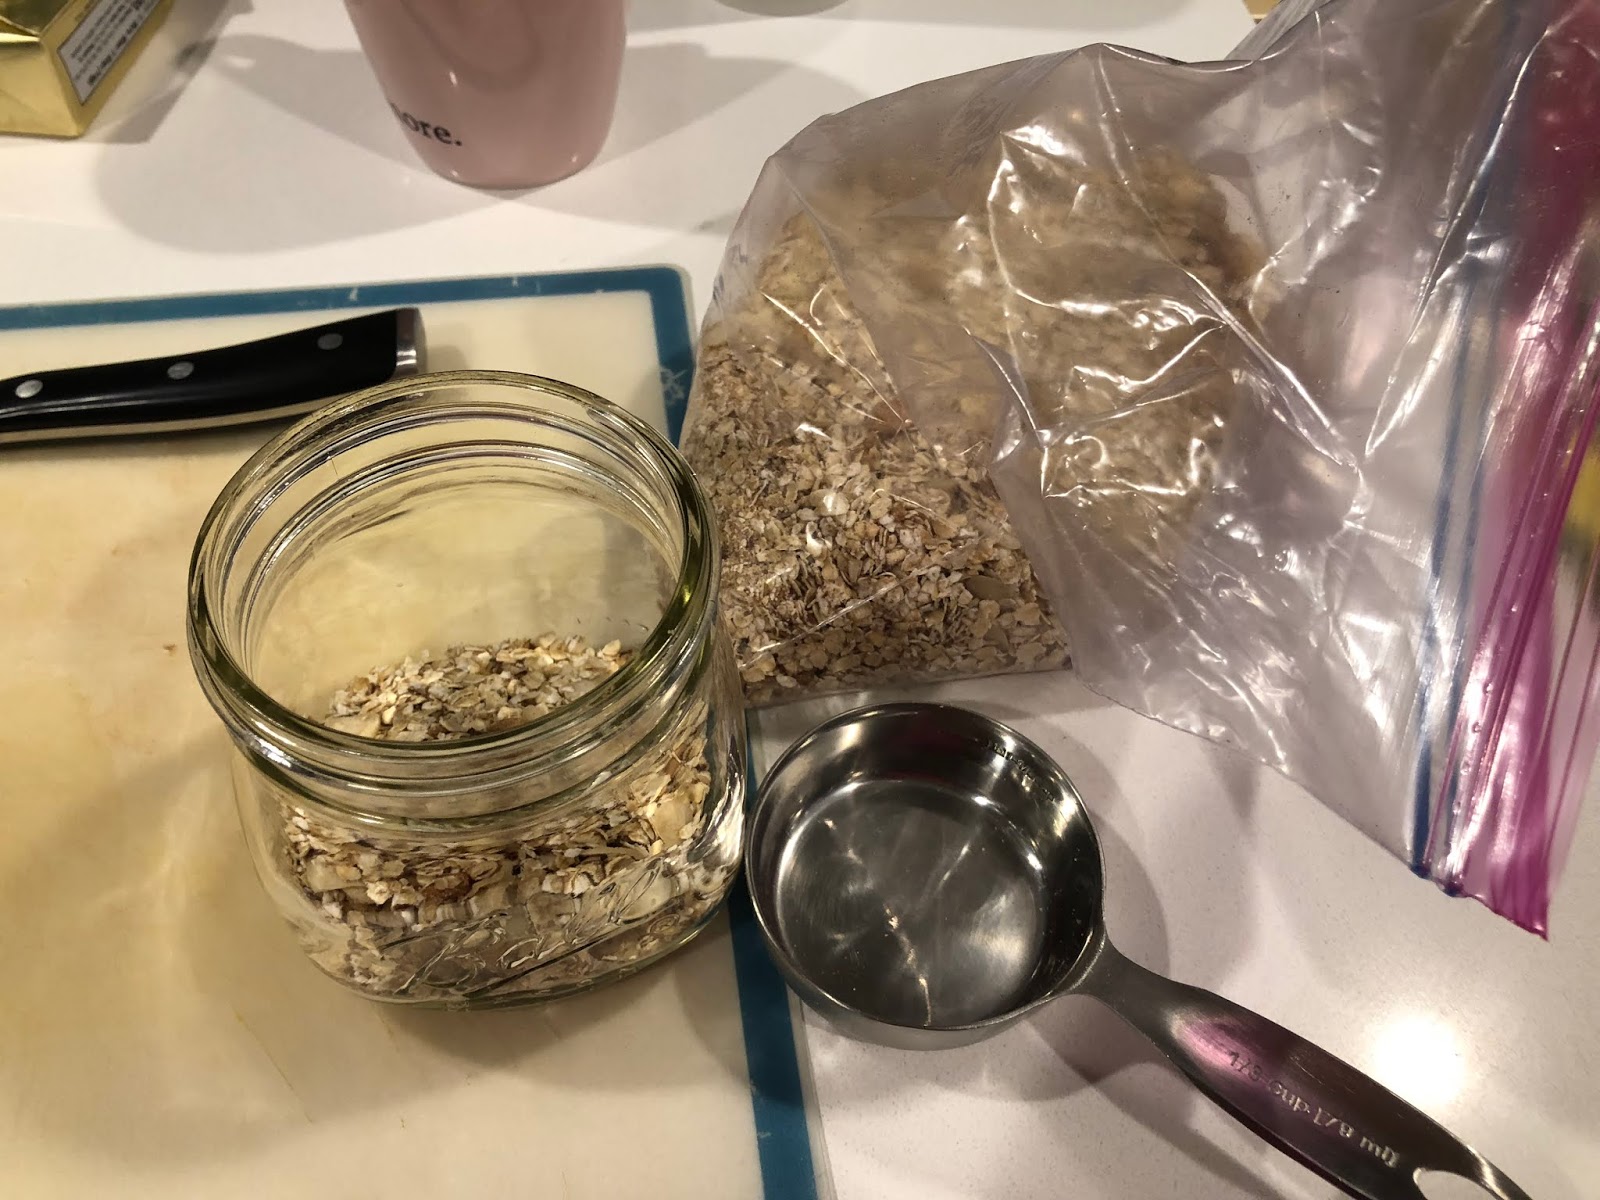
Instant Oatmeal
This is awesome to keep in a bag, ready to go. I usually use 1/3 cup and this makes enough for a few weeks! I eat my egg bake before I leave the house and eat this when I get to work. You can use whatever dried fruit or nuts you like- personally this apple and cinnamon version reminds me of childhood. Cookie and Kate is a blog I follow and I got the idea for this from her. :)
- 4 Cups Quick Cooking Oats
- 1 Cup Sliced, Blanched Almonds
- 1 Cup Chopped, Dried Apples
- 1/2 Cup Ground Flaxseed
- 1/3 Cup Brown Sugar
- 1 Tbsp Ground Cinnamon
- 3/4 tsp Salt
Mix everything together and store in an air-tight container.
When you are ready to eat, mix 1/3 cup oatmeal with 2/3 cup water and microwave 1.5-2min. Stir and let it sit. Enjoy!
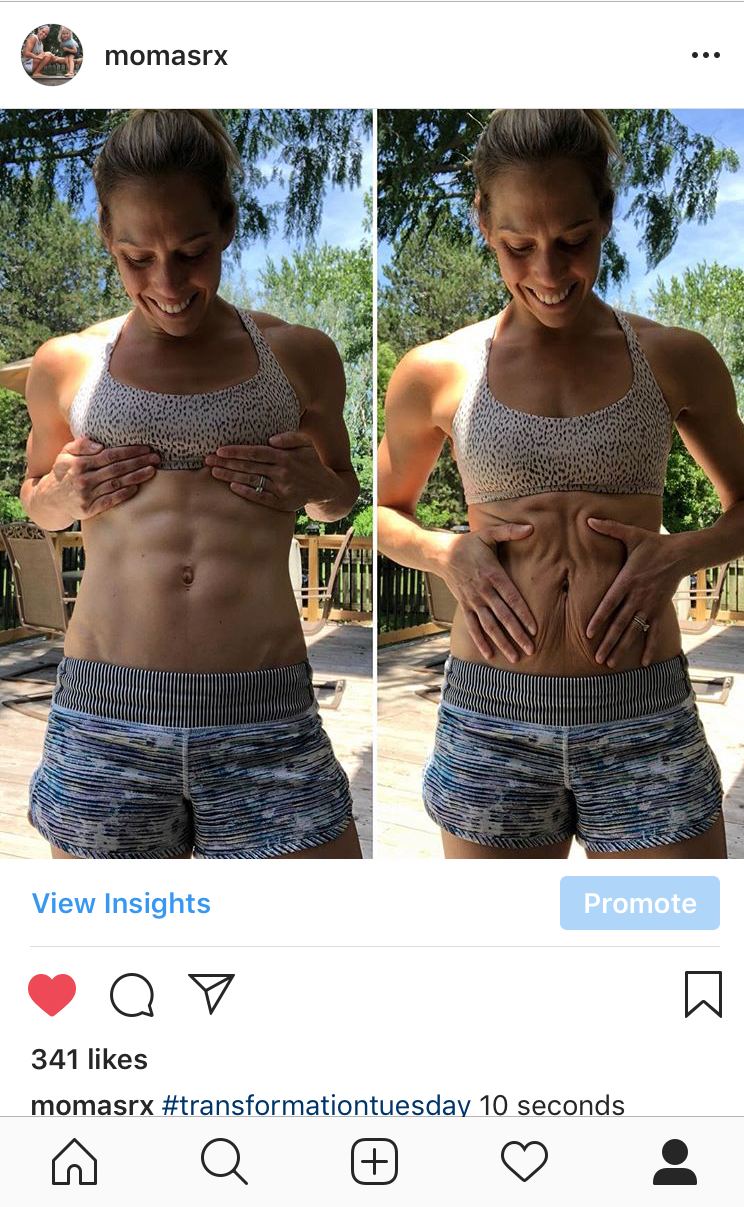
If you are public on social media it is not uncommon for trolls to come out... reminds me of the bullies I see in the high school I teach in. It is so much easier now to be mean because you are hiding behind a computer. I have also noticed an increase of tantrums when people don't get their way and forgetting that freedom of speech does not mean there are not ramifications for what you say. The anonymity of the internet seems to make people think they can say whatever they want no matter how rude or uncalled for. So from the guy who recently told me that I am too thin and need to eat a hamburger (?? ummm I didn't ask for your opinion on how I look, I do eat them and thanks for missing the point of my post) someone else said something to me the other day that I found fairly rude.
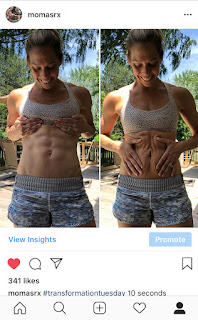
She was trying to get me to join her "team" of beach body coaches and said since I post about fitness anyway (but don't and never will do beach body) and I should make money off the people I motivate and the money I could make could help me leave my job and then I wouldn't have to leave my child every day in daycare for someone else to raise. First of all I don't need a monetary award for inspiring people, it is not my intent in the first place... second, I like my job, I don't want to quit.... and third, I think daycare is good for my children. They are socialized, taught, and loved there, but know damn well I am their mother and no one is "raising" my kids for me. They are just being raised in a way that is different than if I were at home, which I think is better for all of us and works for my family. Charlie is social, loving, confident, independent, and smart... and she progressed from daycare to school without issue and I love the child she is today so I don't I raised her poorly by being at work 10 months of the year and I assume the same will be true for Mila. Go back to your hole trolls.
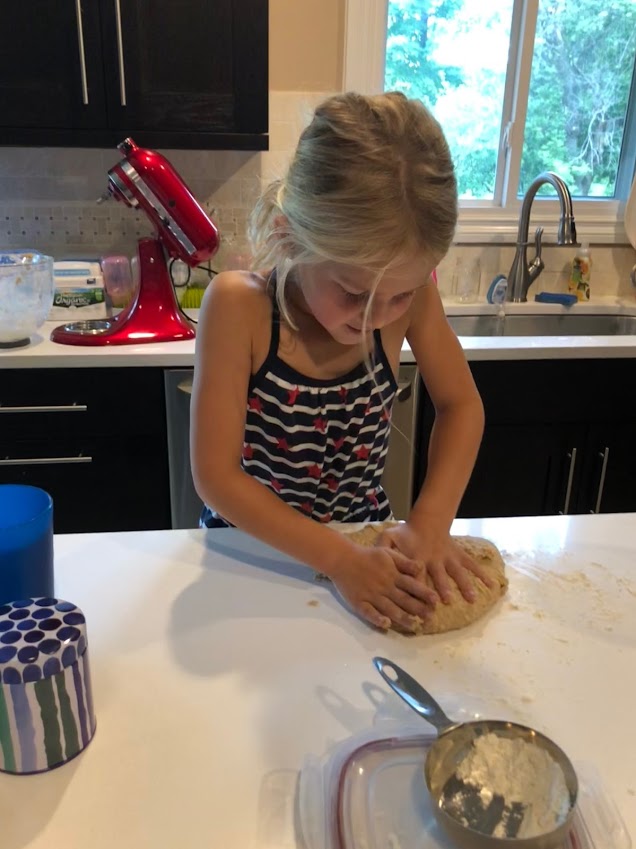
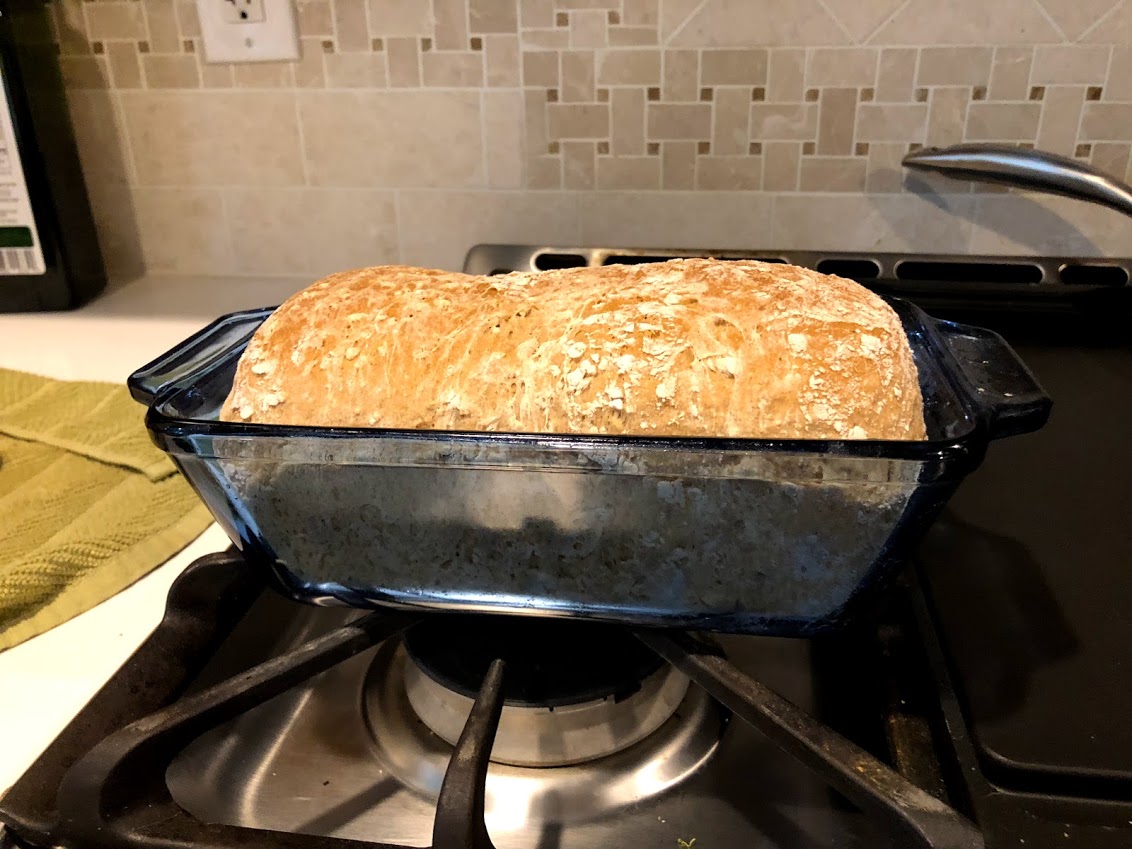
On to the positives! This summer I have gotten really into two things... 1) growing "sprouts" or microgreens with Charlie and 2) Bread making. I had no idea it was actually quite easy and the only issue is the time it takes. I have been making around 2 loaves a week for over a month now, along with other things like pita bread, and so I thought I would share my favorites!
I read so many blogs and websites trying to find the best method for bread making without kneading forever. I also didn't want to let the bread rise overnight because that's honestly annoying. So I came up with my own recipe using fast-active yeast so that the bread doesn't need a second time to rise, and it can be ready in under 2 hours... don't worry, most of that time is waiting :)
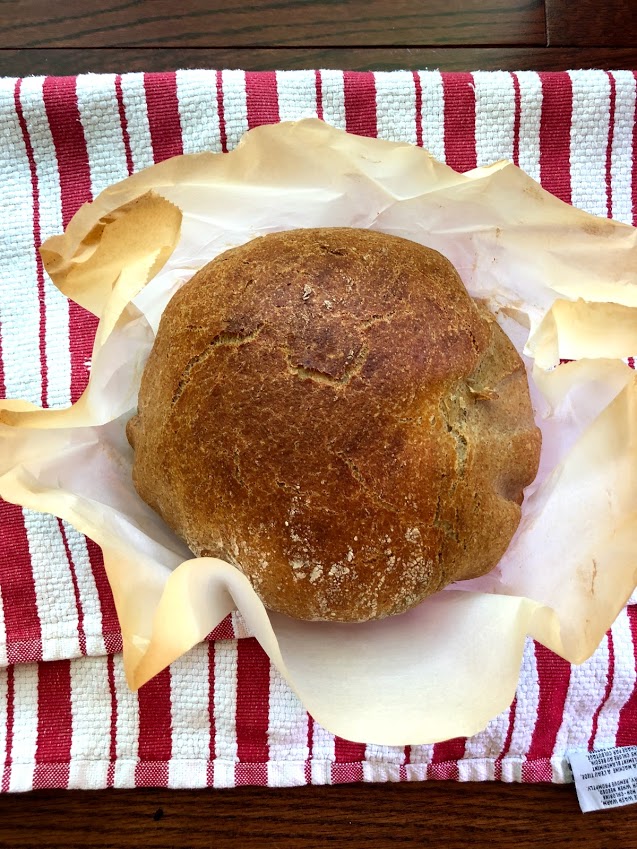
Fast No-Knead Crusty Bread
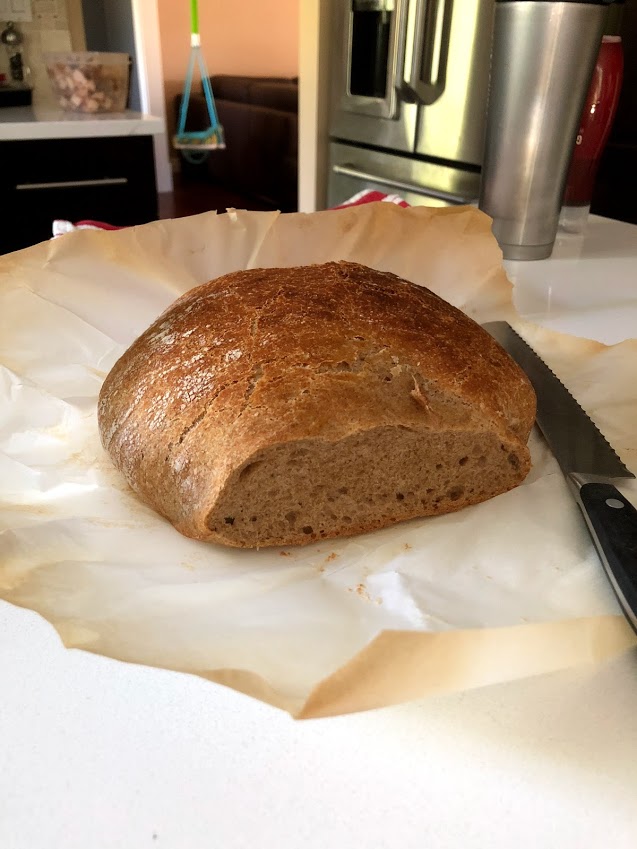
This dense and crusty bread is a favorite of Charlie's with homemade tomato soup... I highly recommend Cookie and Kate's version, found on her blog or in her cookbook "Eat Real Food."
*If you would like it less dense, use more all-purpose flour and less whole wheat.
- 2 Cups Whole Wheat Flour
- 1 Cup All-purpose Flour
- 1 1/2 tsp Salt
- 1-2 tsp Honey, or Sugar, or Maple Syrup
- 2 1/4 tsp Dry Fast-Acting Yeast (one packet)
- 1 1/2 Cups Warm Water (heated to 120 degrees, I do this by feel- it should be really warm but not "hot" because you don't want to kill the yeast)
- Olive Oil
1. Add the honey and yeast to the warm water and set it aside. Whisk the flours and salt.
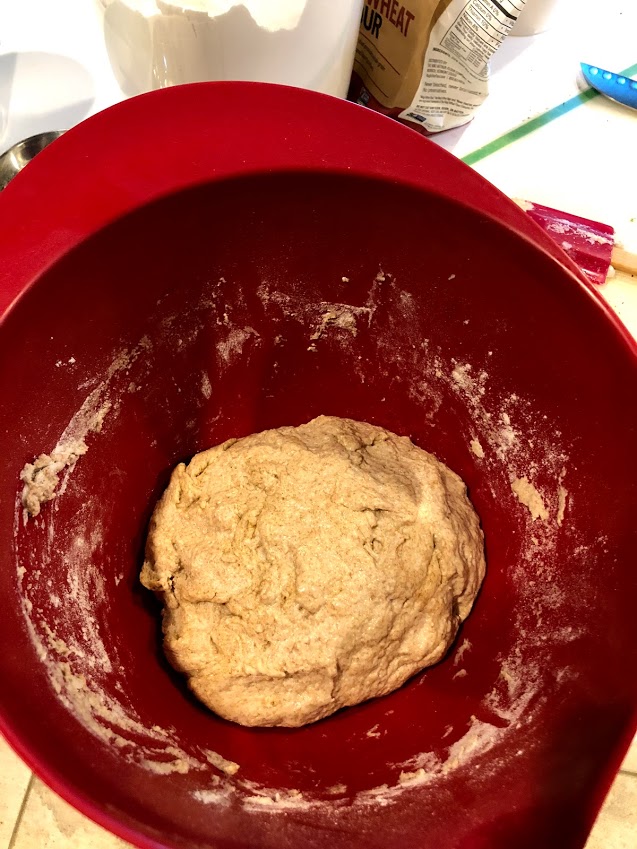
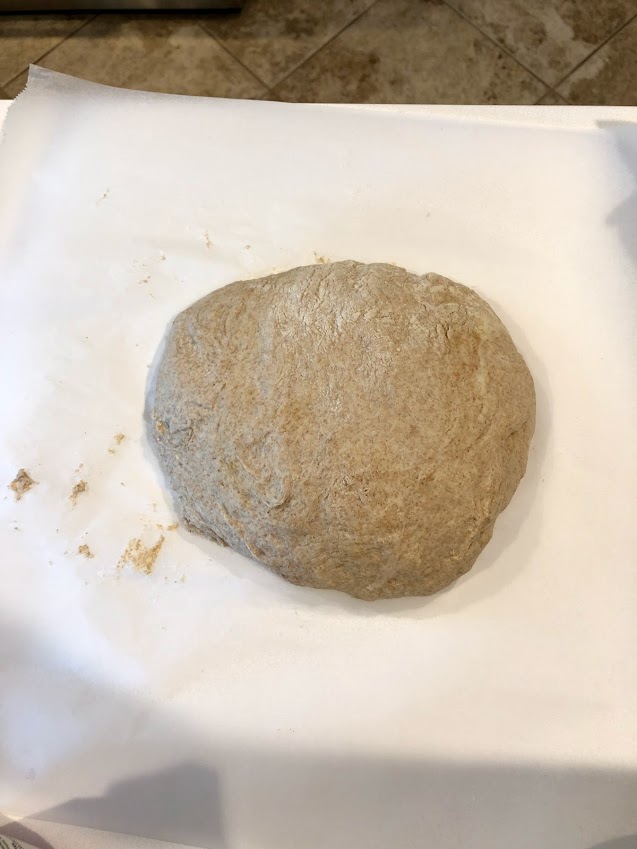
2. Add the water mixture to the flour and stir gently until a dough starts to come together. If it is too sticky add a bit more flour. Once it become dough-like I use my hands and knead it lightly just until a ball is formed- kind of sticky is ok!
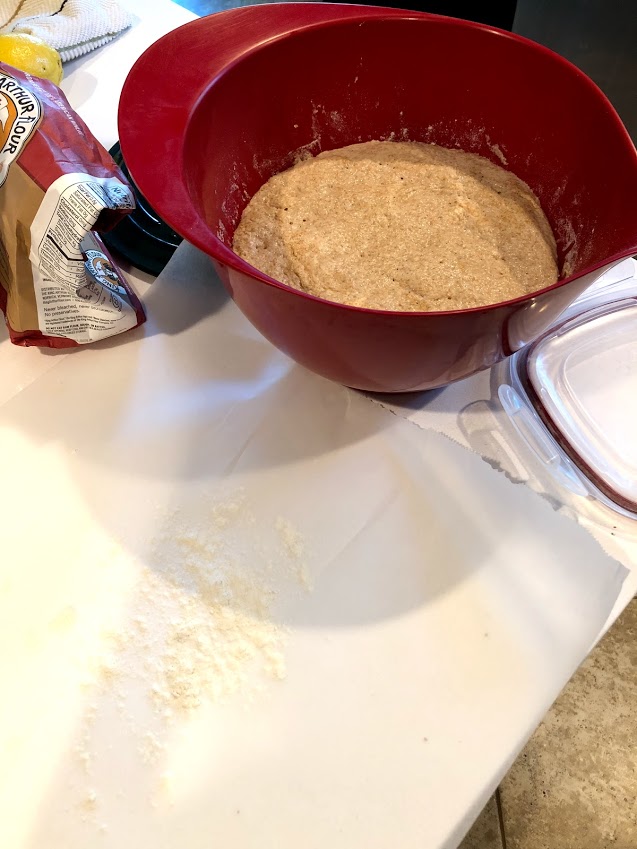
3. Drizzle olive oil around the bowl and roll the dough in it so it doesn't stick to the sides as it rises. Cover with a tea towel and set it aside for about an hour until it doubles in size.
*After 30 min*
Pre-heat the oven to 450 degrees and place your dutch oven inside while it is heating.
*After another 30 min*
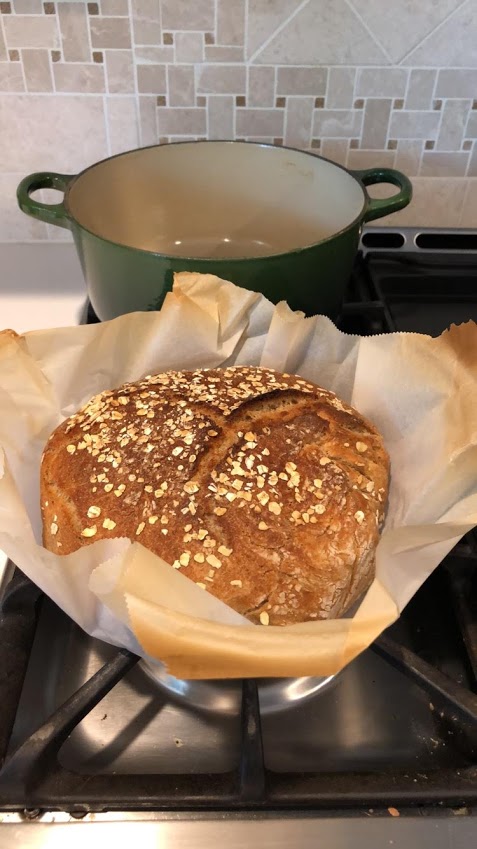
Carefully dump the dough onto a lightly floured piece of parchment. Take the dutch oven out of the oven and lift the parchment (with dough on it) carefully and place inside the dutch oven. Cover and bake for 30 minutes. Remove the lid and bake for another 10-15 minutes.
Notes- I have added a quarter cup of oats to this bread and that was also yummy!
Keep the bread in a bread box, or plastic (unsealed bag)- remember there is not nearly as long of a shelf life for homemade bread and you don't want it to get moldy!
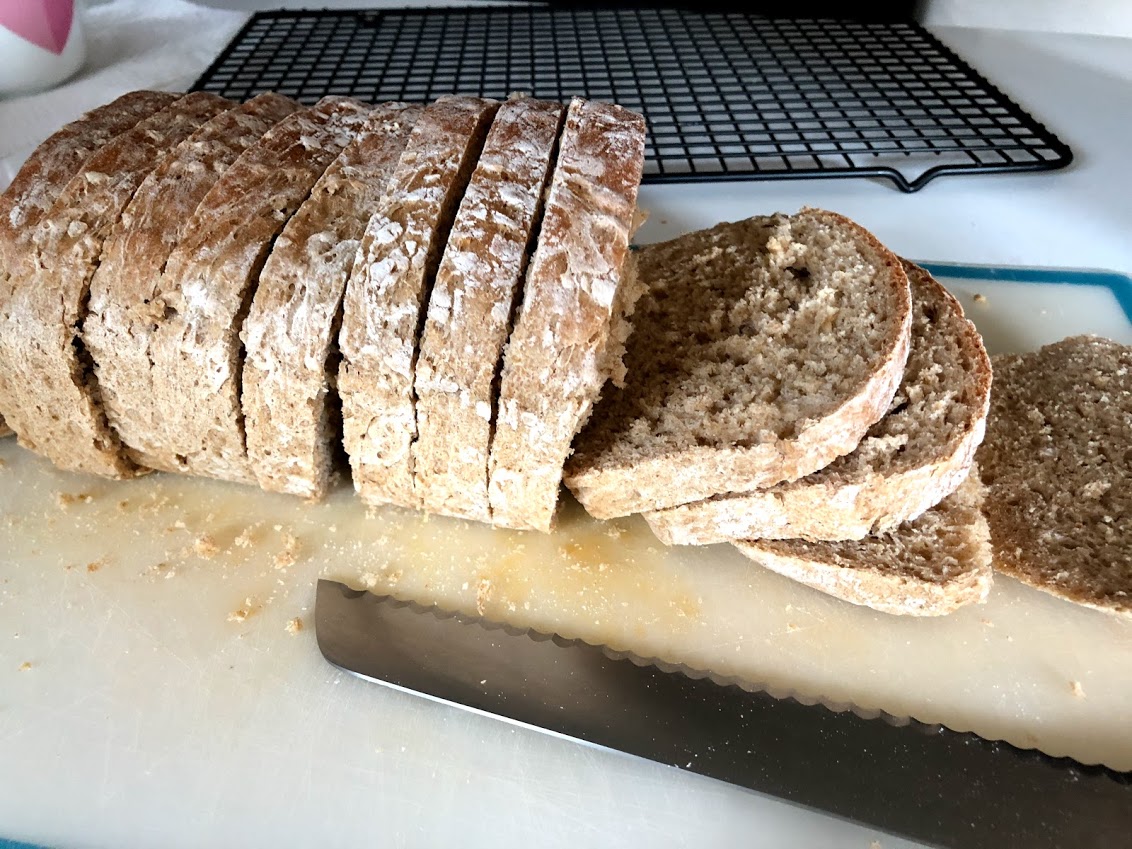
Due to the texture this bread is much better toasted... I have a different recipe I use for sandwich bread!
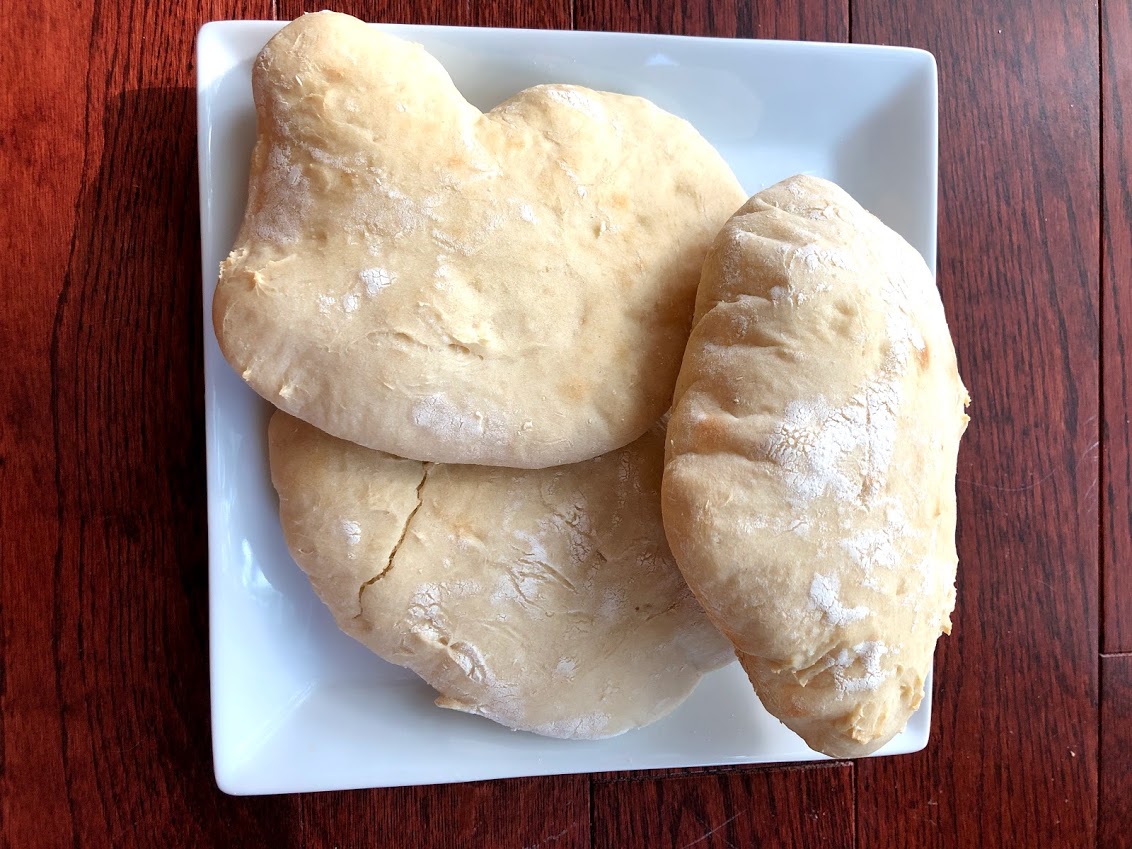
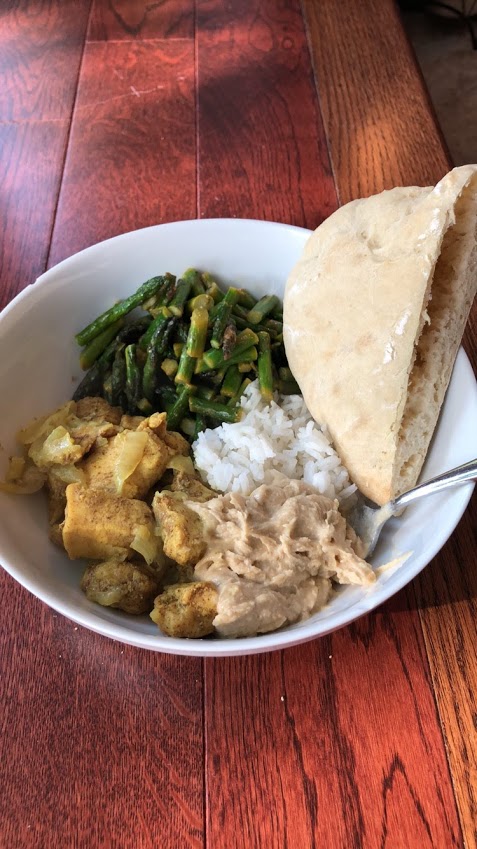
We have also made pita bread using this recipe-
https://www.melskitchencafe.com/homemade-pita-bread/
So good with tandoori chicken!
And our go-to sandwich bread is here-
https://smittenkitchen.com/2015/09/oat-and-wheat-sandwich-bread/
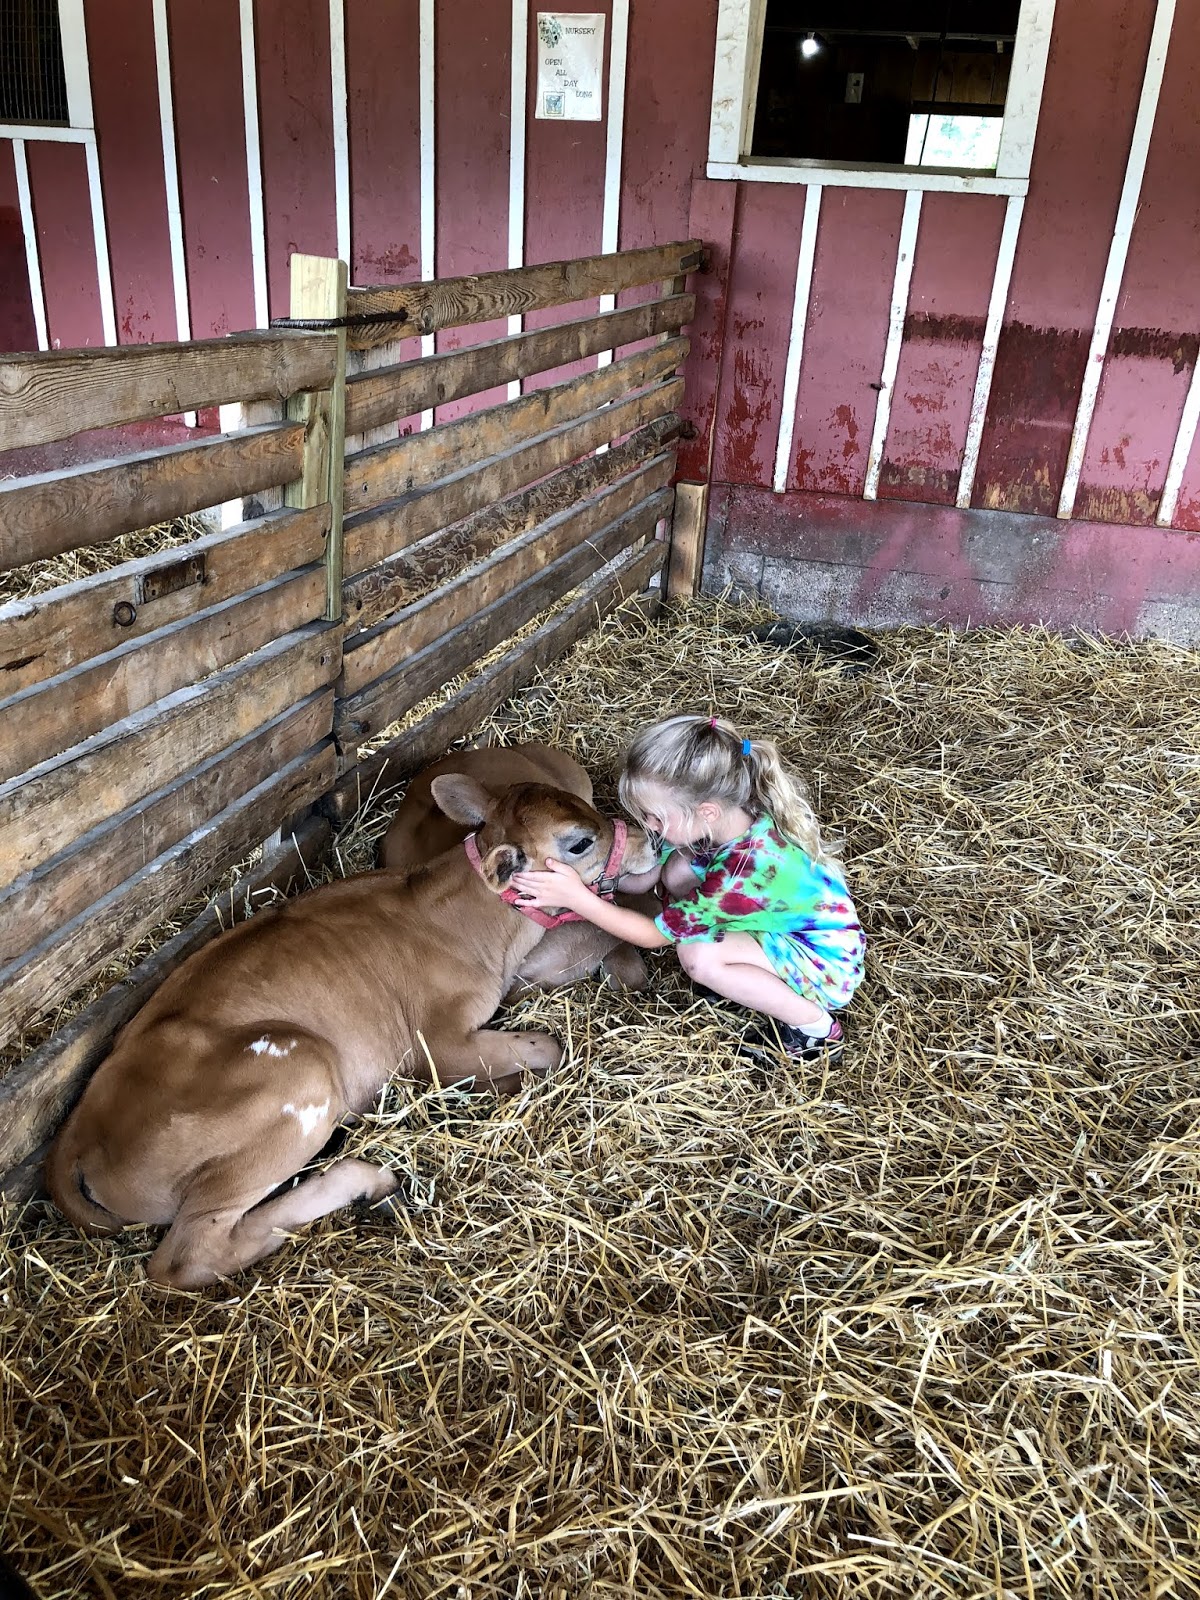
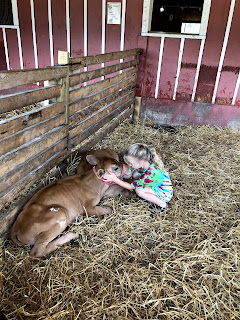
Charlie is gone for her second week with her dad for the summer. Sad face. As many times as I have been without her it really never gets easier. As a stay-at-home mom in the summer, I need a break sometimes, not because it is hard or I hate it, just because being at home with children is relentless... but I need like 20 minutes, not a day or an hour or a week. I feel like Charlie being gone so much is the reason I have never spent the night away from Mila yet, and she's almost 10 months old! I am trying to look at the positive of the situation, and as a parent, you never stop worrying about your child, but I am hoping this will make her a resilient, adaptable, and independent person. I know it is harder on her to toggle back and forth with different beds, homes, rules, diets, etc., but at least she doesn't know any different, she's loved both places and being with two families means she is taking a lot of vacations! This summer has already felt chaotic with her gone so much. I signed her up for farm camp the week we got out of school not knowing she was going to be with her dad basically the next three weeks due to the Fourth of July holiday. But staying positive- she absolutely loved camp! Milking cows, gathering chicken eggs, swimming in a lake, riding horses... it was so much fun to see how happy she was every day when I picked her up. Full of things to tell me and so filthy- signs of a great childhood day!
With summer in full swing I try to use as much out of my garden as I can. Even if you don't have a large spot, herbs are easily grown in a pot. This year I am growing a plethora- peppers, basil, rosemary, cilantro, egg plant, squash, yellow beans, pumpkins, strawberries carrots, blueberries and tomatoes. My gardens are not big enough to negate me shopping for most produce, but they are fun to maintain and Charlie and I enjoy caring for the plants and pickings things as the ripen. It's our thing and I want to teach her that food doesn't come for a box- not to mention, fresh foods are always SO much tastier.
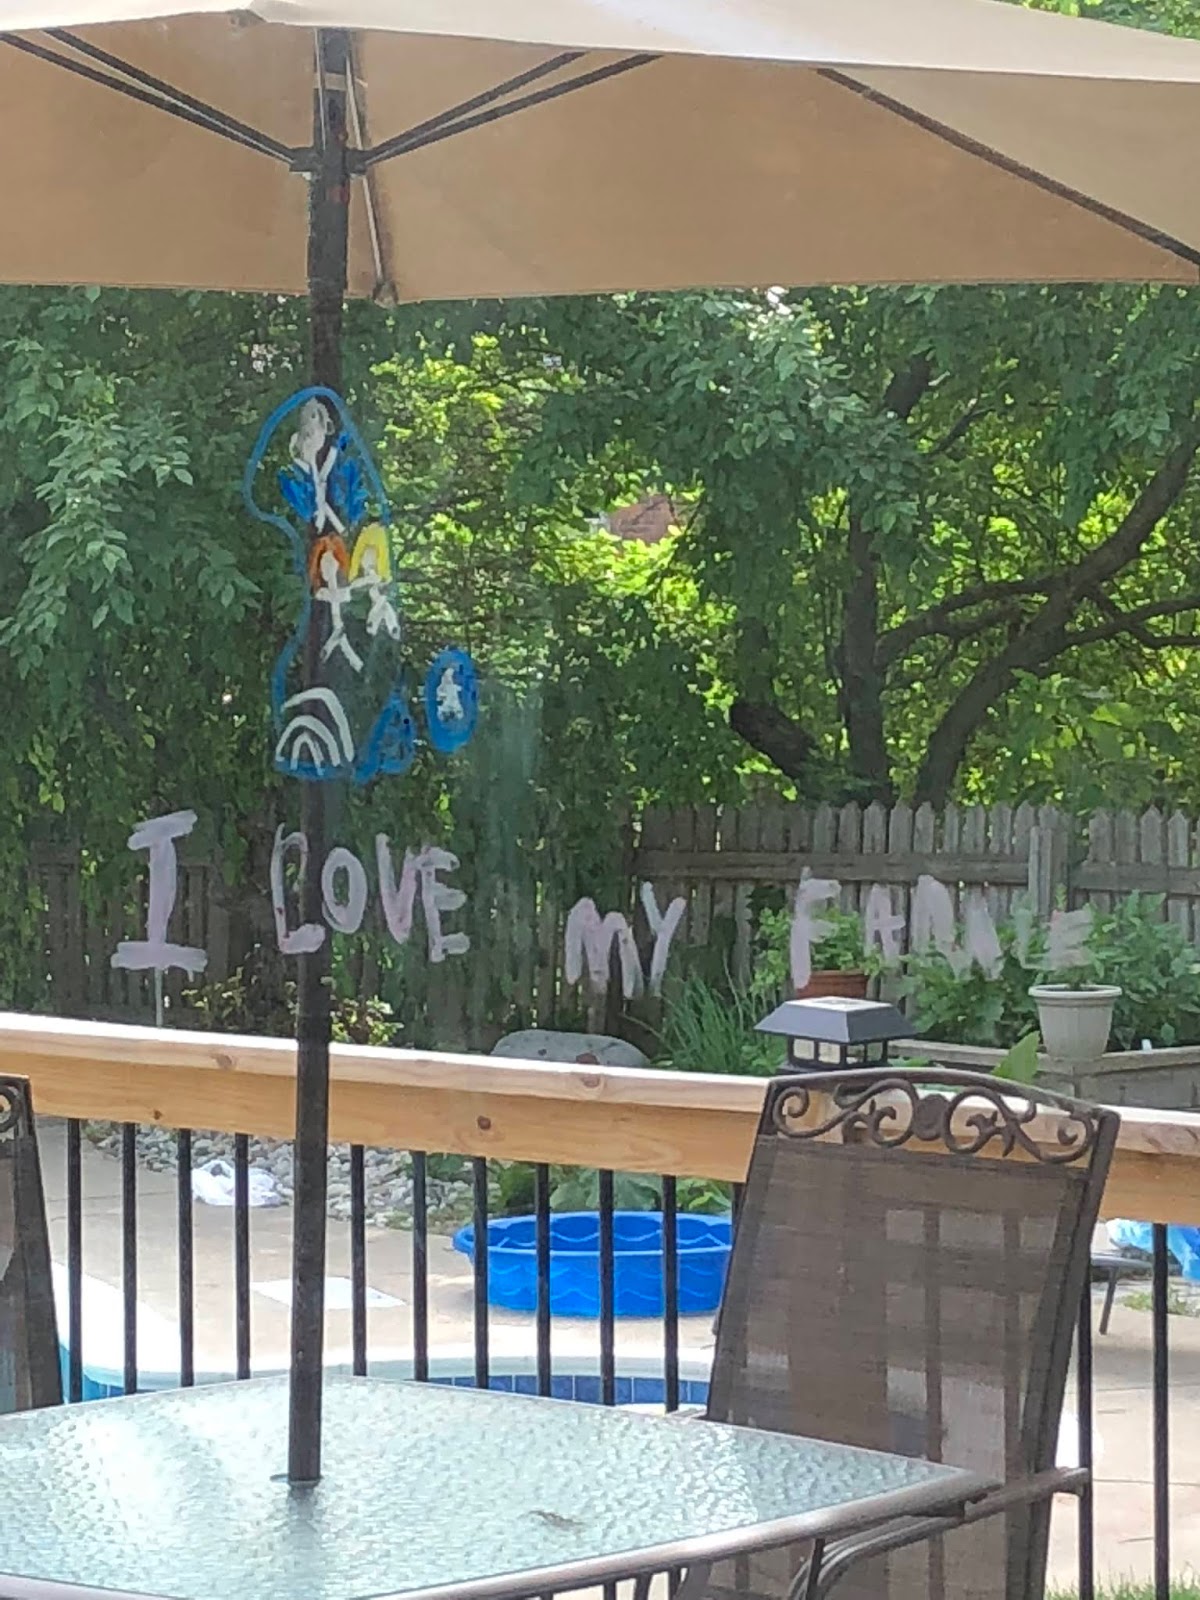
When she leaves she always draws me a picture on our big window and makes me promise I will care for our plants and dog and fish and tortoises. She is also helping me grow broccoli sprouts so stay tuned for those!!
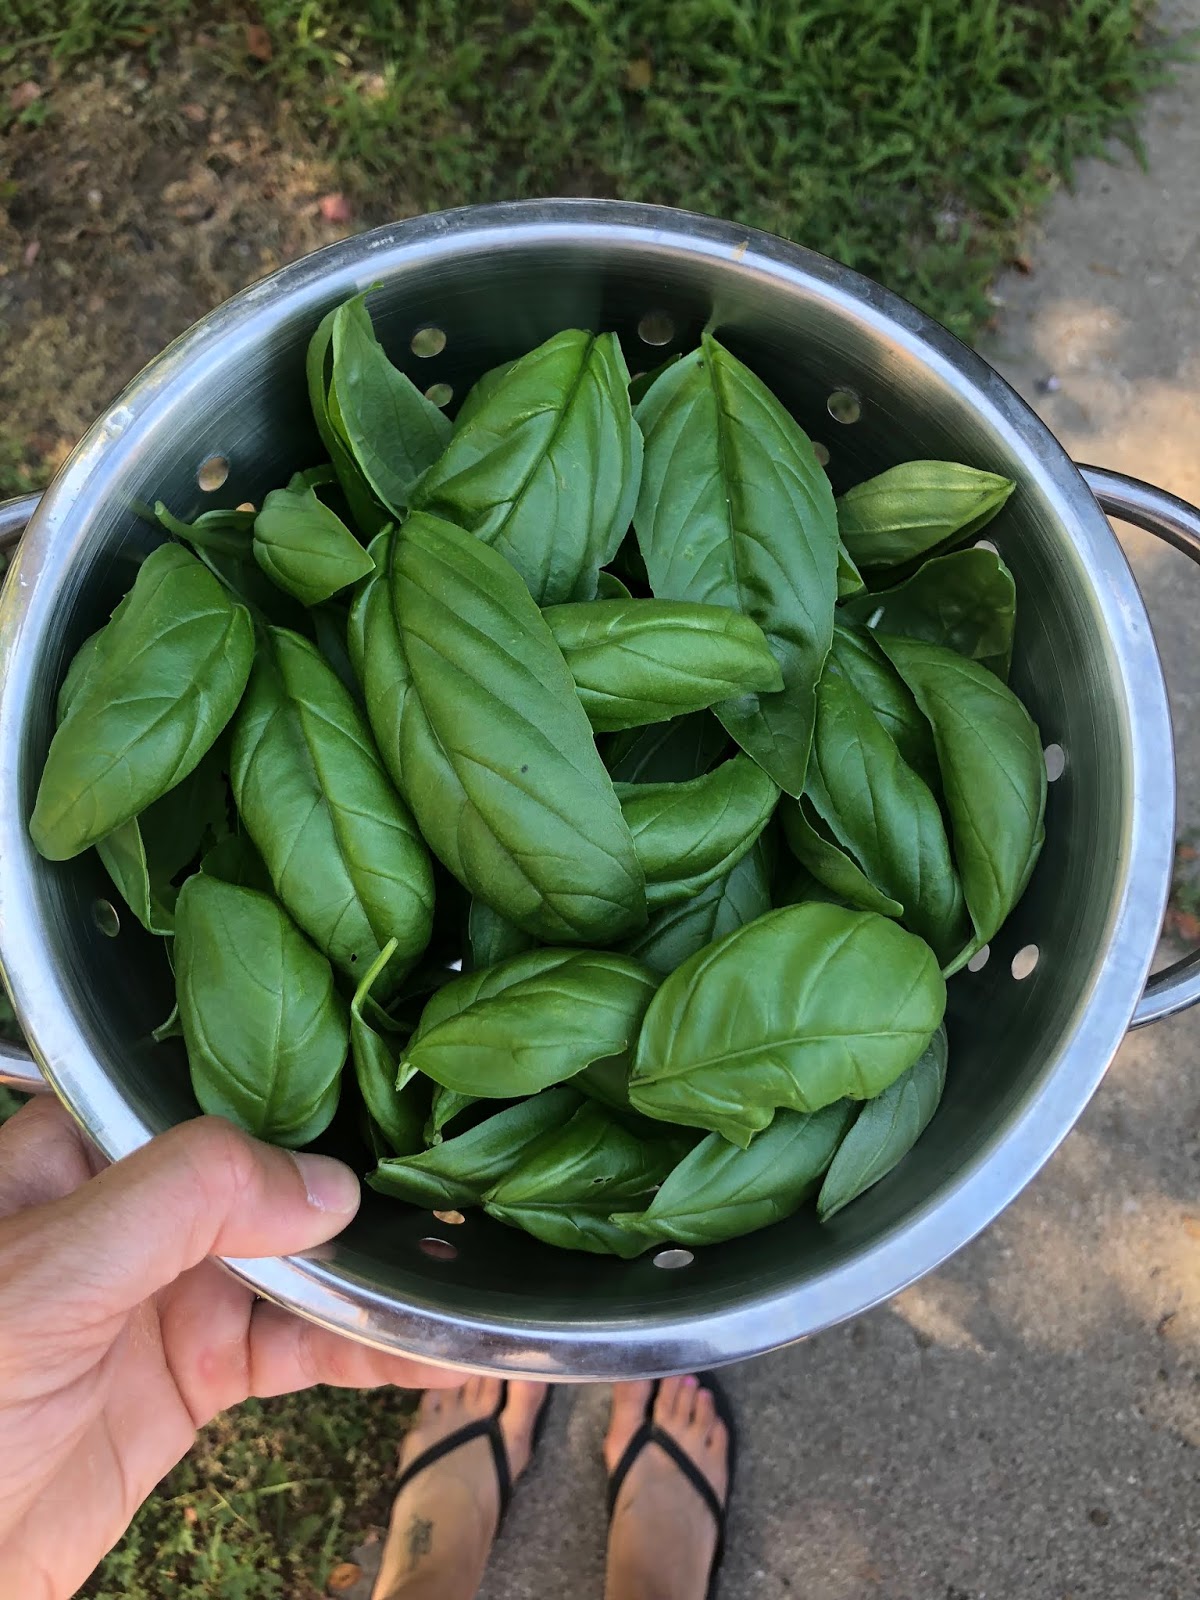
 Herbs are one of the things in my garden that I tend to have too much of.... those and tomatoes!... so I am trying to come up with new ways to use them and taking advantage of having fresh herbs. I know I can freeze my basil, but it just isn't the same.
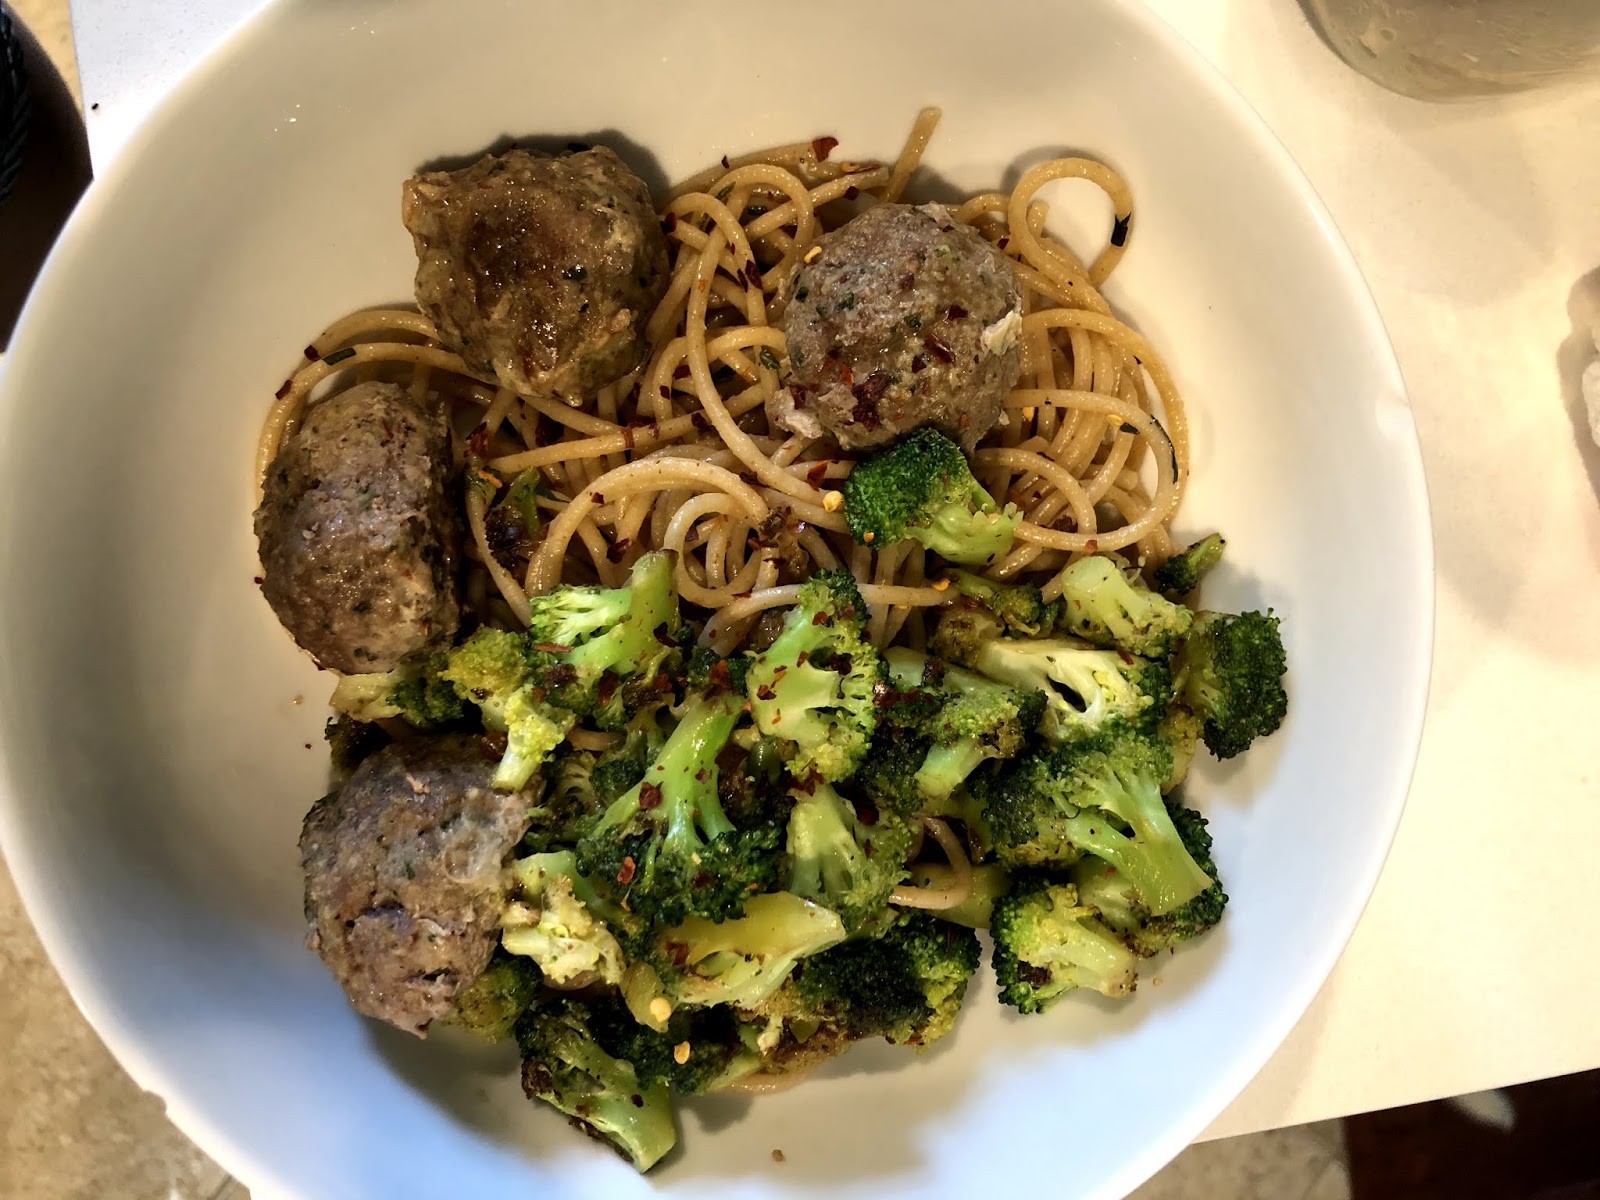
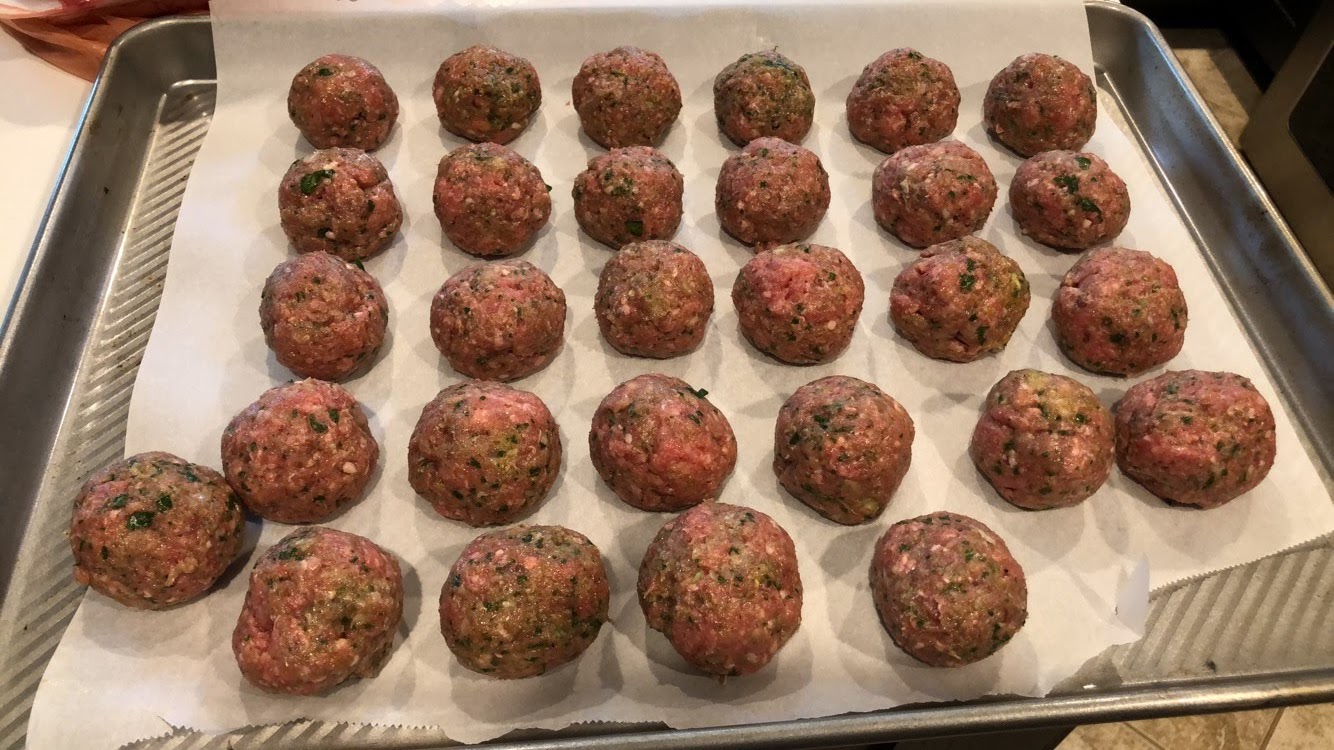
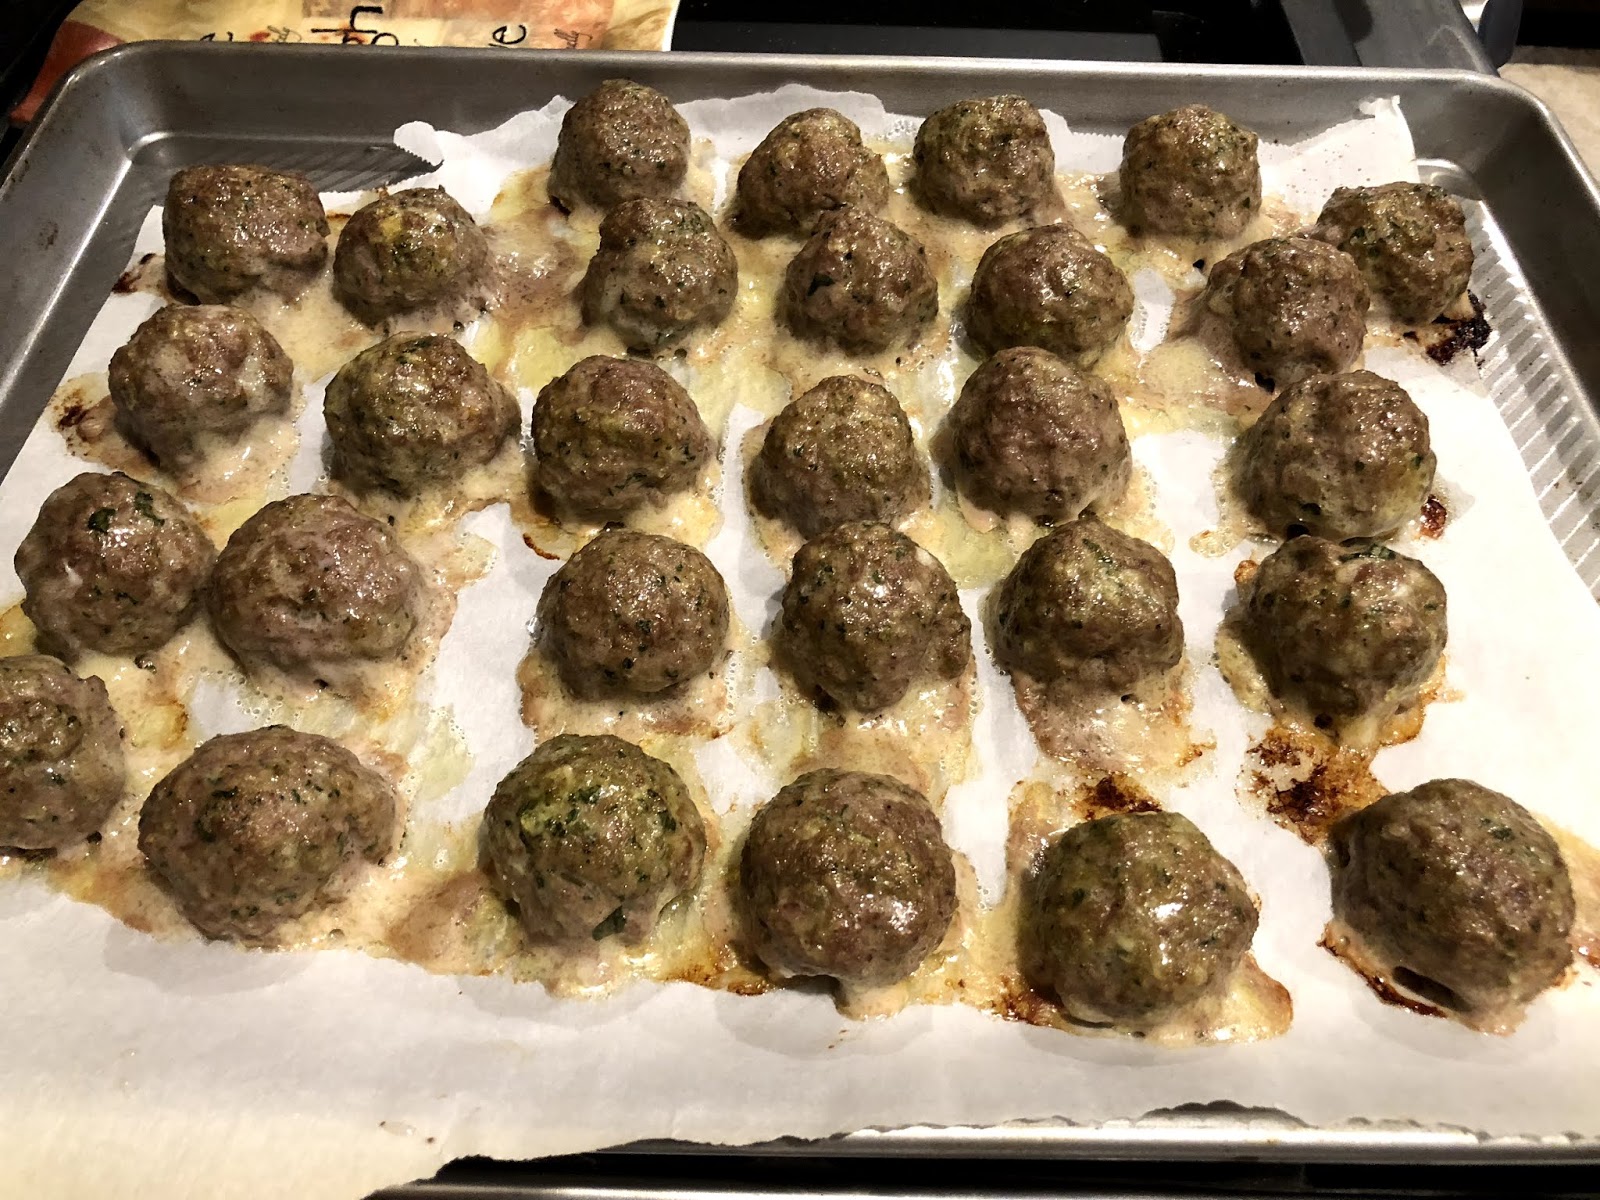
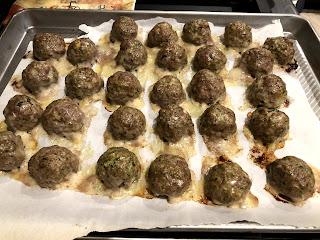
Pesto is delicious and aside from using it in its typical ways I was trying to be creative... enter Pesto Meatballs! I make the pesto a little differently here, because of the fat content of the beef, I don't add olive oil to the pesto itself. These can be served alone, with pasta or zucchini noodles and a bit more pesto and cheese, and freeze wonderfully so you can make a big batch and save more for the future.
Pesto Meatballs
Makes 24-30 meatballs
- 2lbs Lean Ground Beef
- 2-3 Cups Loosely Packed Basil
- 2 Garlic Cloves
- Juice from 1/2 Lemon
- Salt and Pepper
- 1/2 Cup Grated Parmesan (optional)
- 1/2 Cup Bread Crumbs
- 2 Eggs
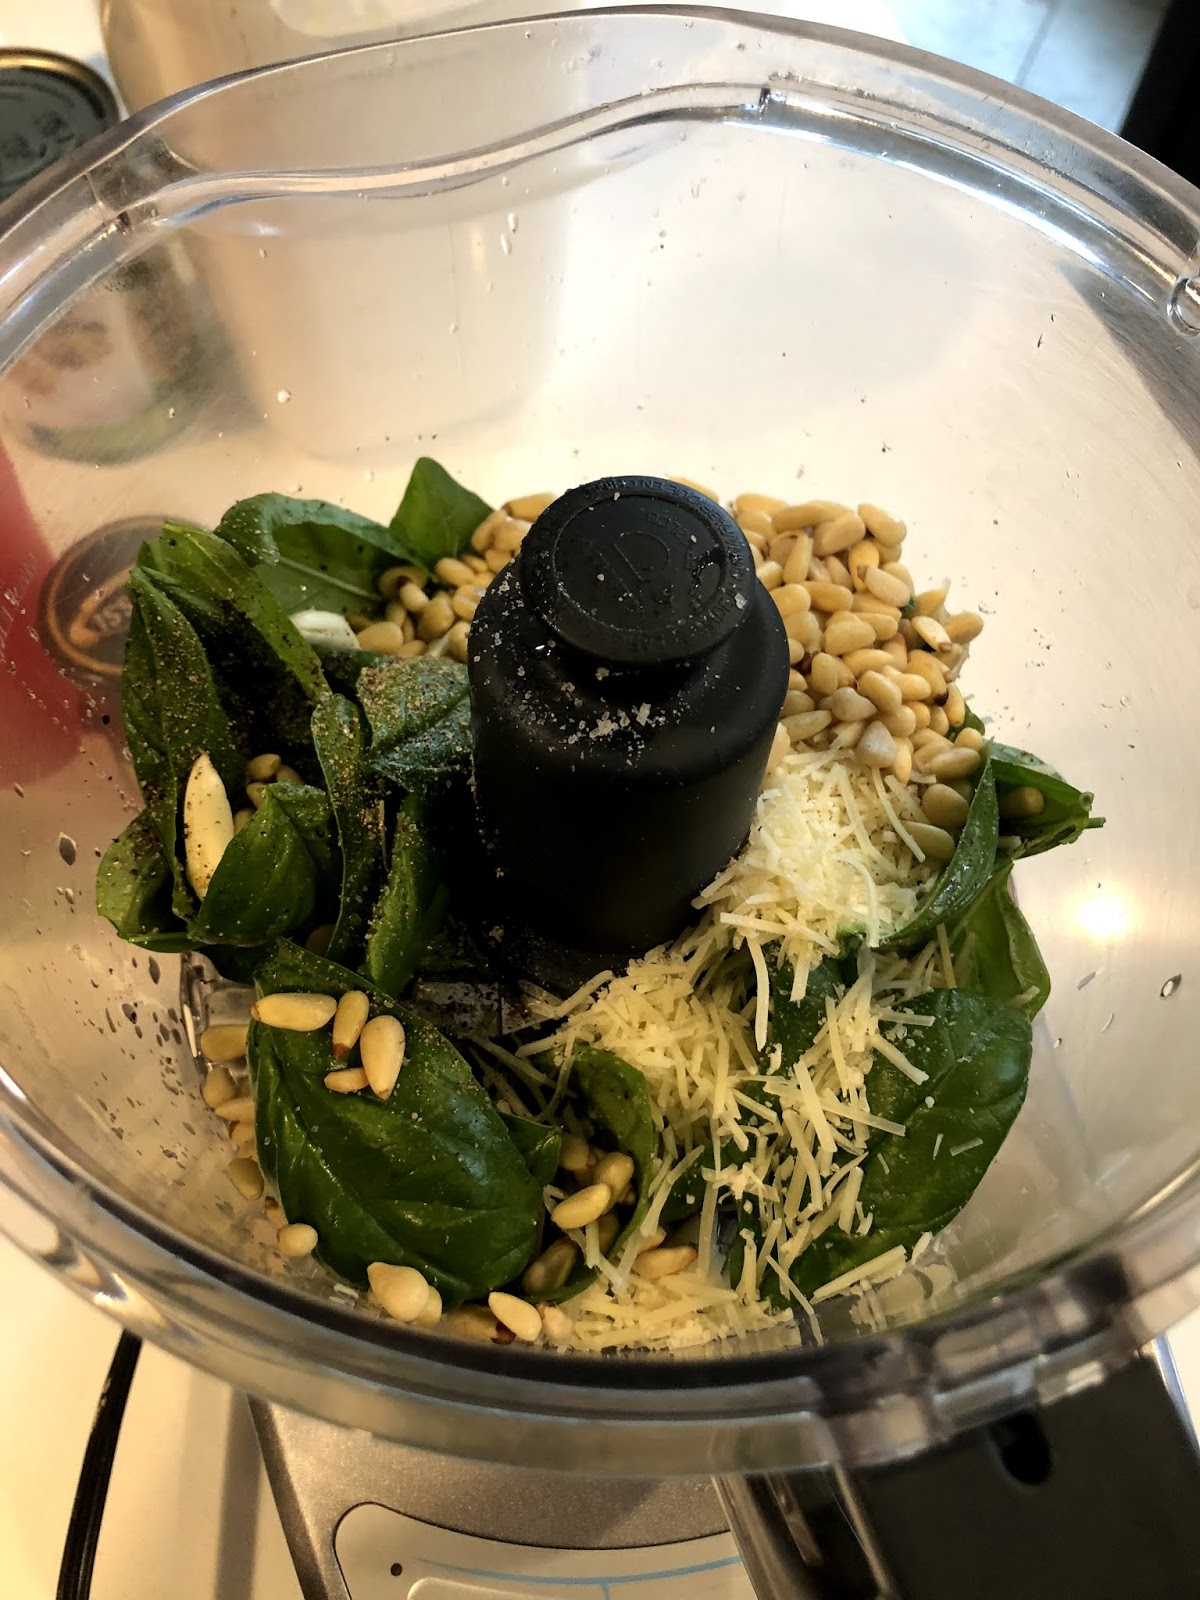
1. In a food processor, pulse the basil, garlic, lemon and a sprinkle of salt and pepper (and cheese if using) until well a combined "pesto" is formed.
2. In a large bowl, combine the remaining ingredients, including your pesto. Using your hands, mix well, but don't over mix!
- Preheat the oven to 400 degrees-
3. I use a tablespoon, but feel free to eye-ball, and start rolling your meatballs into a size a little smaller than a golf ball. Place them on a parchment lined cookie sheet. Bake for 23-25 minutes, or until they are firm to the touch and starting to brown on the top. Serve immediately, or let them cool completely and freeze....enjoy!
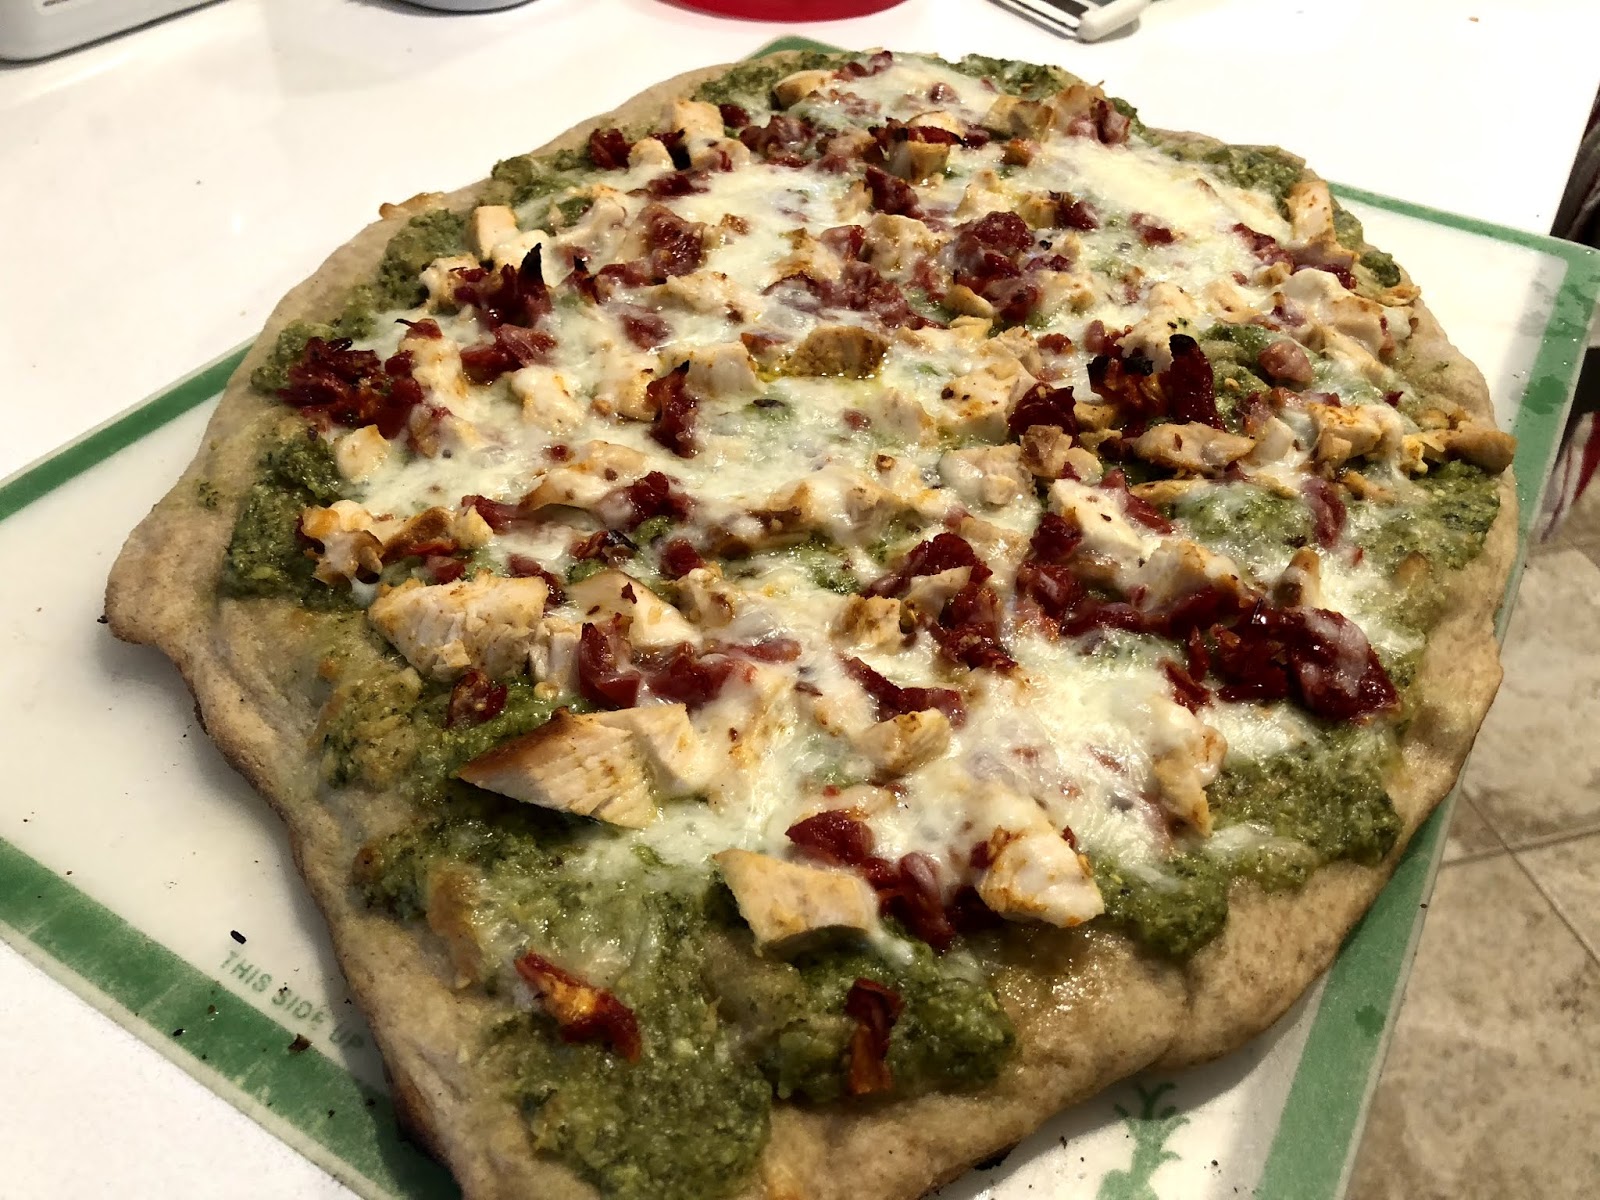
July 7th just passed and every year I am reminded of a special day... my close friend and cousin, Emily, went into labor with her Charlie and I was there for the big day! The day is special to me not only to witness something as incredible as childbirth, but because it made me want my own baby and 10 months after her Charlie was born... my Charlie was born! While I was staying with her waiting for baby we were coming up with creative ways to use her basil growing wildly on her front porch... and viola! This most fabulous pizza was created! I have posted about it before, but I thought it deserved a re-post! Matt and I have been grilling pizzas and this one has been making a regular appearance since summer and fresh basil came into our backyard.
Sun dried Tomato-Pesto-Chicken Pizza
Pizza Dough- homemade or store bought...
It really is easy to make your own dough... try it! This recipe makes 3 pizzas based on the size of my pizza stone (about 12" in diameter)
- 2 Cups Warm Water
- 4 1/2 tsp (two packets) Fast Active Dry Yeast
- 2 tsp Honey
- 2 Cups All-purpose Flour
- 2 Cups Whole Wheat Flour (or more all-purpose)
- 2 tsp Salt
- Olive Oil
1. In a small bowl (or your measuring cup) add the yeast and honey to the warm water. Let it sit while you get your dry ingredients together.
2. In a large bowl, whisk your flours and salt. Pour in the yeast water and mix with a spatula and then eventually your hands. The dough will be slightly sticky, but if it is too sticky add a bit more flour 1/4 cup at a time.
3. You can either leave it as it is and separate it later, or separate the dough into three "balls" in three separate bowls now. Drizzle a tablespoon of oil over each ball (or just 2-3 tbsp in the big bowl if you kept it as one) and roll the dough in it so the outside is covered. Cover the bowls with a tea towel and let sit for 1 hour, or less, until the dough has doubled in size. Dump it onto a floured surface and roll it out to your desired thickness and size.
Basil Pesto-
- 3 cups Loosely Packed Basil
Pesto:In a food processor, combine the remaining olive oil, basil, pine nuts, garlic, salt and pepper. Pulse until the pesto is your desired consistency, adding more water or olive oil if needed.
Toppings-
- 1-2 Cups Cooked shredded chicken
- 1 Cup Sun dried Tomatoes, chopped
- Mozzarella Cheese
- Pinch of Red Pepper Flakes (optional)
Putting it all together-
Keep the oven at 425 degrees...
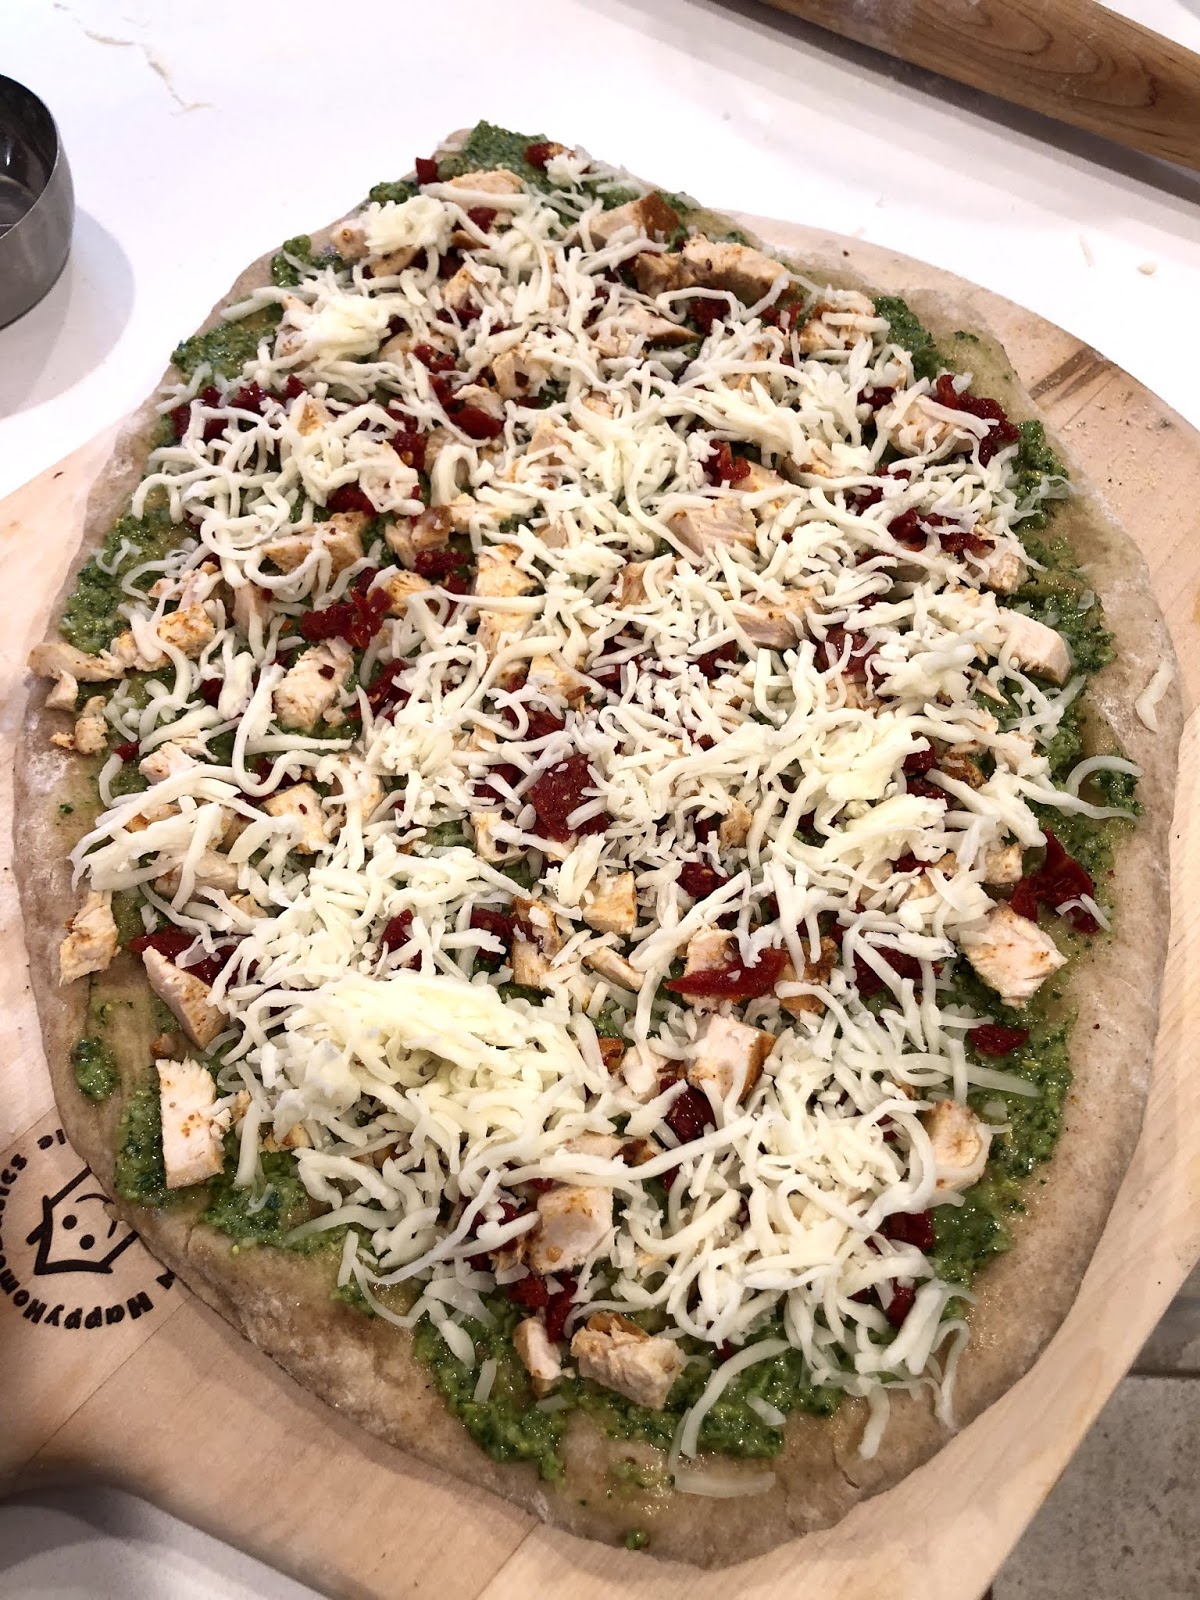
1. Top the pre-baked crust with the pesto...
sundried tomato...
chicken....and then the cheese and pepper flakes if you are adding those!
.......bake until the crust is crispy and golden and the cheese is bubbly- about another 10ish+ minutes
Viola! Beautiful!